
Summer has always been the season I fight hardest to love. The light goes flat by 7am, the haze settles into the valleys like it’s paid rent, and every frame looks like a variation on the same green wall. After twenty years of hauling gear before sunrise, I’ve learned that summer doesn’t reward photographers who wait for perfect conditions the way autumn does. It rewards the ones who change how they see.
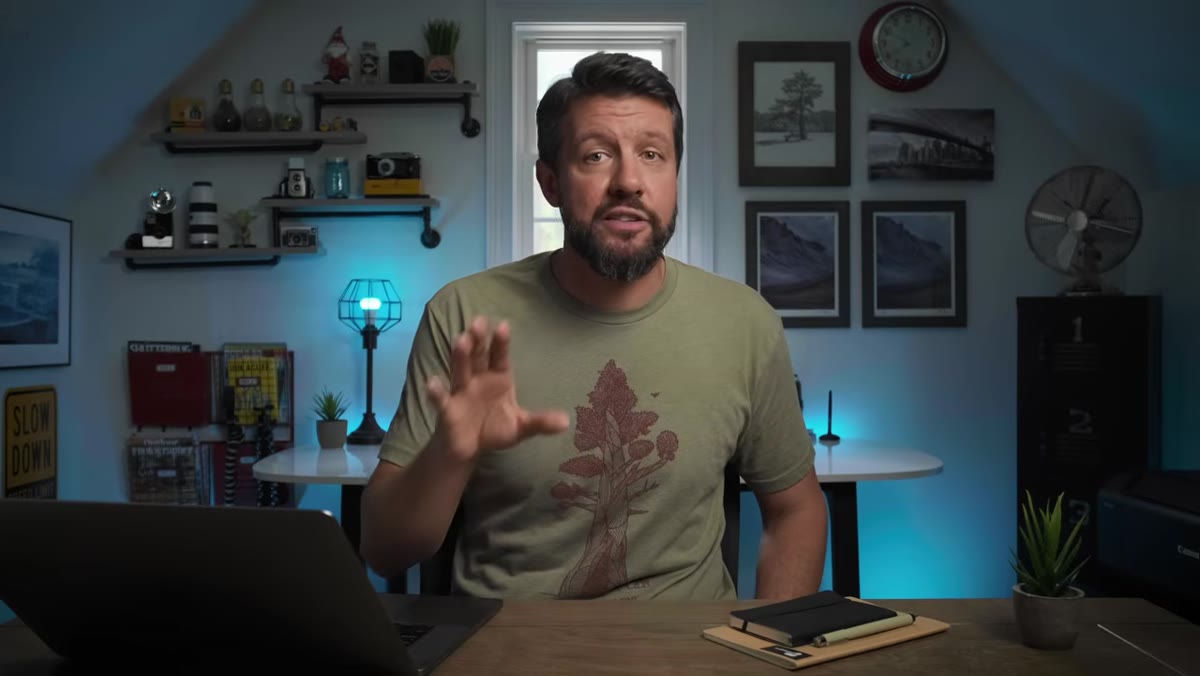
That’s exactly what drew me to this tutorial from Mark Denney. In it, he lays out five ideas for making summer landscape photography actually work, and he does it without pretending the season is something it isn’t. He’s honest about the challenges, which is the first thing that told me his advice was worth taking seriously. Watch the full tutorial on YouTube before or after reading through this breakdown. The two together will stick better than either one alone.
What follows is my own walkthrough of his five ideas, with the kind of notes I’d jot in the margin of a field guide.
Step 1: Hunt for Dappled Light in Woodland Settings
 Dappled sunlight hitting ferns on a woodland floor
Midday sun is usually a death sentence for landscape images, but woodland environments flip that rule. When direct sunlight punches through a forest canopy, it breaks apart into pools and shafts that create natural contrast across the ground layer. Ferns, mosses, and low undergrowth become the subject, lit dramatically against the shadow between them.
Dappled sunlight hitting ferns on a woodland floor
Midday sun is usually a death sentence for landscape images, but woodland environments flip that rule. When direct sunlight punches through a forest canopy, it breaks apart into pools and shafts that create natural contrast across the ground layer. Ferns, mosses, and low undergrowth become the subject, lit dramatically against the shadow between them.
The practical move here is to look down, not out. Set up close to the forest floor and use a wide angle lens to pull in both the lit foreground and the darker canopy above. Expose for the highlighted areas so they hold detail, and let the shadows go deep. That contrast is the whole point. If your image looks the same in shadow as it does in light, you’ve lost the effect entirely.
Step 2: Use Moving Clouds as a Light Modifier
 Clouds parting to illuminate a Yosemite cliff face
One of summer’s underrated gifts is afternoon cloud buildup. Warm temperatures push moisture into the sky, and those clouds act like a natural softbox, or more usefully, like a spotlight when they start to break apart. The moment a cloud edge passes across the sun, the light on the landscape shifts fast and dramatically.
Clouds parting to illuminate a Yosemite cliff face
One of summer’s underrated gifts is afternoon cloud buildup. Warm temperatures push moisture into the sky, and those clouds act like a natural softbox, or more usefully, like a spotlight when they start to break apart. The moment a cloud edge passes across the sun, the light on the landscape shifts fast and dramatically.
The technique is patience combined with positioning. Get your composition locked in before the light changes. Know what you want to illuminate and wait for the clouds to do the work. Shoot in burst mode during the transition so you capture the precise moment when the sun clears the cloud edge and throws hard directional light onto your subject. A cliff face, a meadow, a ridgeline, all of them read completely differently under that kind of light than they do under flat overcast. You’re not fighting summer haze here. You’re working the sky as part of the image.
Step 3: Embrace Silhouettes as a Creative Tool
 Palm tree silhouettes against a misty morning sky in Santa Barbara
Silhouettes feel counterintuitive to photographers trained to preserve shadow detail, but summer is the right season to set that instinct aside. The strong backlight, especially at sunrise and sunset, makes clean silhouettes easier to pull off than in any other season. The key is subject shape. Trees with distinct architecture, piers, rock formations with a recognizable outline, these work. Soft, ambiguous shapes disappear.
Palm tree silhouettes against a misty morning sky in Santa Barbara
Silhouettes feel counterintuitive to photographers trained to preserve shadow detail, but summer is the right season to set that instinct aside. The strong backlight, especially at sunrise and sunset, makes clean silhouettes easier to pull off than in any other season. The key is subject shape. Trees with distinct architecture, piers, rock formations with a recognizable outline, these work. Soft, ambiguous shapes disappear.
To expose for a silhouette, meter on the brightest part of the sky. Point your camera away from your subject toward the open sky, take a reading, lock your exposure, then reframe on your composition. Your subject will go dark, rendering as a clean outline against the glowing background. Shoot in RAW so you have latitude to push the sky in post if the gradient isn’t dramatic enough straight out of camera. The goal is contrast between a dark, defined shape and a luminous background.
Step 4: Simplify Your Compositions Around a Single Strong Element
 Isolated subject framed cleanly against an open summer background
Summer scenes tend toward visual noise. Everything is green, everything is lush, and there’s rarely the skeletal simplicity you get from bare winter trees or the bold color blocks of autumn foliage. The answer isn’t to fight the complexity. It’s to isolate something within it.
Isolated subject framed cleanly against an open summer background
Summer scenes tend toward visual noise. Everything is green, everything is lush, and there’s rarely the skeletal simplicity you get from bare winter trees or the bold color blocks of autumn foliage. The answer isn’t to fight the complexity. It’s to isolate something within it.
Look for one thing that stands apart, a single tree catching light differently than the ones around it, a lone boulder in a field of grass, a flowering plant at the edge of a stream. Move your feet until the background clears behind your subject. Get lower to separate it against the sky if you need to. In summer especially, a simple composition almost always outperforms a complex one because there’s already so much visual texture competing for attention. Give the viewer one clear landing place and let everything else recede.
Step 5: Lean into Intimate Scenes Rather Than Grand Vistas
 Close detail shot of illuminated ferns showing light and texture
Wide vista shots struggle in summer. Haze compresses the tonal range, distant mountains go grey-blue and muddy, and the lack of color variation across the middle and foreground makes the frame feel flat. The fix is to shrink your field of view. Macro and close-up work thrives in summer precisely because the light, the texture, and the color are most interesting at the small scale.
Close detail shot of illuminated ferns showing light and texture
Wide vista shots struggle in summer. Haze compresses the tonal range, distant mountains go grey-blue and muddy, and the lack of color variation across the middle and foreground makes the frame feel flat. The fix is to shrink your field of view. Macro and close-up work thrives in summer precisely because the light, the texture, and the color are most interesting at the small scale.
Bring a macro lens or close-up filters, and get into the details. Water droplets on leaves after a morning shower. The texture of bark with a shaft of light raking across it. A patch of wildflowers at the edge of a trail. These images don’t need atmospheric depth to work. They work on texture, color saturation, and light quality, all of which summer delivers in abundance if you’re looking at the right scale.
What Twenty Years in the Field Added to This List
Mark Denney’s advice is solid across all five points, and if I’m being honest, the tip about cloud movement is one I’ve used without formally naming it for years. What I’d add from my own time shooting is this: summer rewards location familiarity more than any other season. In fall, you can arrive somewhere new and the color does a lot of the heavy lifting for you. In summer, you need to know where the light falls at specific hours, which clearings in the canopy catch the morning sun, which ponds go mirror-still before 6am. That knowledge comes from going back to the same places repeatedly, and from slowing down long enough to watch how a scene changes across a few hours rather than checking a box and moving to the next location.
Summer isn’t the season for covering ground. It’s the season for going deeper into the places you already know.
The single most important takeaway from this tutorial is that summer’s limitations are actually constraints that force better creative decisions. Flat light makes you look for dramatic light. Visual noise makes you simplify. Haze makes you go small and intimate. The season doesn’t give you the easy win, but it builds the visual habits that make you stronger in every other season.
Watch the full tutorial on YouTube to see Mark Denney walk through each of these ideas with his own images and location context from Yosemite and the California coast.
Comments
Leave a Comment