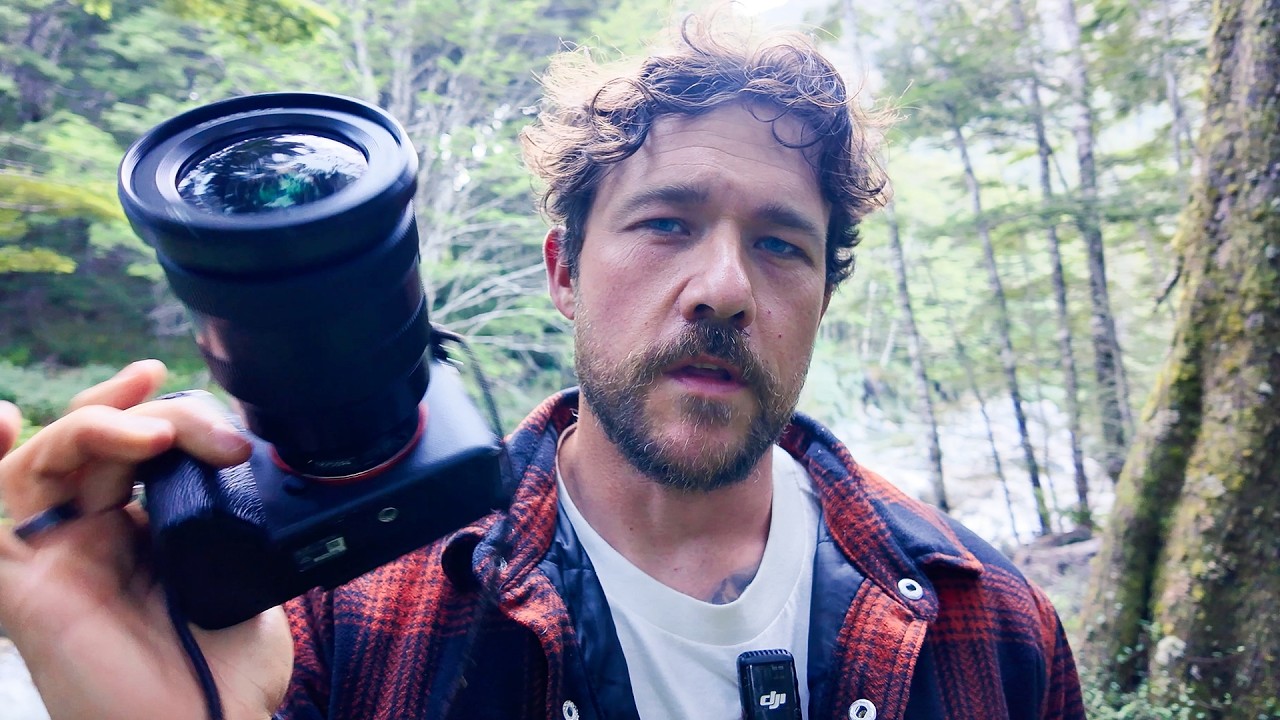
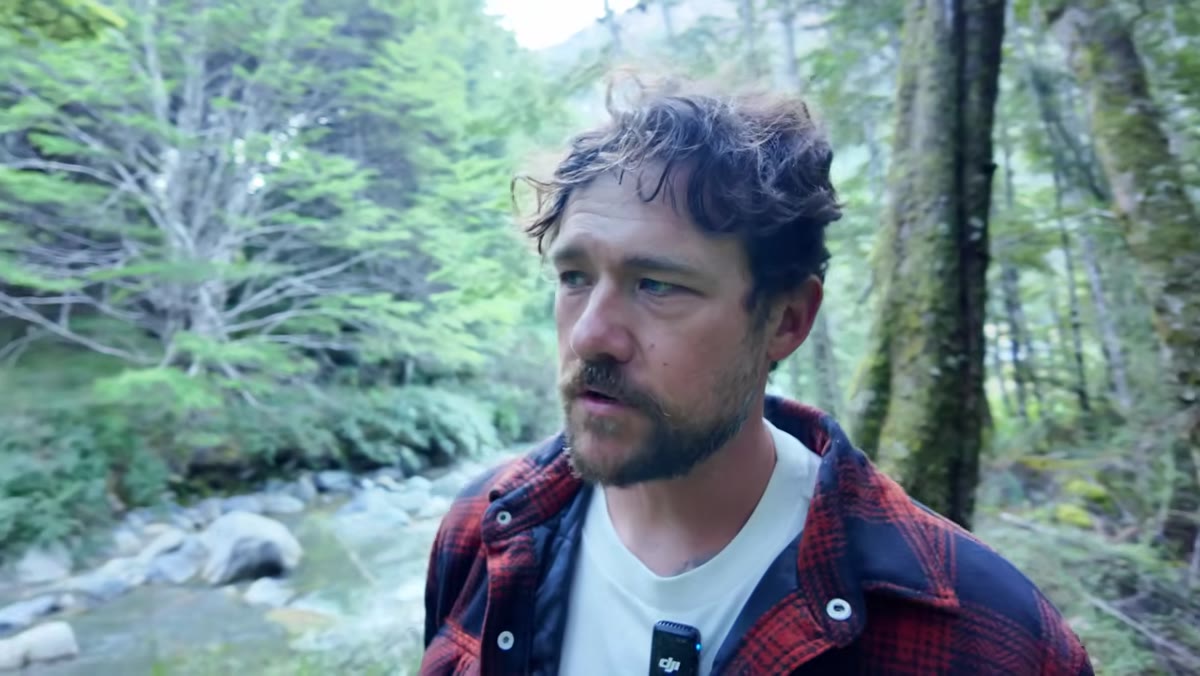
There’s a version of landscape photography that gets sold online constantly. Perfect golden light, a clear vision, a hero shot on the first try. After twenty years of hauling gear into the dark before most people set an alarm, I can tell you that version is mostly fiction. The reality looks a lot more like what William Patino captures in this refreshingly honest tutorial, Watch the full tutorial on YouTube, where he walks into a patch of forest with no plan, no golden light, and no guarantee of anything. What he documents instead is the actual process. The wandering. The uncertainty. The moment a creek reveals itself and you think, there’s something here, I just don’t know what yet.
What draws me to this particular video is how well it captures the mental side of field work, the part nobody films because it looks like a person standing in the woods staring at bark. Patino doesn’t pretend to have all the answers before he presses the shutter. He finds the answers by moving, looking, and staying curious. That’s a process I recognize immediately, and it’s one worth breaking down step by step for anyone who has ever stood at a location and felt completely lost about where to begin.
Step 1: Arrive Without a Fixed Agenda
 Photographer walking into a forested area toward a creek
Patino spots a section of forest from the road, feels pulled toward it, and walks in without a predetermined composition in mind. This is harder than it sounds. Most photographers, especially those newer to the craft, arrive at a location with an image already formed in their heads, sourced from Instagram or a location guide, and spend the whole visit trying to recreate it. The problem is that the real scene in front of you never matches the mental template, and you leave frustrated.
Photographer walking into a forested area toward a creek
Patino spots a section of forest from the road, feels pulled toward it, and walks in without a predetermined composition in mind. This is harder than it sounds. Most photographers, especially those newer to the craft, arrive at a location with an image already formed in their heads, sourced from Instagram or a location guide, and spend the whole visit trying to recreate it. The problem is that the real scene in front of you never matches the mental template, and you leave frustrated.
The better approach is to arrive with a question rather than an answer. What is this place showing me today? Patino frames his entire outing around that question, and it keeps him genuinely open to what the landscape is offering rather than what he hoped it would offer.
Step 2: Identify the Main Subject Before You Raise the Camera
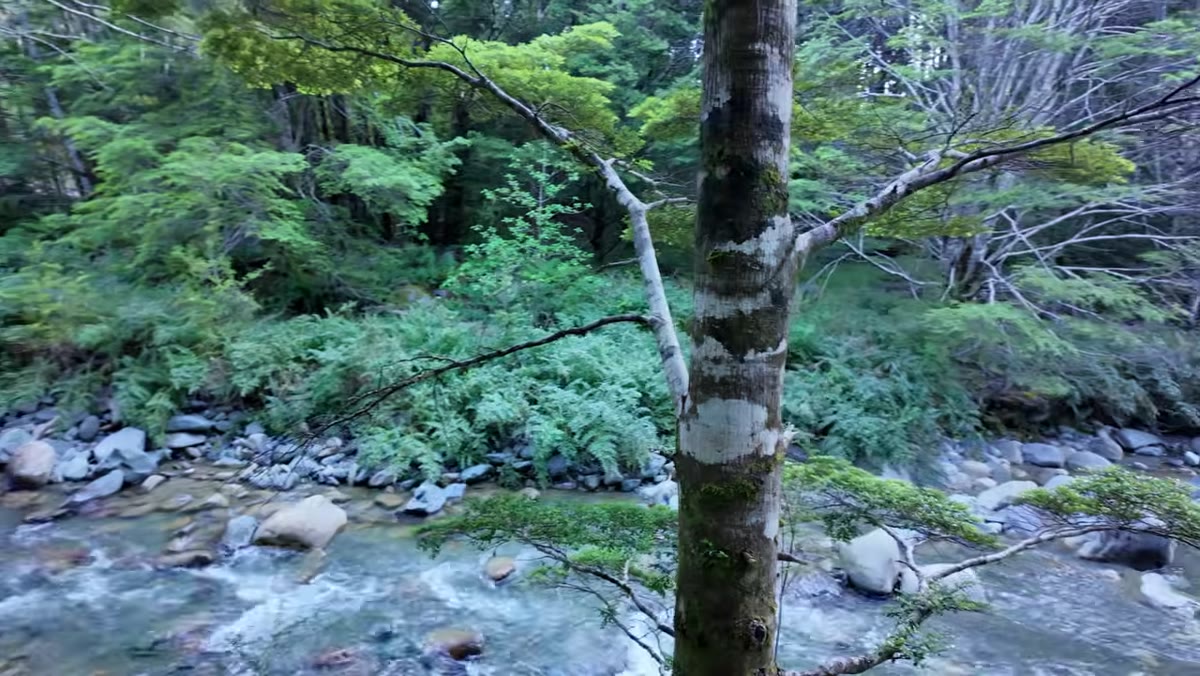 Photographer examining a beech tree alongside a small cascade
Before Patino attaches anything to his tripod or adjusts a single setting, he asks a foundational question out loud: what is this photograph actually about? Is it the stream? The tree? A single branch on that tree? This is the question I try to drill into every participant at my workshops, because without it, you end up making images that are about everything and therefore about nothing.
Photographer examining a beech tree alongside a small cascade
Before Patino attaches anything to his tripod or adjusts a single setting, he asks a foundational question out loud: what is this photograph actually about? Is it the stream? The tree? A single branch on that tree? This is the question I try to drill into every participant at my workshops, because without it, you end up making images that are about everything and therefore about nothing.
Walk the scene. Crouch down. Step back. Change your angle dramatically before you settle on any angle at all. Patino notes that the beech trees in this location remind him of somewhere in Japan, delicate branches, minimal moss, interesting bark textures. He’s building a vocabulary for the scene, which helps him narrow in on what deserves to anchor the frame.
Step 3: Choose a Focal Length That Matches Your Intent
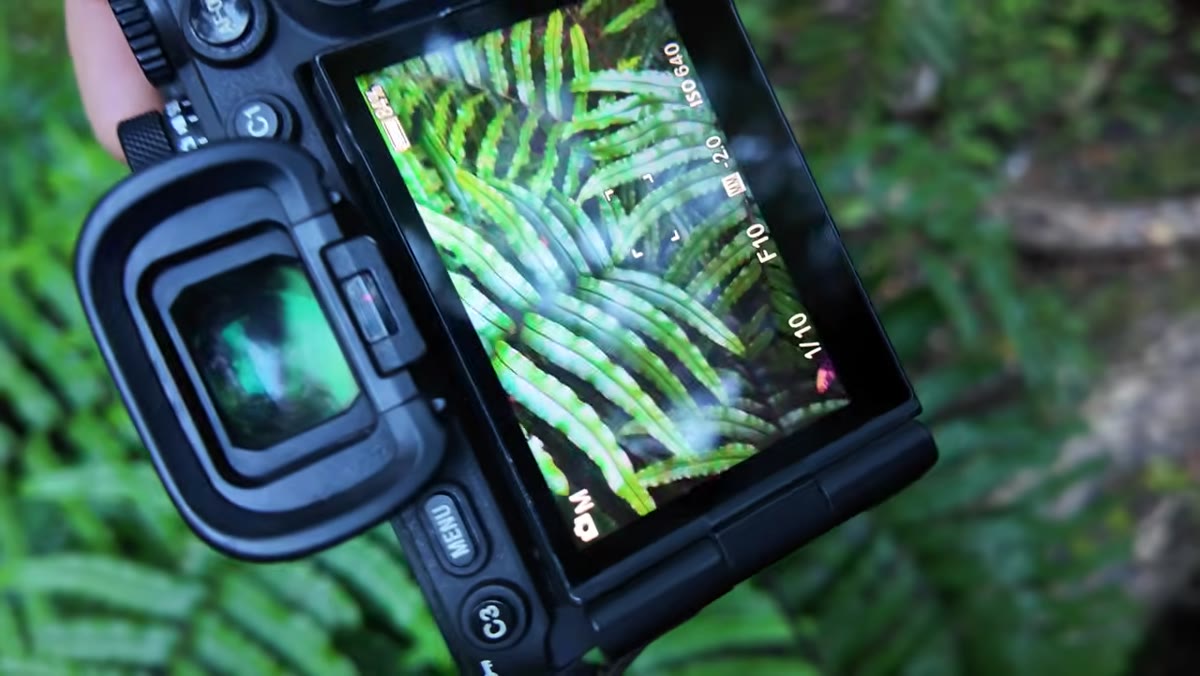
 Camera with 16-35mm lens being prepared for shooting
Once Patino has a working sense of the scene, he selects a 16-35mm zoom. His reasoning is practical: it lets him get close to a subject and emphasize it against its surroundings, while still having the option to compress slightly toward the 35mm end when he wants a cleaner, less distorted rendering of the trees. He starts at 35mm, which is a smart default in a forested environment where wide angles can easily make everything feel chaotic and busy.
Camera with 16-35mm lens being prepared for shooting
Once Patino has a working sense of the scene, he selects a 16-35mm zoom. His reasoning is practical: it lets him get close to a subject and emphasize it against its surroundings, while still having the option to compress slightly toward the 35mm end when he wants a cleaner, less distorted rendering of the trees. He starts at 35mm, which is a smart default in a forested environment where wide angles can easily make everything feel chaotic and busy.
The lens choice is not about gear preference. It’s about what the scene requires. Ask yourself whether you want to emphasize depth and layers (wider end) or isolate relationships between two or three elements (tighter end). That question shapes the focal length, not habit.
Step 4: Shoot What You Can, Then Move On Without Attachment
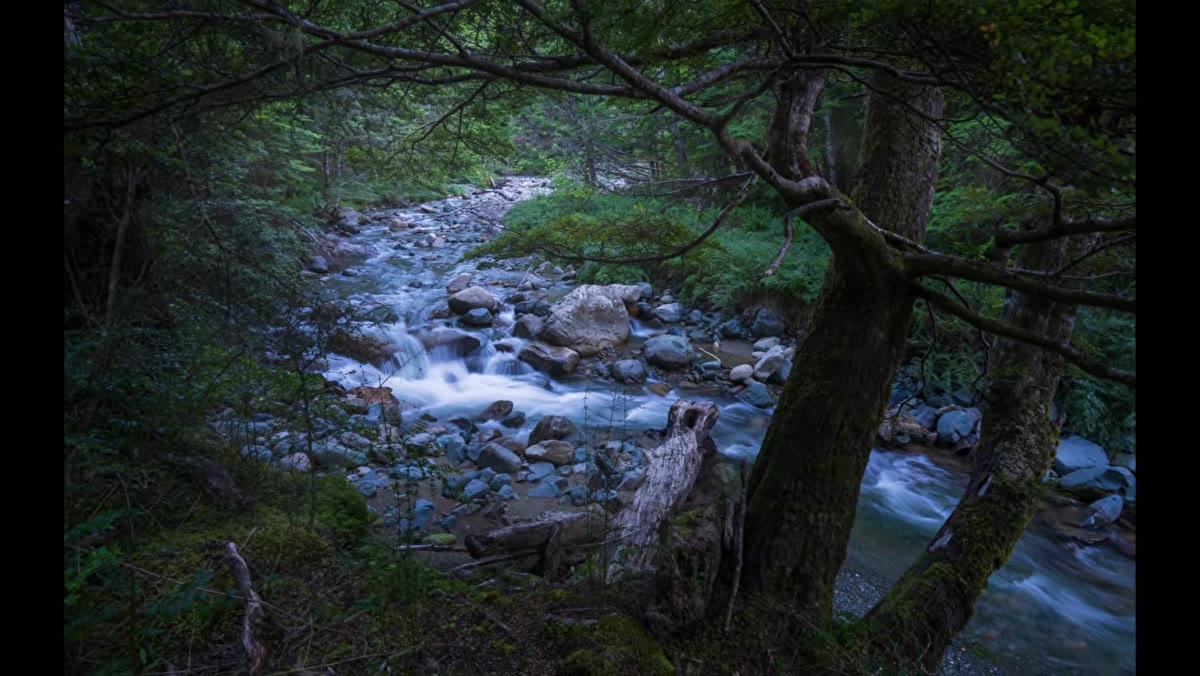 Photographer framing creek through gap in trees, exploring multiple angles
Patino works a composition involving the cascade on the left and the beech tree on the right, using a natural opening between the trees as a frame within the frame. He makes the images, acknowledges that he’s enjoying the process, and then says something that I think is genuinely wise: he has no idea whether these shots will even get a second look when he gets home, and he’s not concerned about that right now.
Photographer framing creek through gap in trees, exploring multiple angles
Patino works a composition involving the cascade on the left and the beech tree on the right, using a natural opening between the trees as a frame within the frame. He makes the images, acknowledges that he’s enjoying the process, and then says something that I think is genuinely wise: he has no idea whether these shots will even get a second look when he gets home, and he’s not concerned about that right now.
This is the attitude that separates productive field sessions from miserable ones. Attachment to outcome kills presence. Once you’ve worked a composition as thoroughly as you honestly can, let it go and move. Patino leaves the bag behind and continues up the creek with just the camera in hand, stripping the session back to its simplest form.
Step 5: Keep Walking, Because the Best Spot Is Often Further In
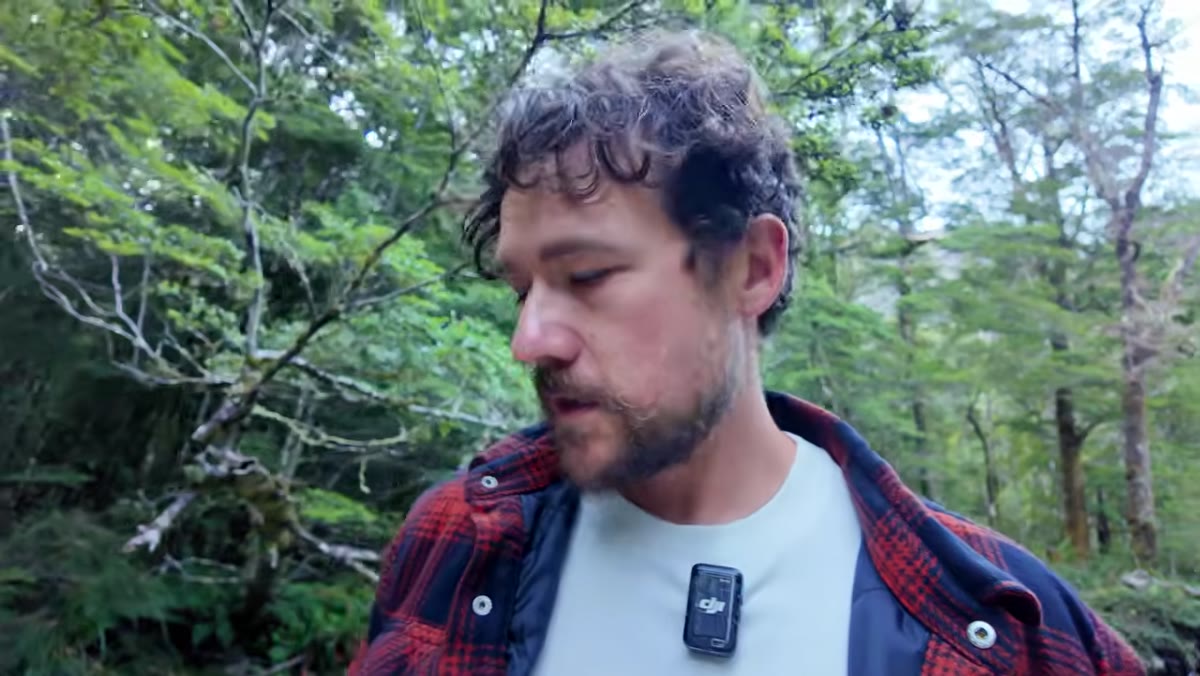 Photographer discovering higher cascade with more volume and moss further upstream
The most instructive moment in the video comes near the end, when Patino follows the creek further upstream and discovers that the scene gets dramatically better the further he goes. More water volume. More greens. More shade and depth from the surrounding ridgeline. He notes they won’t have time to fully explore it today, but the discovery is the point.
Photographer discovering higher cascade with more volume and moss further upstream
The most instructive moment in the video comes near the end, when Patino follows the creek further upstream and discovers that the scene gets dramatically better the further he goes. More water volume. More greens. More shade and depth from the surrounding ridgeline. He notes they won’t have time to fully explore it today, but the discovery is the point.
This is something I have learned repeatedly over two decades: the postcard spot that everyone photographs is usually the first interesting thing visible from the parking area. The real locations, the ones that become your best work, require you to keep walking past the obvious. My own best-selling print came from a two-day fog-soaked misery of a trip where I nearly turned back three times. The image that sold was from the last hour of the last morning, when I finally walked far enough.
Step 6: Let Unplanned Conditions Shape the Work
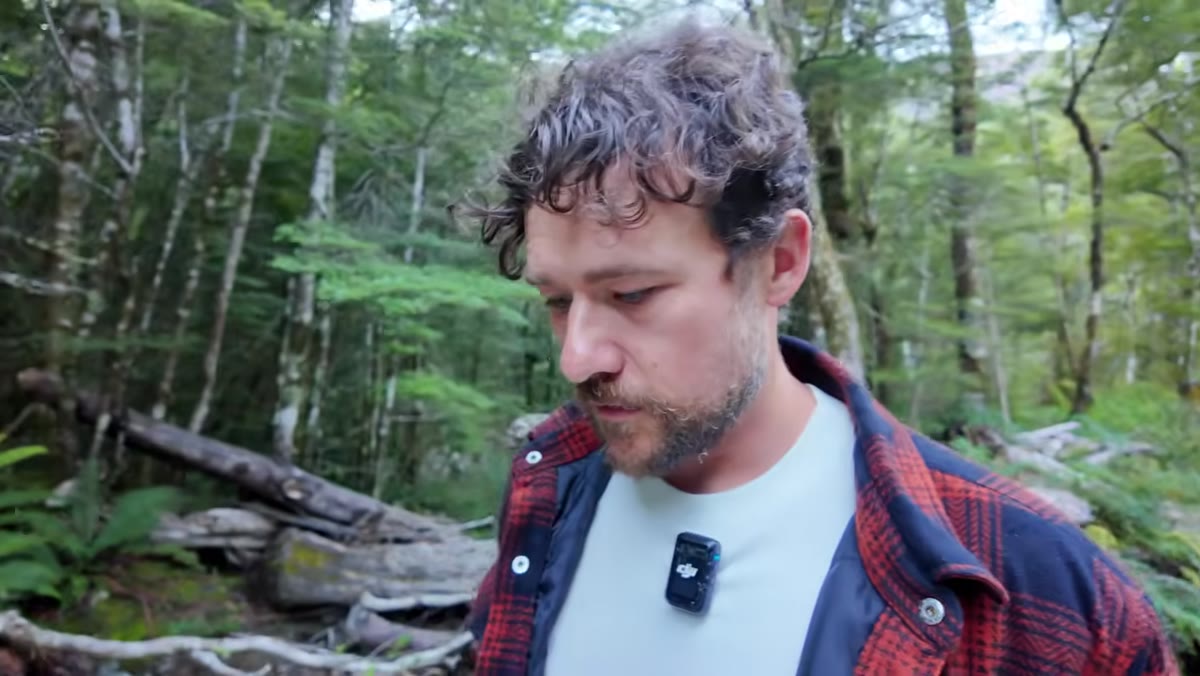 Photographer navigating creek in jeans and boots, moving carefully between trees
Patino is in jeans. No waders, which he jokes are his usual kit near water. He hadn’t planned on being near a stream at all. Rather than treating this as a failure of preparation, he adapts, picks his way carefully along the bank, cuts through the trees, stays light on his feet. The improvisation becomes part of the session’s energy.
Photographer navigating creek in jeans and boots, moving carefully between trees
Patino is in jeans. No waders, which he jokes are his usual kit near water. He hadn’t planned on being near a stream at all. Rather than treating this as a failure of preparation, he adapts, picks his way carefully along the bank, cuts through the trees, stays light on his feet. The improvisation becomes part of the session’s energy.
Conditions will almost never be what you expected. Weather shifts, water levels change, a trail is washed out. The photographers who consistently make strong work are the ones who treat these variables as creative constraints rather than obstacles.
From My Own Practice: The Case for Shooting Without a Shot List
I used to build detailed shot lists before any field session. Sunrise position mapped, focal lengths pre-decided, compositions scouted on satellite imagery. And the images from those trips were technically competent and almost entirely forgettable. The sessions where I’ve made work I’m actually proud of tend to look a lot like what Patino documents here: a vague pull toward a place, some unhurried walking, and the willingness to not know what I’m looking for until I find it.
I still shoot film occasionally, partly for this reason. A roll of 36 frames forces you to slow down and observe before committing. The same discipline applies even when you’re shooting digital: let the scene tell you what it wants to be before you start making decisions for it.
The single most important thing this video teaches is that uncertainty in the field is not a problem to solve. It’s the process itself. Embrace the walk. Follow the creek further than you planned. The frame you’re after is usually just past the point where most people turn around.
Watch the full tutorial on YouTube and watch how Patino moves through the landscape. The camera work is secondary to the mindset on display.
Comments (5)
I've been looking for exactly this kind of tutorial. Perfect timing.
Clear and practical. No fluff. Appreciate that.
Finally someone explains this in a way that actually makes sense.
Applied this to my portfolio shots and the improvement is noticeable.
Love how you break down complex stuff into manageable steps.
Leave a Comment