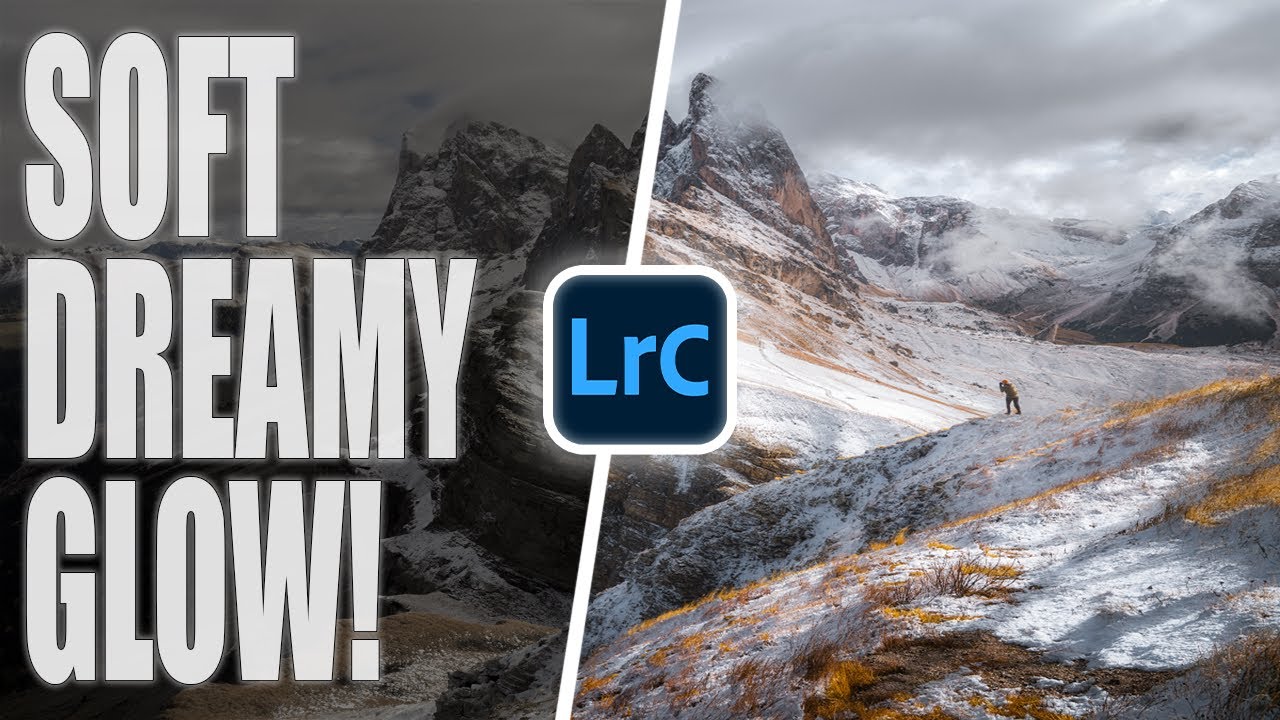
Scroll through any landscape photography feed right now and you’ll spot the Orton effect everywhere - that soft, glowing, almost otherworldly quality that makes a forest or mountain scene feel like it was pulled from a dream. Some of it is overdone to the point of distraction. But when it’s applied with restraint, something interesting happens: the photograph stops looking like a document of a place and starts feeling like an experience of one. I’ve been chasing that quality in my own work for years, mostly through Photoshop workflows that felt unnecessarily complicated for what the effect actually requires.
The standard argument for doing the Orton effect in Photoshop is that it lets you confine the glow to the brighter parts of the image, because that’s how light behaves in the real world. Highlights glow. Shadows don’t. Applying a uniform softening blur across an entire image is how you get that muddy, Instagram-filter look that gives the effect a bad reputation. But in Watch the full tutorial on YouTube, Mark Denney walks through a five-step Lightroom-only process that solves this exact problem - intelligently targeting the effect using luminosity masking right inside Lightroom’s masking panel. I tested it on a series of images from a recent shoot along the Cascades, and it’s now part of my standard editing workflow.
Here’s the full breakdown, with the specific values Mark uses, so you can follow along without pausing the video every thirty seconds.
Step 1: Create a Total Mask Covering the Entire Image
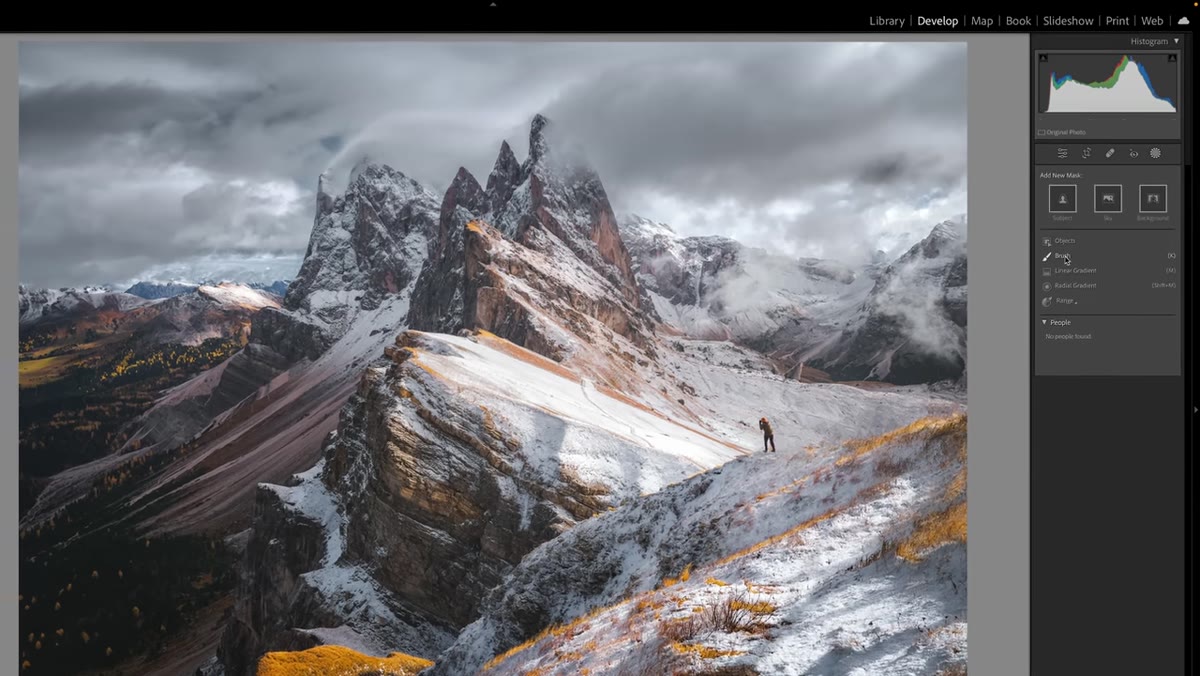 Brush tool covering entire photo with one large stroke
Before any Orton effect settings get applied, you need a mask that covers every pixel of the photograph. Mark calls this a “total mask,” and the method matters. A linear gradient dragged across the frame seems like it would work, but it creates uneven coverage - the top of the image gets full mask density while the bottom tapers off. That uneven application will show up in your final result in ways that are hard to diagnose later.
Brush tool covering entire photo with one large stroke
Before any Orton effect settings get applied, you need a mask that covers every pixel of the photograph. Mark calls this a “total mask,” and the method matters. A linear gradient dragged across the frame seems like it would work, but it creates uneven coverage - the top of the image gets full mask density while the bottom tapers off. That uneven application will show up in your final result in ways that are hard to diagnose later.
The better approach is the adjustment brush. Open the masking panel, select the brush tool, and push the size all the way to 100. Set feather to zero, flow to 100, and density to 100. Your cursor will look comically oversized, but that’s the point. A few broad strokes across the frame and the entire image is covered evenly. This total mask is the foundation - everything else builds on top of it.
Step 2: Add the Glow With Exposure and Contrast Adjustments
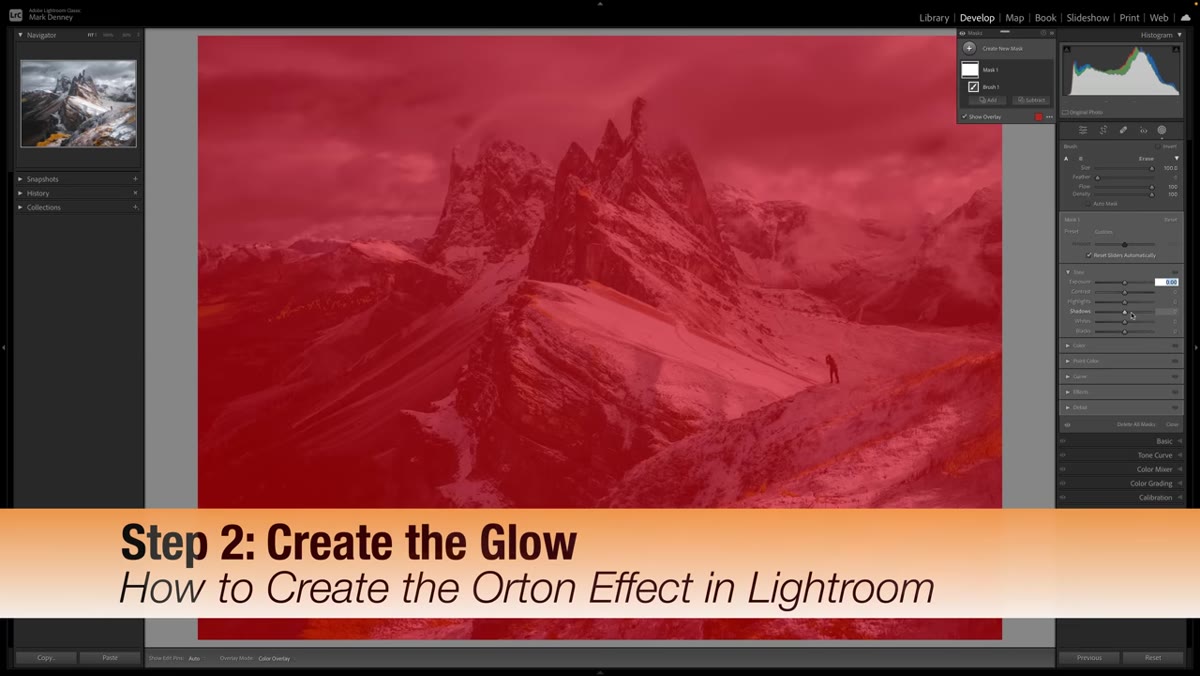 Tone panel showing exposure and highlights sliders adjusted
With the mask active, go to the tone controls inside the mask panel. This is where you build the luminous, glowing quality that defines the Orton effect. Bring exposure up to around plus 0.15 - just enough to lift the overall brightness without blowing anything out. Then push contrast to plus 20, which gives the midtones a bit of punch and prevents the glow from looking flat.
Tone panel showing exposure and highlights sliders adjusted
With the mask active, go to the tone controls inside the mask panel. This is where you build the luminous, glowing quality that defines the Orton effect. Bring exposure up to around plus 0.15 - just enough to lift the overall brightness without blowing anything out. Then push contrast to plus 20, which gives the midtones a bit of punch and prevents the glow from looking flat.
Here’s the counterintuitive part: after lifting the exposure, bring highlights down to minus 25. The logic is straightforward once you think about it. You want areas of the image to feel bright and glowing, but you still need to hold detail in those lighter regions. The exposure lift creates the glow; the highlight reduction keeps it controlled. Toggle the mask on and off to see how much this pair of adjustments is already doing.
Step 3: Apply the Softening With Clarity, Texture, and Dehaze
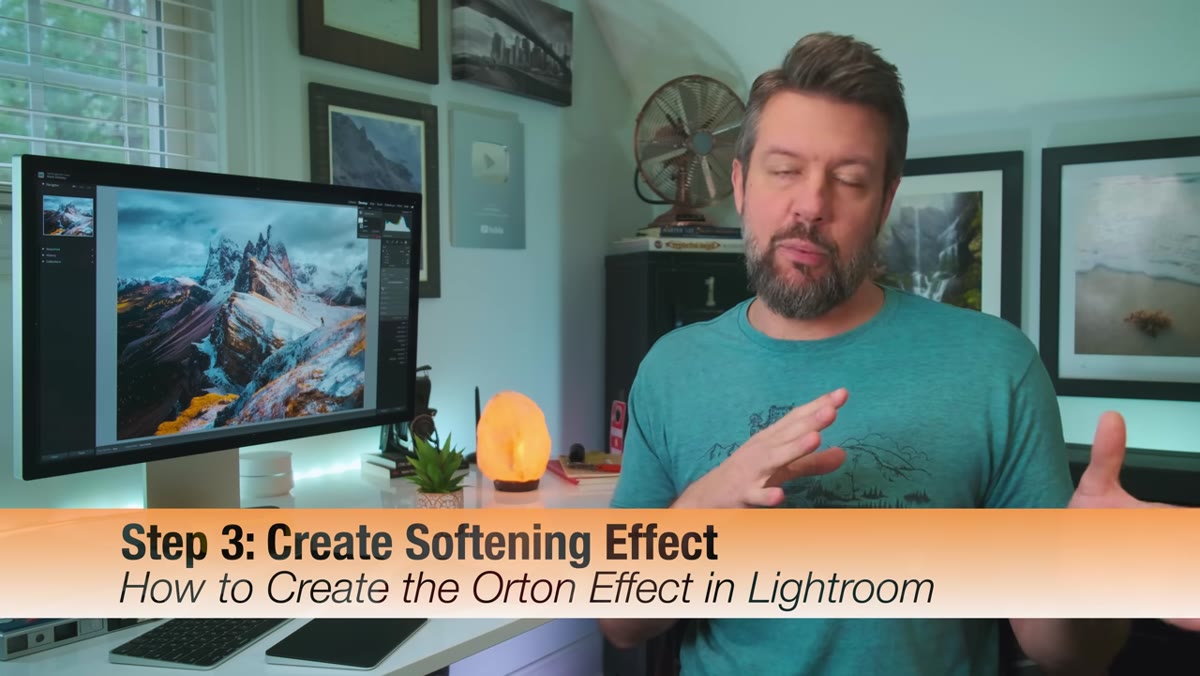 Effects panel with Clarity pulled negative and Dehaze adjusted
Glow alone isn’t the Orton effect - the other half is a softening that gives the image that dreamlike quality. Still working inside the same mask, scroll down to the Effects section. Pull Clarity down to minus 25. This is the primary softening control, and it works by reducing midtone contrast, which creates that signature dreamy feel without destroying edge definition the way a blur would.
Effects panel with Clarity pulled negative and Dehaze adjusted
Glow alone isn’t the Orton effect - the other half is a softening that gives the image that dreamlike quality. Still working inside the same mask, scroll down to the Effects section. Pull Clarity down to minus 25. This is the primary softening control, and it works by reducing midtone contrast, which creates that signature dreamy feel without destroying edge definition the way a blur would.
From there, nudge Texture up to around plus 10. This might seem like it contradicts the softening, but it actually preserves just enough fine detail to keep the image from looking like it was shot through a foggy lens. Finally, bring Dehaze down to around minus 10. A small negative dehaze value adds a faint atmospheric haze that reinforces the glow. Keep it subtle - this slider moves fast, and going too far will make the image look washed out rather than ethereal.
Step 4: Restrict the Effect to Highlights Using Luminance Range
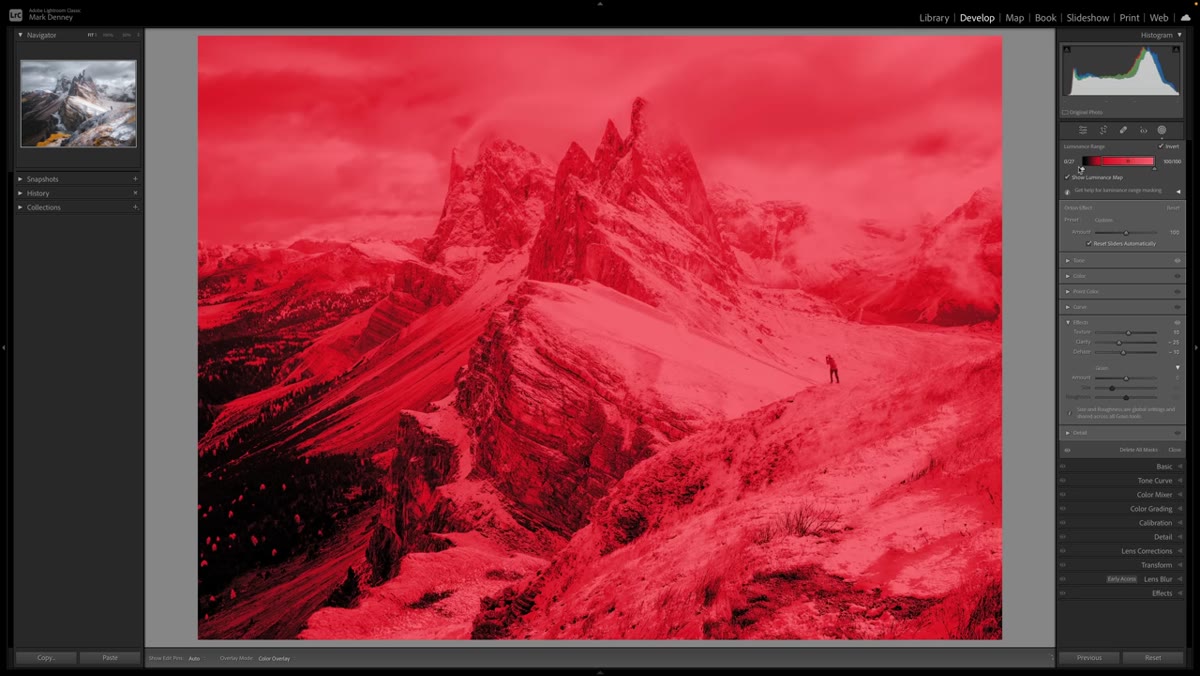
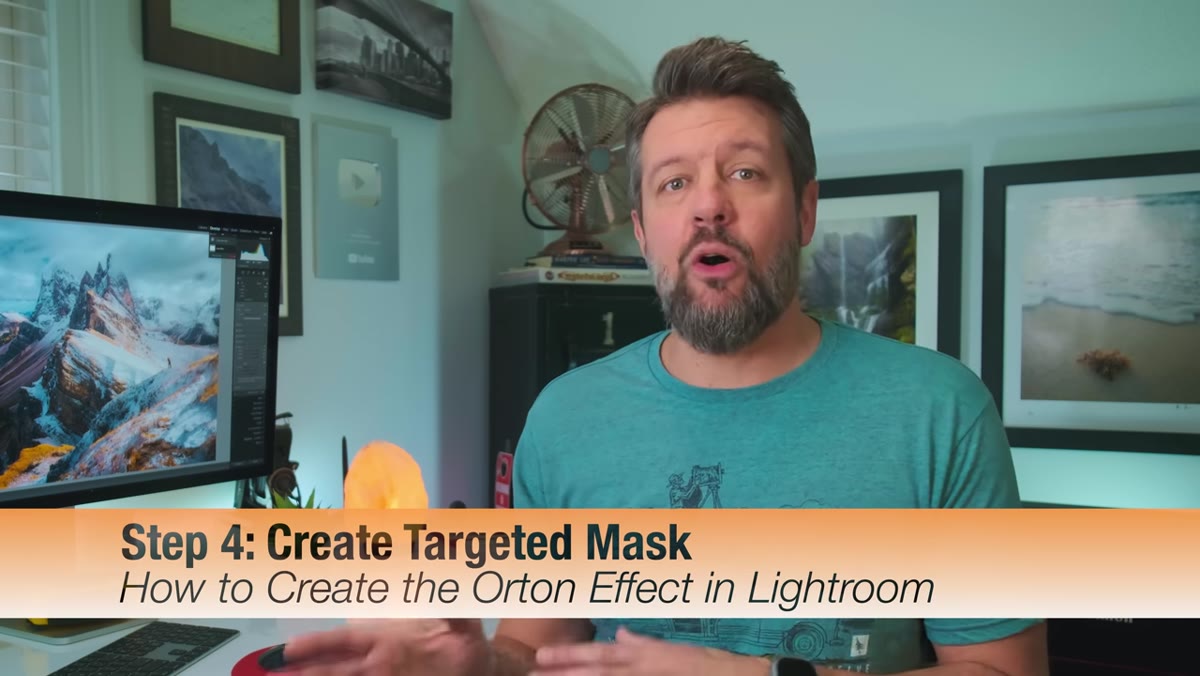 Luminance Range mask refining selection to bright areas only
This is the step that separates a Lightroom Orton effect from a lazy one. Label your mask “Orton Effect” to stay organized, then go into the mask options and add a Luminance Range condition. What this does is tell Lightroom to apply everything you’ve built in the previous steps only to the brighter tonal values in the photograph.
Luminance Range mask refining selection to bright areas only
This is the step that separates a Lightroom Orton effect from a lazy one. Label your mask “Orton Effect” to stay organized, then go into the mask options and add a Luminance Range condition. What this does is tell Lightroom to apply everything you’ve built in the previous steps only to the brighter tonal values in the photograph.
Mark sets his luminance range to target the upper portion of the tonal scale, which means the glow and softening concentrate in the sky, the brighter midtones, and any specular highlights - exactly where your eye expects to see light behaving this way. The shadows stay sharp and grounded. This single step is why the Lightroom workflow produces results that look as intentional as a Photoshop version.
Step 5: Fine-Tune the Smoothness of the Mask Edge
 Smoothness slider being adjusted in luminance range settings
Once the luminance range is set, there’s a smoothness slider that controls how gradually the mask transitions between the areas it affects and the areas it doesn’t. A hard edge at zero will create a visible line where the effect stops, especially in scenes with complex tonal gradations like a misty forest or a sunrise sky. Bring the smoothness up - somewhere in the range of 50 to 75 tends to work well - and the transition becomes seamless.
Smoothness slider being adjusted in luminance range settings
Once the luminance range is set, there’s a smoothness slider that controls how gradually the mask transitions between the areas it affects and the areas it doesn’t. A hard edge at zero will create a visible line where the effect stops, especially in scenes with complex tonal gradations like a misty forest or a sunrise sky. Bring the smoothness up - somewhere in the range of 50 to 75 tends to work well - and the transition becomes seamless.
Toggle the full mask on and off one more time to evaluate the before-and-after. If the effect reads as natural and adds depth without looking processed, you’re done. If it feels heavy-handed, pull the exposure and clarity values back slightly before touching anything else.
A Note From the Field: Less Is Almost Always More
I’ve been making photographs in places like the Cascades and the Oregon coast long enough to know that the strongest images tend to be the ones where the editing serves the memory of being there rather than replacing it. The Orton effect, used at full strength, can overwhelm the actual qualities that made a scene worth photographing in the first place - the coldness of the air, the specific quality of pre-dawn light, the texture of wet rock.
My practice now is to apply this technique and then walk away from the image for at least an hour before exporting. When I come back, I almost always reduce the exposure value inside the mask by ten to fifteen percent. What feels right at the moment of editing often reads as overdone once the excitement of the technique wears off. The mountain doesn’t need help looking dramatic. It just sometimes needs you to get out of its way.
The single most important thing this tutorial taught me is that the luminance range restriction is not optional - it’s the whole technique. Without it, you’re just applying a softening filter to every tonal value equally, which flattens depth rather than adding it. With it, you’re working the way light actually works.
Watch the full tutorial on YouTube to see Mark walk through the complete process on his Dolomites image, including the before-and-after toggles that make the effect’s impact immediately clear.
Comments
Leave a Comment