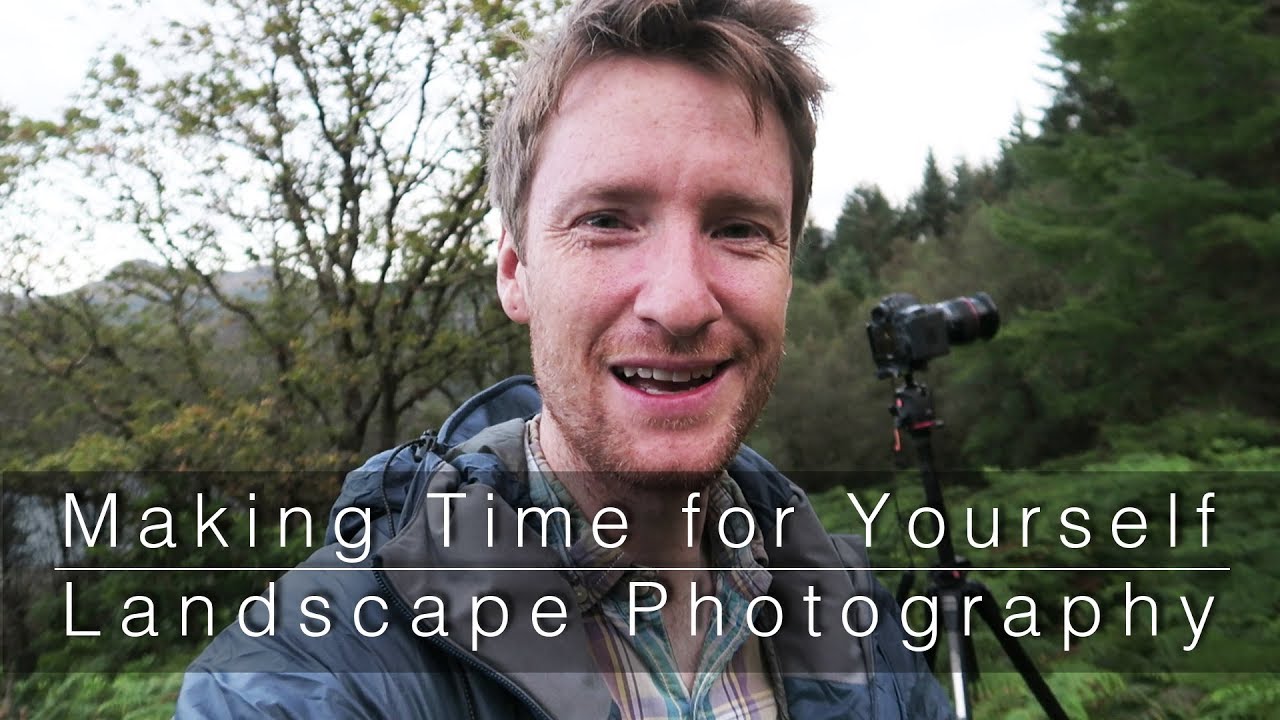
There’s a version of landscape photography that lives entirely in spreadsheets. Planned shoots, researched locations, golden hour alarm clocks, weather apps checked three times a day. I know that version well. I’ve been living it for twenty years, and it produces results. But it can also calcify your vision if you let it. You start confusing preparation with seeing, and those are two very different skills.
Watch the full tutorial on YouTube
In this Thomas Heaton tutorial, he’s in Scotland on a family fishing trip, not a photography expedition, and he finds himself with a spare hour before sunset. No research. No location scouting. Sketchers on his feet, apparently. He grabs his camera, spots a sign for a woodland walk, and goes. What follows is one of the most practically useful demonstrations of field instinct I’ve seen from another working photographer, precisely because nothing goes according to plan and he finds a compelling image anyway. What he’s actually teaching, underneath the casual tone, is how to think when the conditions aren’t ideal and the clock is running.
Step 1: Commit to Going Even When Conditions Are Imperfect
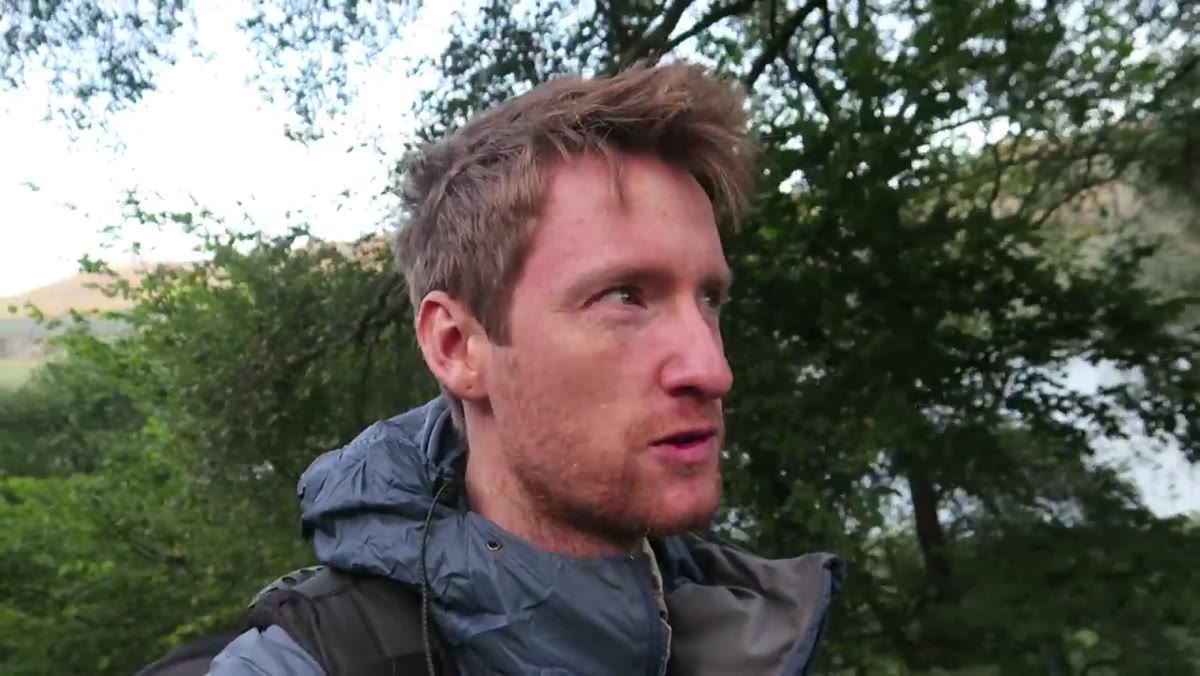 Heaton walking into woodland with camera, low warm light
The first move Heaton makes is also the one most photographers skip: he goes. The weather is closing in, he has less than an hour, and he has no idea what the woodland holds. He goes anyway. This matters more than it sounds. I can’t count the number of shoots I’ve talked myself out of because the forecast wasn’t perfect or I didn’t have time to do it “properly.” But the camera you bring on an imperfect afternoon beats the camera sitting in the bag at home every single time. Pack your kit. Wear real shoes. Go.
Heaton walking into woodland with camera, low warm light
The first move Heaton makes is also the one most photographers skip: he goes. The weather is closing in, he has less than an hour, and he has no idea what the woodland holds. He goes anyway. This matters more than it sounds. I can’t count the number of shoots I’ve talked myself out of because the forecast wasn’t perfect or I didn’t have time to do it “properly.” But the camera you bring on an imperfect afternoon beats the camera sitting in the bag at home every single time. Pack your kit. Wear real shoes. Go.
Step 2: Walk First, Shoot Second
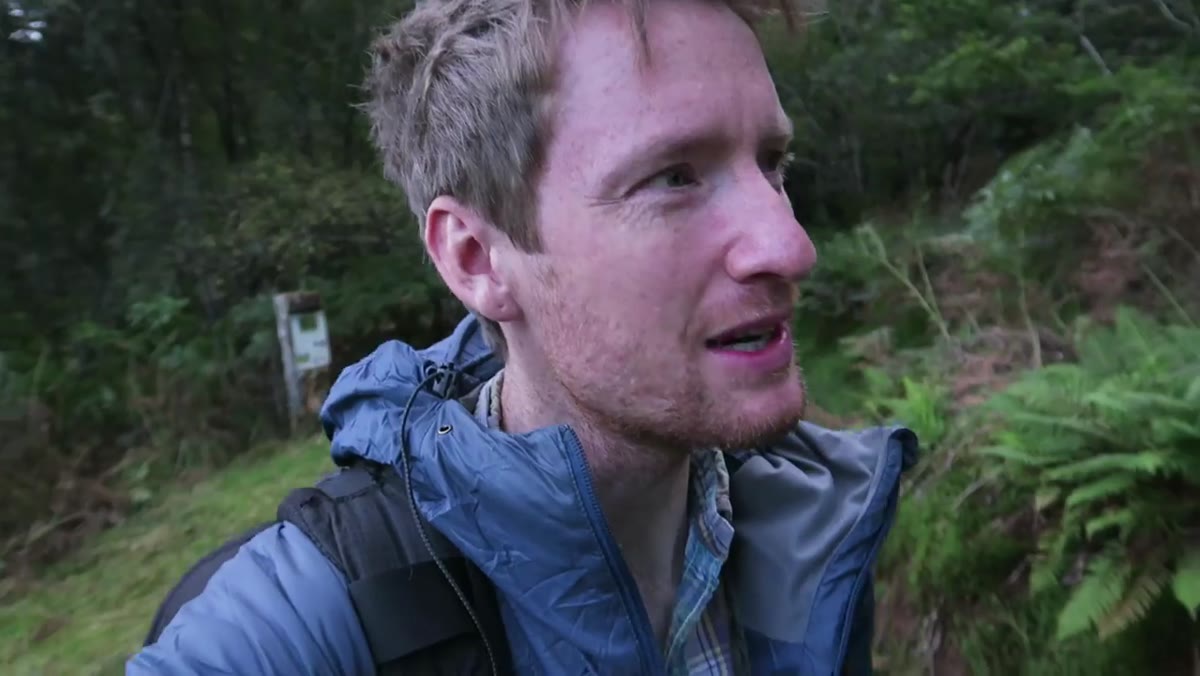 Heaton moving through woodland, scanning surroundings, camera at his side
Heaton doesn’t lift the camera when he enters the woodland. He walks. He’s scanning with his eyes, letting his brain register shapes, light, and color before committing to a frame. This is a discipline worth practicing deliberately, especially on unfamiliar ground. When I’m working a new location, I give myself a hard rule: no camera up for the first ten minutes. Walk the scene, turn around and look back the way you came, note where the light is falling and where it isn’t. Your first instinct on an unfamiliar trail is usually to photograph the first interesting thing you see, which is rarely the best thing available.
Heaton moving through woodland, scanning surroundings, camera at his side
Heaton doesn’t lift the camera when he enters the woodland. He walks. He’s scanning with his eyes, letting his brain register shapes, light, and color before committing to a frame. This is a discipline worth practicing deliberately, especially on unfamiliar ground. When I’m working a new location, I give myself a hard rule: no camera up for the first ten minutes. Walk the scene, turn around and look back the way you came, note where the light is falling and where it isn’t. Your first instinct on an unfamiliar trail is usually to photograph the first interesting thing you see, which is rarely the best thing available.
Step 3: Accept the Gap Between What You Expected and What’s There
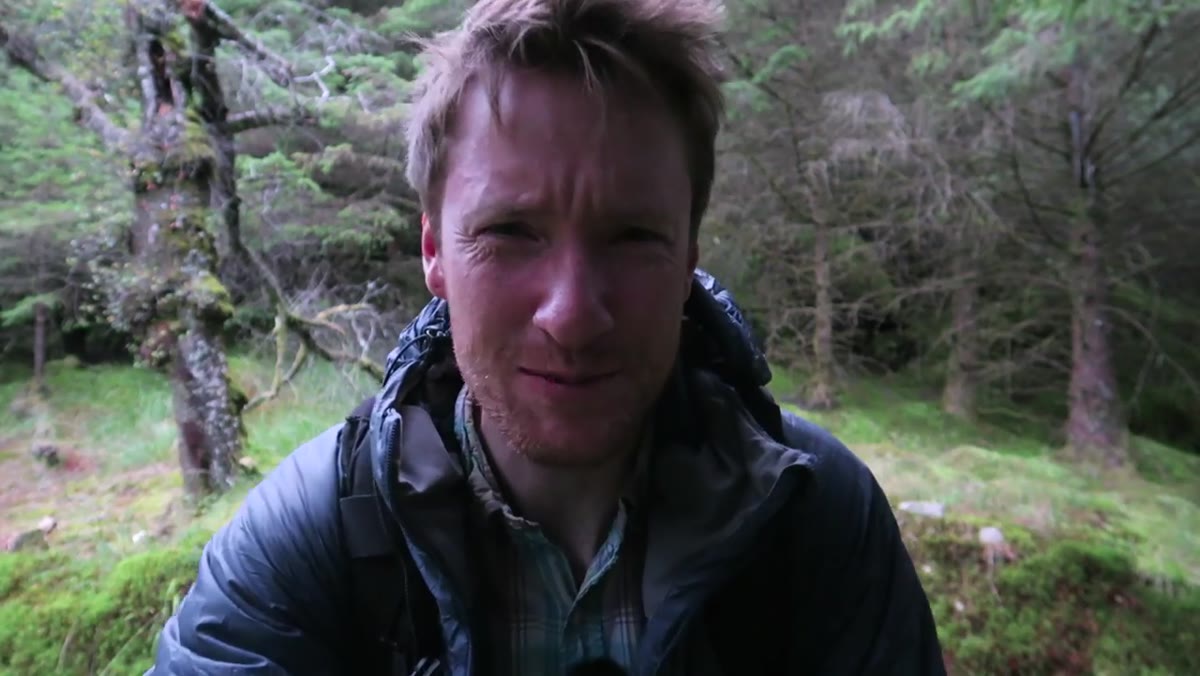 Heaton looking at green woodland, noting absence of autumn color
Heaton had spotted autumn color from the car window while driving and assumed the woodland would deliver the same. It doesn’t. It’s still largely green. Rather than calling the session a failure, he recalibrates. This is the skill that separates photographers who grow from photographers who stagnate. The location owes you nothing. When I was early in my career, a mentor told me something I’ve carried ever since: the mountain doesn’t care about your schedule. Neither does the light, the color, or the weather. Your job is to respond to what’s in front of you, not to the image you rehearsed in your head on the drive over.
Heaton looking at green woodland, noting absence of autumn color
Heaton had spotted autumn color from the car window while driving and assumed the woodland would deliver the same. It doesn’t. It’s still largely green. Rather than calling the session a failure, he recalibrates. This is the skill that separates photographers who grow from photographers who stagnate. The location owes you nothing. When I was early in my career, a mentor told me something I’ve carried ever since: the mountain doesn’t care about your schedule. Neither does the light, the color, or the weather. Your job is to respond to what’s in front of you, not to the image you rehearsed in your head on the drive over.
Step 4: Search for a Single Strong Subject
 Heaton walking trail, actively scanning for subject matter
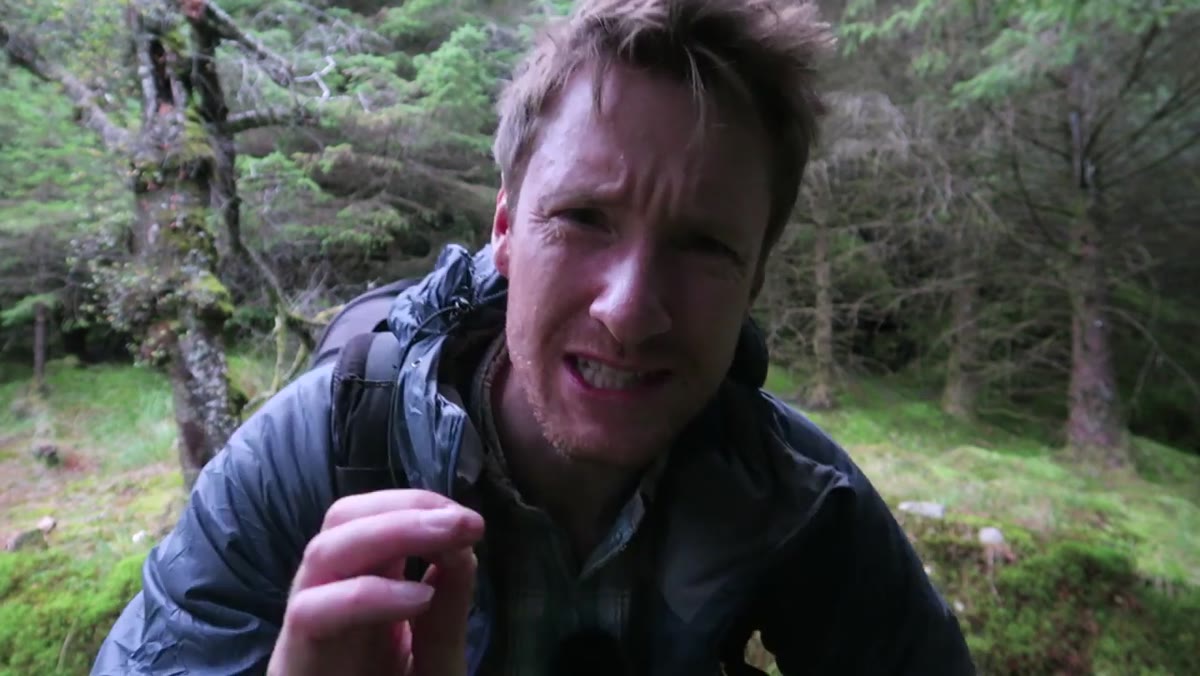
With 45 minutes left and the light fading, Heaton narrows his thinking to one question: what is my subject? Not a scene, not a mood, a subject. He’s looking for contrast, a point of color, something with enough visual weight to anchor a frame. On time-constrained shoots, this focus is essential. Trying to capture a sweeping composition from scratch in under an hour is a setup for frustration. One strong, specific subject gives you something to build around and something to walk away with. If you find it with thirty minutes to spare, great. If you find it with ten, you can still make a photograph worth keeping.
Heaton walking trail, actively scanning for subject matter
With 45 minutes left and the light fading, Heaton narrows his thinking to one question: what is my subject? Not a scene, not a mood, a subject. He’s looking for contrast, a point of color, something with enough visual weight to anchor a frame. On time-constrained shoots, this focus is essential. Trying to capture a sweeping composition from scratch in under an hour is a setup for frustration. One strong, specific subject gives you something to build around and something to walk away with. If you find it with thirty minutes to spare, great. If you find it with ten, you can still make a photograph worth keeping.
Step 5: Use Shallow Depth of Field to Create Context Without Clutter
 Heaton examining tree with red berries, silver birch visible behind
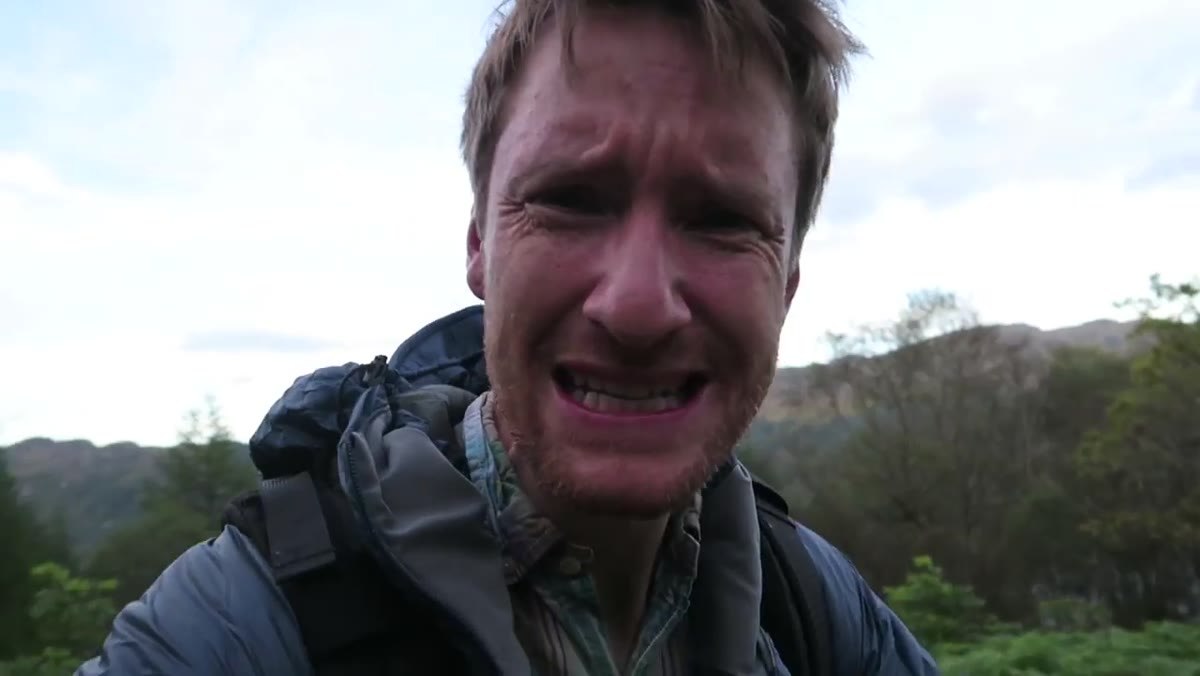
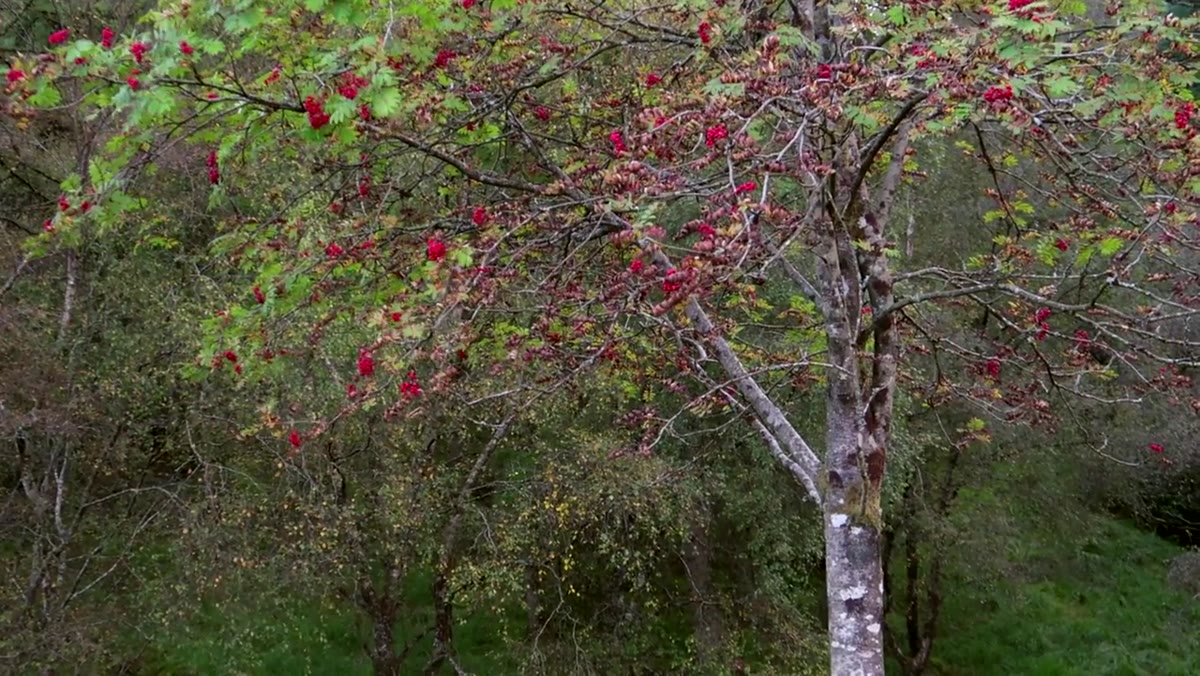
When Heaton finds his subject, a tree beginning to turn with vivid berries in the foreground and silver birch trees going golden behind it, he immediately thinks in terms of depth of field. He wants to shoot wide open, pulling the background birch into soft gold and letting the berries stay sharp in the foreground. The technical instinct here is sound: when your environment is visually busy but you’ve found one strong element, a shallow depth of field lets you acknowledge the surroundings without being overwhelmed by them. In practice, this means shooting at f/2.8 or wider if your lens allows, getting physically close to your primary subject, and letting the background go painterly rather than literal. The image becomes an impression of a woodland in early autumn rather than a document of it.
Heaton examining tree with red berries, silver birch visible behind
When Heaton finds his subject, a tree beginning to turn with vivid berries in the foreground and silver birch trees going golden behind it, he immediately thinks in terms of depth of field. He wants to shoot wide open, pulling the background birch into soft gold and letting the berries stay sharp in the foreground. The technical instinct here is sound: when your environment is visually busy but you’ve found one strong element, a shallow depth of field lets you acknowledge the surroundings without being overwhelmed by them. In practice, this means shooting at f/2.8 or wider if your lens allows, getting physically close to your primary subject, and letting the background go painterly rather than literal. The image becomes an impression of a woodland in early autumn rather than a document of it.
Step 6: Crop Intentionally to Reinforce the Subject
 Heaton discussing tight crop on the berry-covered tree
Heaton’s plan for the image includes a relatively tight crop on the berry-laden tree, removing distracting edges and keeping the viewer’s attention locked on the color and texture he wants to emphasize. This is a decision you can make in-camera by zooming your feet rather than your lens: move closer, reframe, eliminate what isn’t serving the image. Don’t leave the cropping work entirely for post-processing. Getting closer forces you to really commit to a subject and understand what drew you to it in the first place.
Heaton discussing tight crop on the berry-covered tree
Heaton’s plan for the image includes a relatively tight crop on the berry-laden tree, removing distracting edges and keeping the viewer’s attention locked on the color and texture he wants to emphasize. This is a decision you can make in-camera by zooming your feet rather than your lens: move closer, reframe, eliminate what isn’t serving the image. Don’t leave the cropping work entirely for post-processing. Getting closer forces you to really commit to a subject and understand what drew you to it in the first place.
What I’d Add From My Own Time in the Field
The one thing Heaton doesn’t address directly, probably because he’s racing against the light, is what to do when you come home empty-handed from a shoot like this. And sometimes you do. I’ve had spontaneous sessions where the woodland was green, flat, and featureless all the way through, and I walked back to the car with nothing I’d ever show anyone. The temptation is to write those outings off as wasted time. They aren’t. Every walk you take in a landscape with a camera in your hand is calibrating your eye. You’re learning how light moves through that kind of terrain, what time of day produces usable color, how far you can get from a car park before the character of a place changes. That knowledge doesn’t show up on a memory card, but it shows up in your work six months later when you return to a similar location and immediately know where to look.
The core lesson in what Heaton demonstrates here is this: the habit of going, even without a plan and even without ideal conditions, is more important to your long-term development as a landscape photographer than any single technically perfect shoot. Grab the camera. Find the hour. See what’s there.
Watch the full tutorial on YouTube and pay particular attention to how quickly Heaton shifts from frustration at the lack of autumn color to genuine excitement about what he actually found. That mental pivot is the whole tutorial.
Comments (3)
Great breakdown. The step-by-step approach really helps.
Applied this to my portfolio shots and the improvement is noticeable.
Couldn't agree more. I've seen this make a huge difference in lighting work specifically.
Leave a Comment