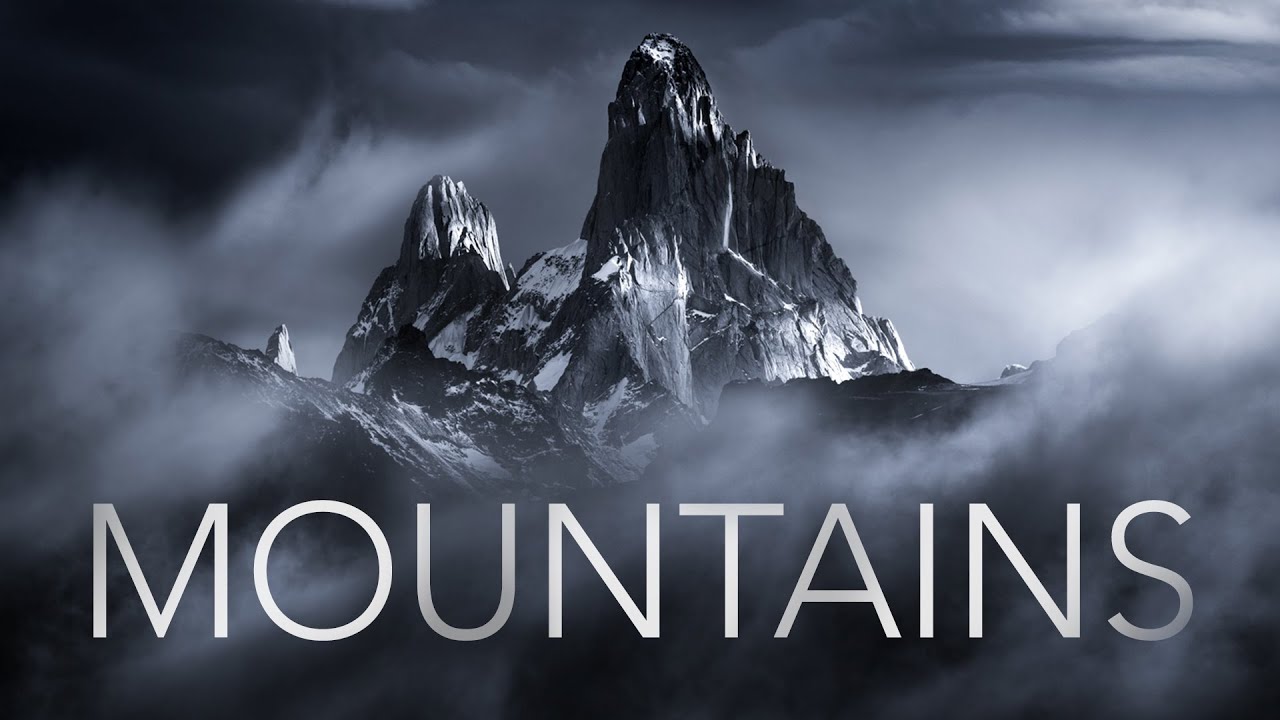
There’s a particular kind of frustration that comes from standing in front of a jaw-dropping mountain scene and knowing, somewhere in the back of your mind, that your images aren’t going to do it justice. I’ve been shooting landscapes full-time for two decades and I still wrestle with it. Mountains are humbling that way. The scale defies a single frame. The light moves faster than you expect. And the lens you grabbed first is usually the wrong one. So when I came across Watch the full tutorial on YouTube by William Patino, a New Zealand-based landscape photographer who has spent the better part of a decade making mountain imagery his life’s work, I found myself nodding along at things I know to be true but don’t always execute consistently.
What Patino does well is cut through the noise. He doesn’t talk in abstractions. He talks about what’s in his bag, why it’s there, and what decision he makes when he arrives at a location. That clarity is genuinely useful. Whether you’re planning your first trip to the Cascades or your fifteenth, the framework he lays out gives you a way to approach mountain scenes that is flexible enough to hold up across wildly different conditions.
Step 1: Commit to Carrying All Three Core Lenses
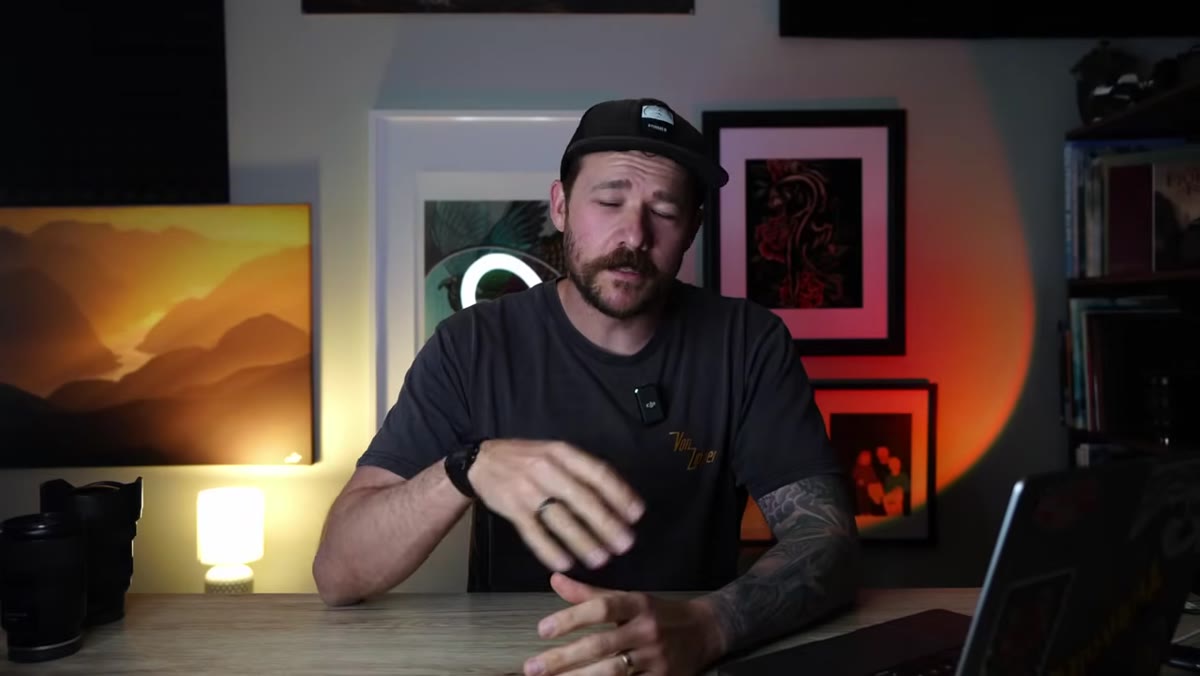 Patino introducing the “big three” lens categories
The first and most important decision happens before you leave the car. Patino is emphatic: bring the ultra-wide, the mid-range, and the telephoto. All three. Not one as a compromise, not two if you’re feeling lazy. Mountains are unpredictable in ways that reward versatility. The light at the same location will call for completely different glass depending on atmosphere, cloud movement, and where you’re physically standing. I’ve hiked to the same ridge above Bend three times and used a different primary lens each trip. If I’d left one behind, I’d have missed the shot that made that trip worth it.
Patino introducing the “big three” lens categories
The first and most important decision happens before you leave the car. Patino is emphatic: bring the ultra-wide, the mid-range, and the telephoto. All three. Not one as a compromise, not two if you’re feeling lazy. Mountains are unpredictable in ways that reward versatility. The light at the same location will call for completely different glass depending on atmosphere, cloud movement, and where you’re physically standing. I’ve hiked to the same ridge above Bend three times and used a different primary lens each trip. If I’d left one behind, I’d have missed the shot that made that trip worth it.
If you’re forced to choose just one, Patino leans toward the ultra-wide, and I understand that instinct. But his more important point is that telephoto lenses become essential the moment atmosphere enters the scene. Mist, snow drift, layers of ridgelines fading into haze. That’s when the long glass earns its weight.
Step 2: Use the Ultra-Wide to Build Layered Depth
 Wide angle lens framing with foreground, midground, mountain background
The ultra-wide angle lens is not just about fitting more mountain into the frame. That’s the beginner mistake. Patino’s actual use for it is incorporating the surrounding environment as a full participant in the composition. Foreground, midground, background, each layer doing a job. In his case, that often means the lush rainforest of New Zealand’s Fiordland pressed against a glaciated peak. In the American West, it might be a sage meadow or a frozen lake. The content changes. The logic doesn’t.
Wide angle lens framing with foreground, midground, mountain background
The ultra-wide angle lens is not just about fitting more mountain into the frame. That’s the beginner mistake. Patino’s actual use for it is incorporating the surrounding environment as a full participant in the composition. Foreground, midground, background, each layer doing a job. In his case, that often means the lush rainforest of New Zealand’s Fiordland pressed against a glaciated peak. In the American West, it might be a sage meadow or a frozen lake. The content changes. The logic doesn’t.
His key compositional principle here is diminishing perspective. Get physically close to your foreground subject, close enough that it feels almost uncomfortably near. When you do, the ultra-wide stretches and exaggerates that foreground element, making it appear large in the frame. Everything beyond it naturally compresses and recedes. That size differential is what creates the illusion of three-dimensionality in a flat photograph. The eye reads near versus far, and suddenly the image has depth. Position the mountains centrally in the background, use your foreground as either a natural frame or a leading element, and let the viewer’s eye travel through the layers toward the peak.
Step 3: Switch to a Mid-Range Lens to Reflect Human Scale
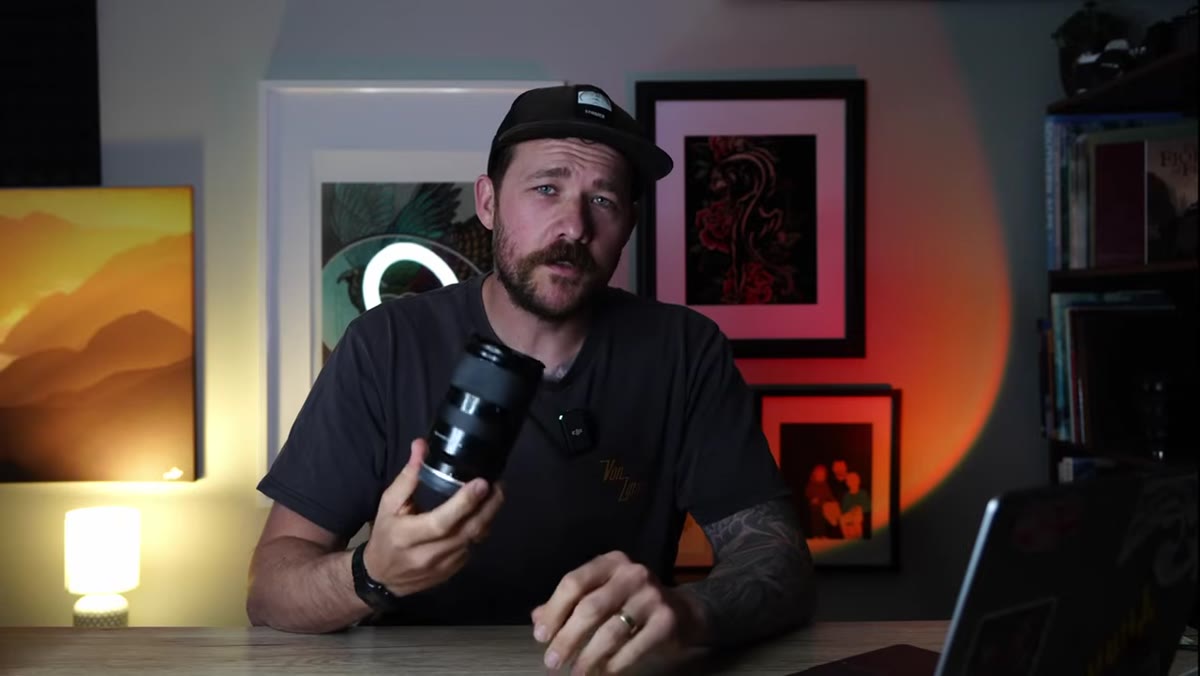 Mid-range lens used to reflect human eye perspective on mountains
One limitation of the ultra-wide that Patino calls out directly: it can make mountains look smaller than they actually felt in person. The wide field of view is doing its job of capturing everything, but the mountain in the frame loses some of its authority. This is where the mid-range lens, something in the 24-70mm or 24-105mm range, becomes the more honest tool. Focal lengths in that range more closely mirror how the human eye perceives a scene, which means the mountain reads with more visual weight and presence.
Mid-range lens used to reflect human eye perspective on mountains
One limitation of the ultra-wide that Patino calls out directly: it can make mountains look smaller than they actually felt in person. The wide field of view is doing its job of capturing everything, but the mountain in the frame loses some of its authority. This is where the mid-range lens, something in the 24-70mm or 24-105mm range, becomes the more honest tool. Focal lengths in that range more closely mirror how the human eye perceives a scene, which means the mountain reads with more visual weight and presence.
When I’m working a location and the foreground interest is limited, or I simply want the mountain to anchor the frame with confidence, this is the lens I reach for. It strips away the compositional scaffolding and puts the emphasis back on the subject itself. Not every image needs a story of layers. Sometimes the mountain is enough.
Step 4: Reach for the Telephoto When Atmosphere Arrives
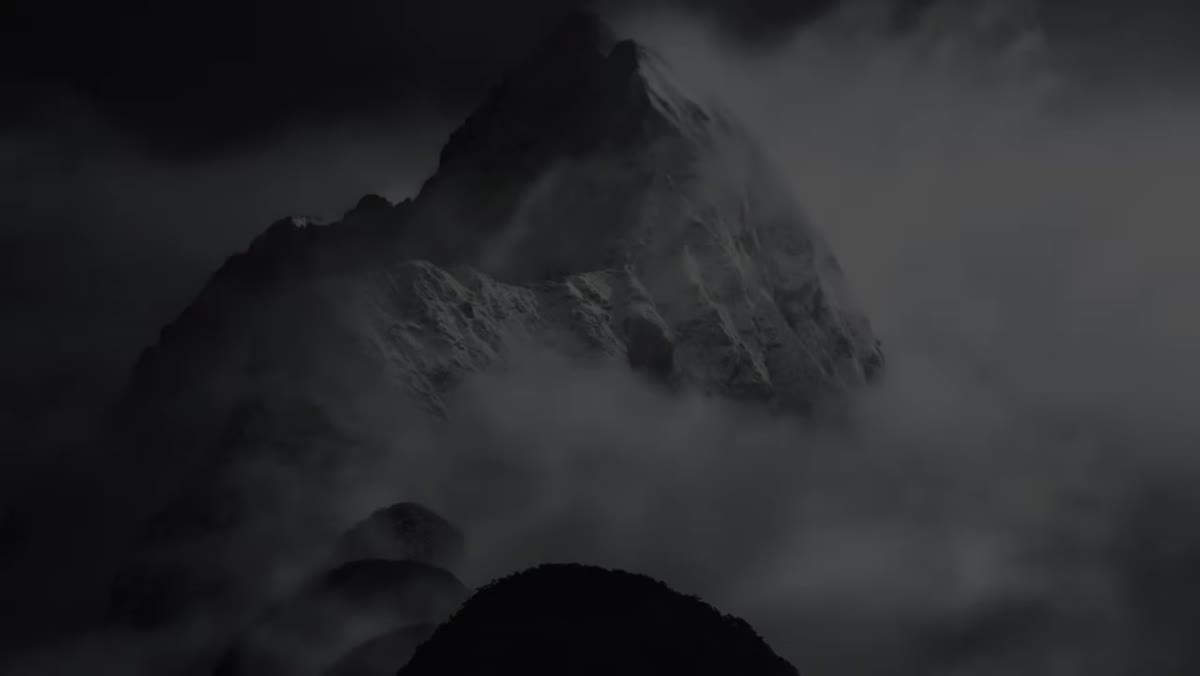 Long telephoto lens isolating layers and atmospheric mountain detail
This is the step most photographers underutilize, and Patino makes the case for it better than almost anyone I’ve heard. A 100-400mm or 70-200mm lens allows you to isolate specific features of the mountain, a single snow-covered ridgeline, the way a cloud is draped across a summit, the warm glow catching one face while everything else stays blue. You’re not capturing the mountain anymore. You’re editing it down to its most compelling detail.
Long telephoto lens isolating layers and atmospheric mountain detail
This is the step most photographers underutilize, and Patino makes the case for it better than almost anyone I’ve heard. A 100-400mm or 70-200mm lens allows you to isolate specific features of the mountain, a single snow-covered ridgeline, the way a cloud is draped across a summit, the warm glow catching one face while everything else stays blue. You’re not capturing the mountain anymore. You’re editing it down to its most compelling detail.
The atmosphere point is critical. When there’s mist, layered fog, or drifting snow between you and the peaks, the telephoto lens is the only one that can compress that space and stack those atmospheric layers into a single frame. That kind of image doesn’t happen with a wide angle. The compression is what makes it work. I’ve watched fog roll into a valley at sunrise and completely ignored it with my wide angle mounted, only to realize ten minutes later that my 100-400mm would have turned those drifting layers into something extraordinary. Don’t let conditions like that pass without picking up the long glass.
Step 5: Match Your Lens Choice to the Conditions, Not to Habit
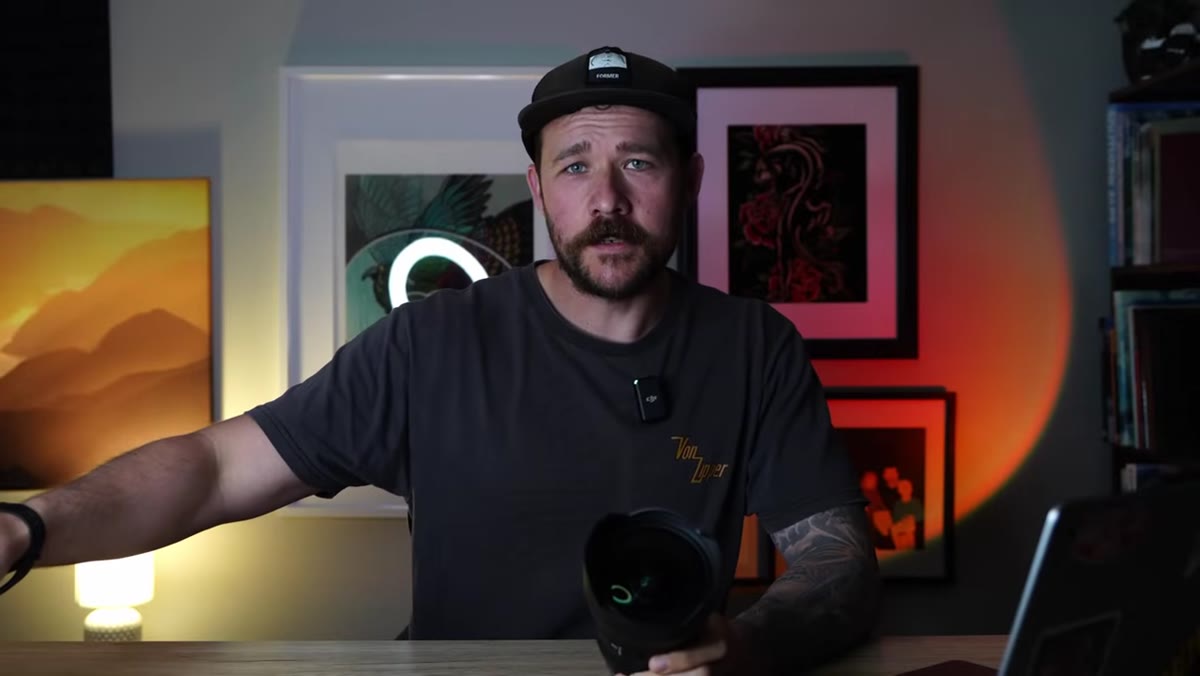 Multiple lenses laid out, reinforcing having all three available in the field
Patino’s broader framework, and I think this is the actual lesson underneath all the gear talk, is that arriving at a mountain location with one fixed idea of how you’ll shoot it is the fastest way to come home disappointed. The conditions dictate the tool. When he arrives, he’s reading the scene: Is there rich foreground? Wide angle. Does the mountain need to dominate the frame? Mid-range. Is there atmosphere I can compress and layer? Telephoto. That’s a decision tree, not a fixed plan.
Multiple lenses laid out, reinforcing having all three available in the field
Patino’s broader framework, and I think this is the actual lesson underneath all the gear talk, is that arriving at a mountain location with one fixed idea of how you’ll shoot it is the fastest way to come home disappointed. The conditions dictate the tool. When he arrives, he’s reading the scene: Is there rich foreground? Wide angle. Does the mountain need to dominate the frame? Mid-range. Is there atmosphere I can compress and layer? Telephoto. That’s a decision tree, not a fixed plan.
A mentor of mine used to say the mountain doesn’t care about your schedule. It doesn’t perform on cue. What you can control is being prepared, patient, and honest about what the scene is actually offering rather than what you hoped it would offer.
What I’d Add From My Own Experience
The one thing Patino’s tutorial doesn’t address, understandably, given the scope, is the value of arriving early enough to walk the location before you set up. I spend the first fifteen or twenty minutes at any mountain location just looking. No camera out. I’m identifying the strongest foreground anchors, reading where the light is going to move, and deciding which lens will do the most useful work before the best light arrives. By the time golden hour hits, I’m not making compositional decisions. I’m executing ones I already made. That preparation collapses the gap between what the scene offers and what you’re able to capture.
The single most transferable idea in Patino’s tutorial is this: each lens tells a different story about the same mountain. The ultra-wide tells the story of place and environment. The mid-range tells the story of the mountain as the eye sees it. The telephoto tells the story of light, atmosphere, and detail. Know which story you want to tell before you press the shutter, and then choose the tool accordingly.
Watch the full tutorial on YouTube to see Patino walk through these ideas with his own images and locations. His perspective on Fiordland in particular is worth the time.
Comments (1)
Wow, I had no idea you could do this. Mind blown.
Leave a Comment