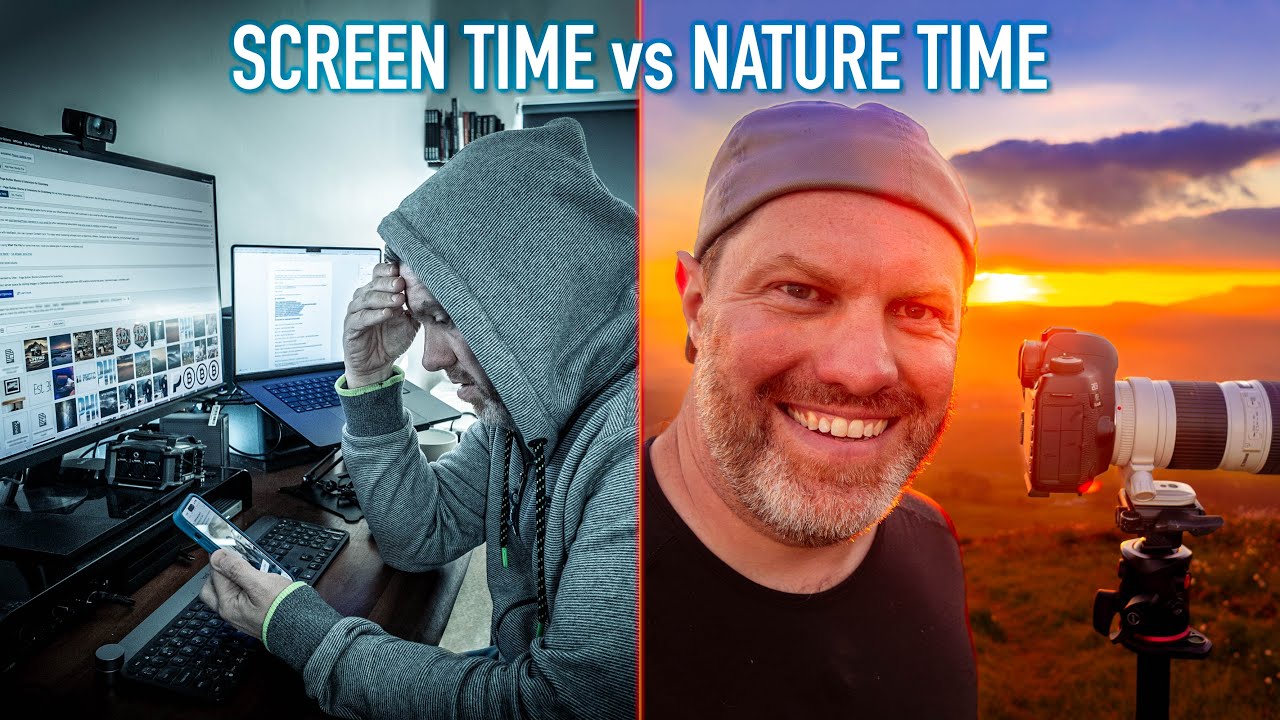
There is a number I keep coming back to: seven hours. That is the average amount of time people spend looking at screens each day. I know photographers who spend that long editing, scrolling for inspiration, or arguing in comment sections about gear they will never buy. I spent years doing some version of that myself, and I can tell you with some certainty that none of it made me a better photographer or a happier person. What actually moved the needle, every single time, was picking up a camera and walking into the woods. In this First Man Photography tutorial, the creator walks through exactly that idea, filmed during a cold, windy autumn woodland shoot. The video is part practical field guide, part honest conversation about why we go out at all.
What struck me most watching it was how closely his thinking mirrors something a mentor told me years ago: the mountain doesn’t care about your schedule. The problems that feel enormous online, the arguments, the algorithm anxiety, the endless comparison, dissolve the moment you are standing in front of something real. This tutorial is worth your time not just for the technical content, which is genuinely useful, but because it frames the act of going out to shoot as something with stakes beyond the image file. Here is what the video covers, broken down for the field.
Step 1: Get Outside Before You Have a Plan
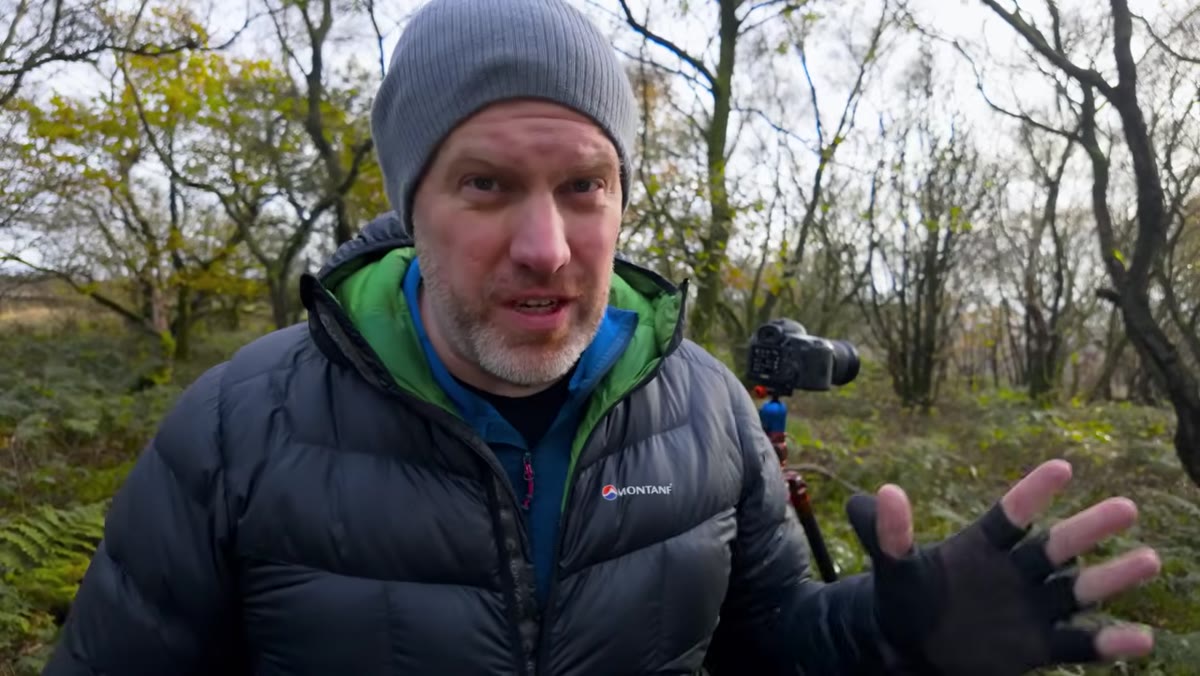 Photographer setting up tripod among moss-covered woodland trees
The first thing you notice in the video is that the creator is already set up and reacting to what he finds, not executing a storyboarded shot list. He sees moss-covered trees with autumnal leaves in the background and responds to them. This sounds obvious but it is the opposite of how a lot of photographers approach a shoot after spending time deep in social media. Scrolling feeds full of heavily processed images creates a mental template you then go looking for in real life, and real life rarely cooperates.
Photographer setting up tripod among moss-covered woodland trees
The first thing you notice in the video is that the creator is already set up and reacting to what he finds, not executing a storyboarded shot list. He sees moss-covered trees with autumnal leaves in the background and responds to them. This sounds obvious but it is the opposite of how a lot of photographers approach a shoot after spending time deep in social media. Scrolling feeds full of heavily processed images creates a mental template you then go looking for in real life, and real life rarely cooperates.
Go out with a general intention, a forest, a coastline, a field at dawn, but leave room for the scene to tell you what it wants. I shoot a two-second timer almost by habit now because it forces a half-second of stillness between my decision and the shutter firing. That pause is where the real composition happens.
Step 2: Recognize the Psychological Reset as Part of the Process
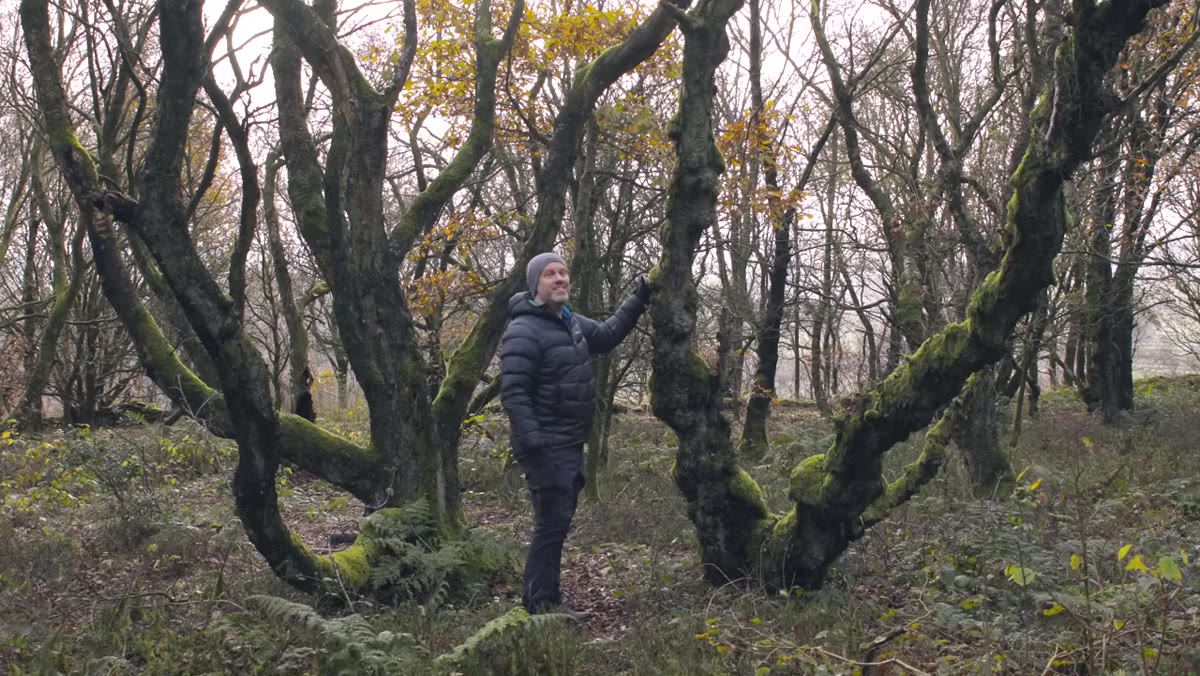 Creator speaking to camera with woodland backdrop, autumn color visible
The creator is explicit about something most photography tutorials skip entirely: getting outside is not just a means to an end image. It is a reset. He describes quitting social media and then experiencing how irrelevant a lot of online noise became once he was standing in a place like this. That is not a soft, feel-good aside. It is practical information about the mental state that produces good photography.
Creator speaking to camera with woodland backdrop, autumn color visible
The creator is explicit about something most photography tutorials skip entirely: getting outside is not just a means to an end image. It is a reset. He describes quitting social media and then experiencing how irrelevant a lot of online noise became once he was standing in a place like this. That is not a soft, feel-good aside. It is practical information about the mental state that produces good photography.
When I wake up at 4am and drive out to a location, the first twenty minutes are not spent composing. They are spent arriving, mentally. Letting the place exist before I try to photograph it. The creators who consistently make strong landscape work are not the ones with the best gear. They are the ones who have trained themselves to actually be present in a location, and that presence is impossible when your head is still full of whatever you were doomscrolling an hour earlier.
Step 3: Read the Conditions Honestly Before Choosing a Technique
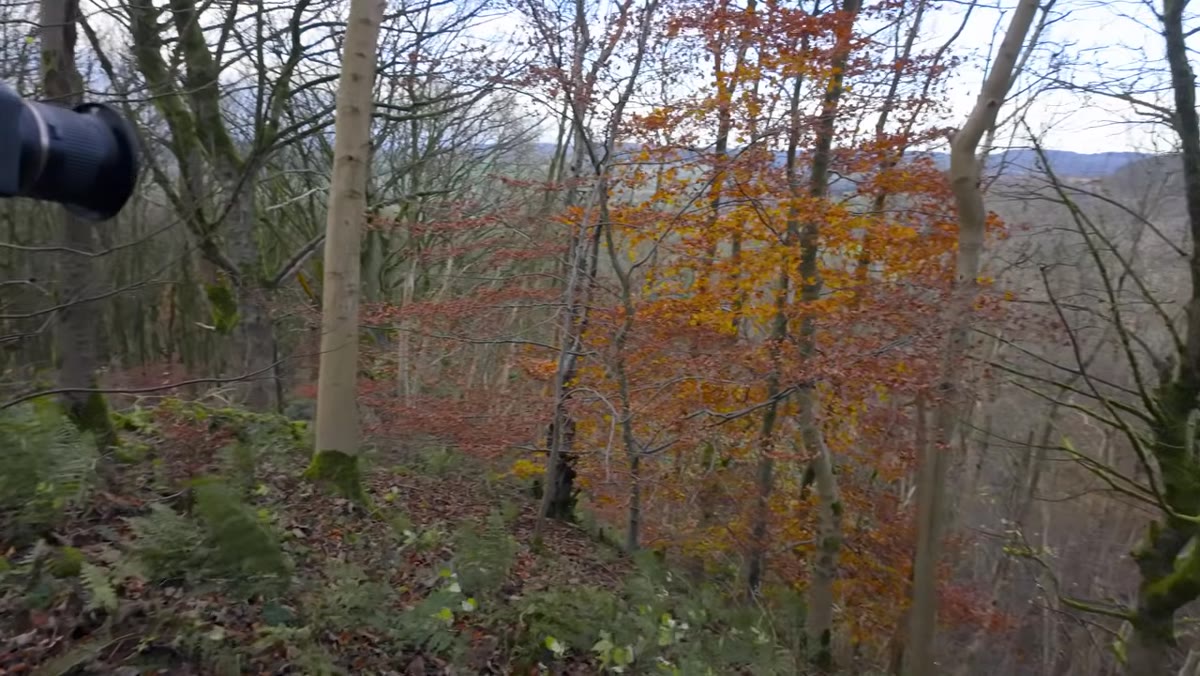 Creator assessing windy conditions among colorful autumn foliage
Wind in a woodland shoot is a problem if you fight it and a tool if you work with it. The creator arrives at a clifftop position with beautiful autumn color in front of him and immediately acknowledges the challenge: it is windy and cold, not ideal for sharp foliage frames. The honest read of conditions is the step most beginners skip, usually because they have already committed emotionally to the shot they planned in their head.
Creator assessing windy conditions among colorful autumn foliage
Wind in a woodland shoot is a problem if you fight it and a tool if you work with it. The creator arrives at a clifftop position with beautiful autumn color in front of him and immediately acknowledges the challenge: it is windy and cold, not ideal for sharp foliage frames. The honest read of conditions is the step most beginners skip, usually because they have already committed emotionally to the shot they planned in their head.
Take thirty seconds when you arrive at any location to assess what is actually happening. What is the light doing? What is moving? What is the contrast range? I refuse to use auto mode on anything, partly out of habit, but mostly because going manual forces this assessment. You cannot set a shutter speed without asking whether you want motion frozen or rendered as blur.
Step 4: Turn the Problem Into the Technique (Long Exposure for Moving Foliage)
 Creator explaining long exposure approach with wind-blown leaves in frame
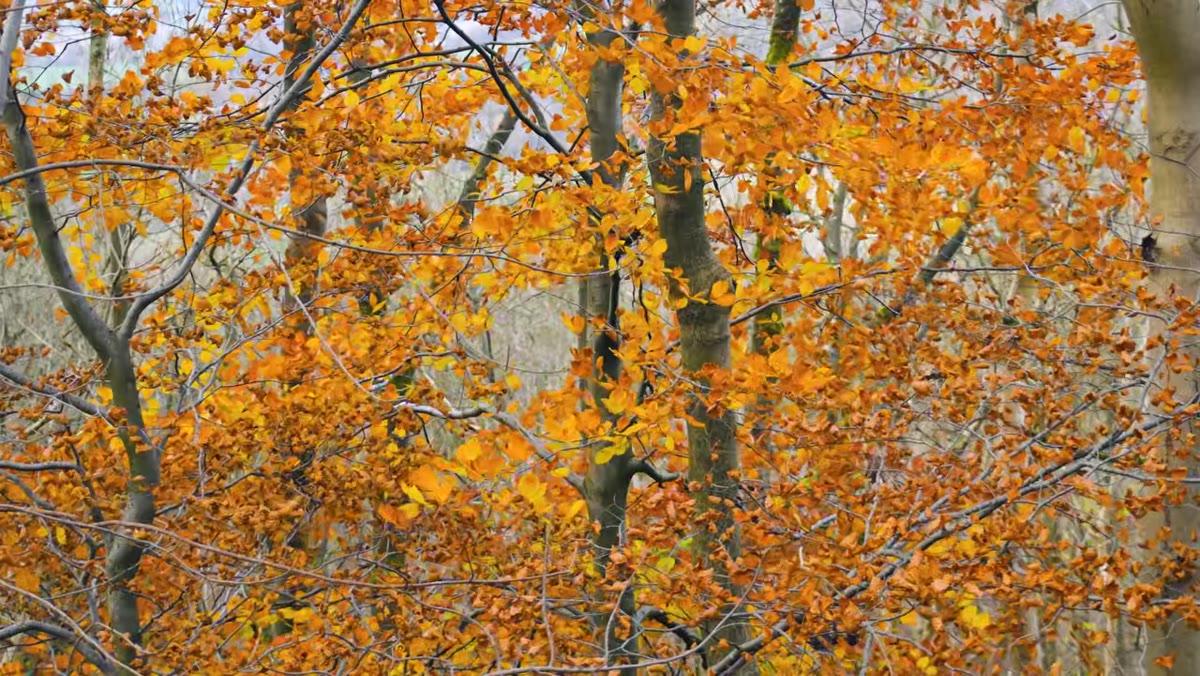
Rather than waiting for the wind to stop, the creator decides to lean into it with a long exposure. The key word he uses is “intentional.” A slight blur from a quarter-second exposure looks like a mistake. A significant, deliberate blur from a multi-second exposure looks like a choice. The difference in the final image is the difference between a frame you apologize for and one you print large.
Creator explaining long exposure approach with wind-blown leaves in frame
Rather than waiting for the wind to stop, the creator decides to lean into it with a long exposure. The key word he uses is “intentional.” A slight blur from a quarter-second exposure looks like a mistake. A significant, deliberate blur from a multi-second exposure looks like a choice. The difference in the final image is the difference between a frame you apologize for and one you print large.
The practical setup here: use a tripod, stop down to a small aperture (f/11 or narrower) to extend your exposure time naturally, and if needed add a neutral density filter to push the shutter into the several-second range. The goal is to keep the solid structural elements, trunks, large branches, rocks, relatively sharp while the foliage renders as painterly movement. Anchor the frame with something still and let everything else flow.
Step 5: Commit to the Frame and Fire
 Creator triggering shutter release on moss-covered tree composition
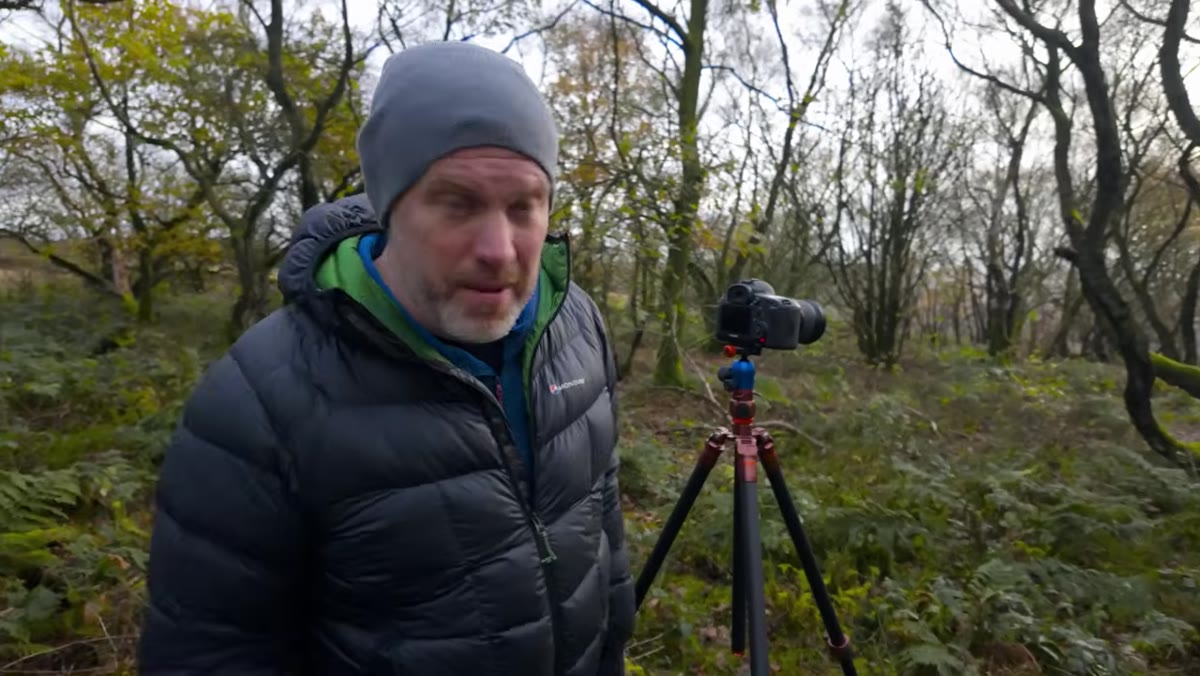
Once the technique decision is made, make the exposure. The creator uses a two-second self-timer to eliminate camera shake from the shutter button. Remote releases work equally well. The important thing is that you have done the thinking before the shutter fires, not after.
Creator triggering shutter release on moss-covered tree composition
Once the technique decision is made, make the exposure. The creator uses a two-second self-timer to eliminate camera shake from the shutter button. Remote releases work equally well. The important thing is that you have done the thinking before the shutter fires, not after.
Review the image critically, not for validation but for information. Is the blur reading as intentional? Are the anchor points holding? Do you need a longer exposure or a different composition? This is the edit-in-camera habit that separates a working day from a spray-and-pray session.
A Note from Twenty Years in the Field
I have driven six hours to a location and sat in fog for two days. I came home with one usable image from that trip. It is now my best-selling print. I tell that story not to romanticize suffering but because it illustrates exactly what this tutorial is pointing at: the value of what you do out there is not always measured in keeper frames. Sometimes the whole point is that you went.
Oregon in late October looks a lot like what the creator is walking through in this video, wet, mossy, gold-lit in the afternoons. I have spent more mornings than I can count standing in conditions like those, and I will take one morning like that over a week of scrolling other people’s work. The images you make when you are actually present in a place carry something the algorithm-optimized shots do not. Viewers feel the difference even when they cannot name it.
The single most transferable lesson from this tutorial is that conditions are never ideal, and waiting for ideal conditions is how you end up with nothing. The wind is blowing? That is a long exposure. The light is flat? That is soft, even color rendering. The fog rolled in? That is mood and depth. Every constraint is a technique waiting to be named.
Watch the full tutorial on YouTube and pay attention to the moments between the shots, the creator talking through what he is seeing and why. That is the real lesson.
Comments (2)
Shared this with my photography group. Everyone loved it.
Applied this to my portfolio shots and the improvement is noticeable.
Leave a Comment