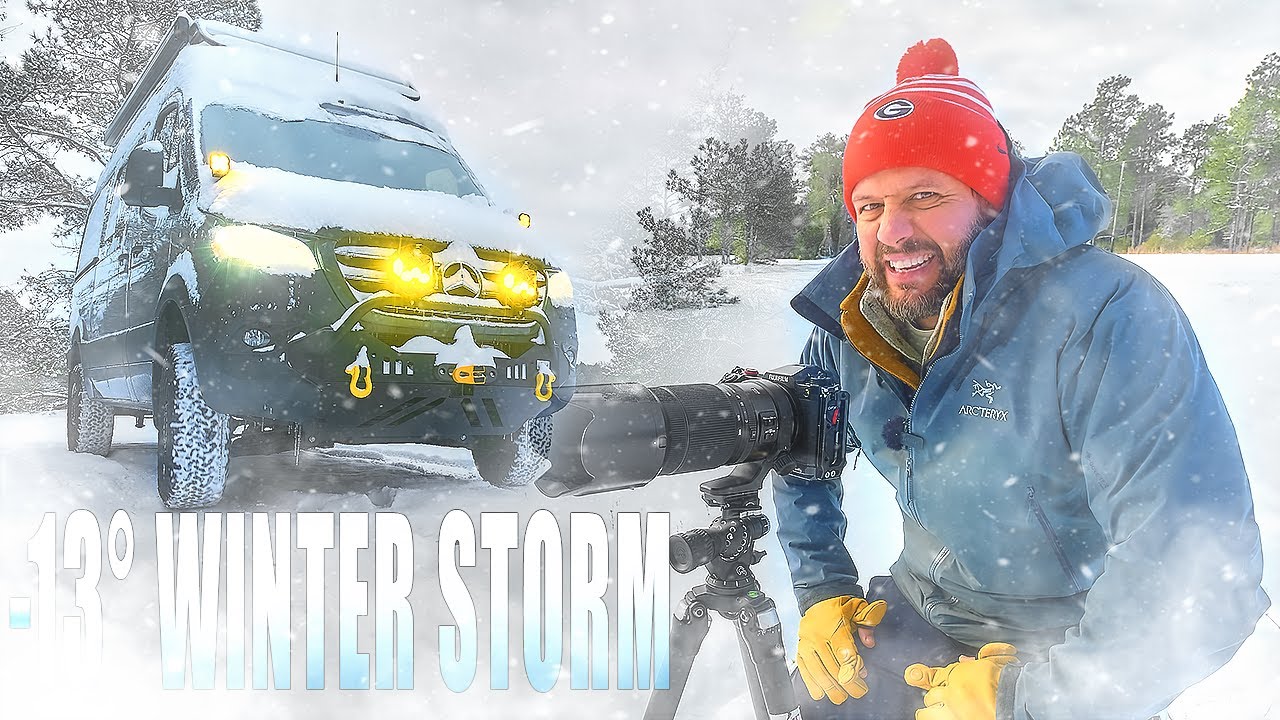
There’s a particular kind of pressure that comes with a fresh snowfall. You know the window is short. Wind strips the branches clean, temperatures climb, and that pristine white surface starts collecting footprints and debris within hours of first light. I’ve been chasing these mornings for two decades now, and I still feel a low hum of anxiety every time I pull into a location and see untouched snow catching the early glow. The difference between a keeper and a throwaway on days like these almost always comes down to what decisions you made before you pressed the shutter, not after.
That’s why I keep coming back to Watch the full tutorial on YouTube - Mark Denney’s on-location winter walkthrough. Mark shoots in North Carolina, I shoot mostly in the high desert and Cascades outside Bend, but the core problems he’s solving are universal. He works a single tree across multiple compositions in real time, talks through exposure decisions while his histogram is actively lying to him, and shows how to move between wide establishing shots and intimate detail frames without losing the narrative thread. It’s the kind of tutorial that’s actually useful to bring to a location, not just watch once and forget.
What follows is my breakdown of his key techniques, expanded with the specifics you need to replicate them in the field.
Step 1: Identify the Anchor Before You Set Up the Tripod
 Snowy pine tree centered in frame at dawn
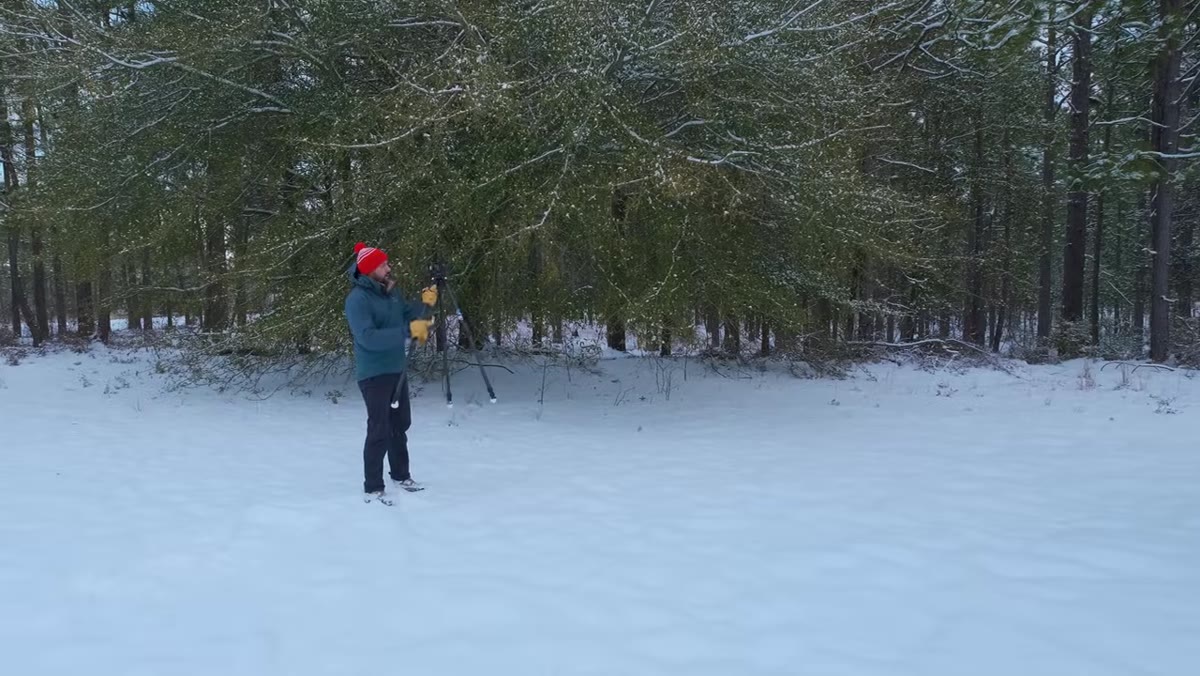
The first thing Mark does when he arrives at his location is identify a single subject that earns the image. In his case, it’s a pine tree he’s had his eye on for a long time, one he’s been waiting to photograph under fresh snow. This matters more than most beginners realize. Walking up to a snowy landscape and hoping something reveals itself leads to generic, directionless images. A strong winter scene usually radiates outward from one clear anchor point. Before you touch the tripod, spend a few minutes on foot identifying what the photograph is actually about.
Snowy pine tree centered in frame at dawn
The first thing Mark does when he arrives at his location is identify a single subject that earns the image. In his case, it’s a pine tree he’s had his eye on for a long time, one he’s been waiting to photograph under fresh snow. This matters more than most beginners realize. Walking up to a snowy landscape and hoping something reveals itself leads to generic, directionless images. A strong winter scene usually radiates outward from one clear anchor point. Before you touch the tripod, spend a few minutes on foot identifying what the photograph is actually about.
Look for subjects that carry weight under snow rather than being obscured by it. Trees with good branch structure, fence lines, rock formations, lone barns. Snow should be adding to the story, not hiding it.
Step 2: Start with a Clean, Simple Wide Composition
 Tree placed near center frame, textured sky above
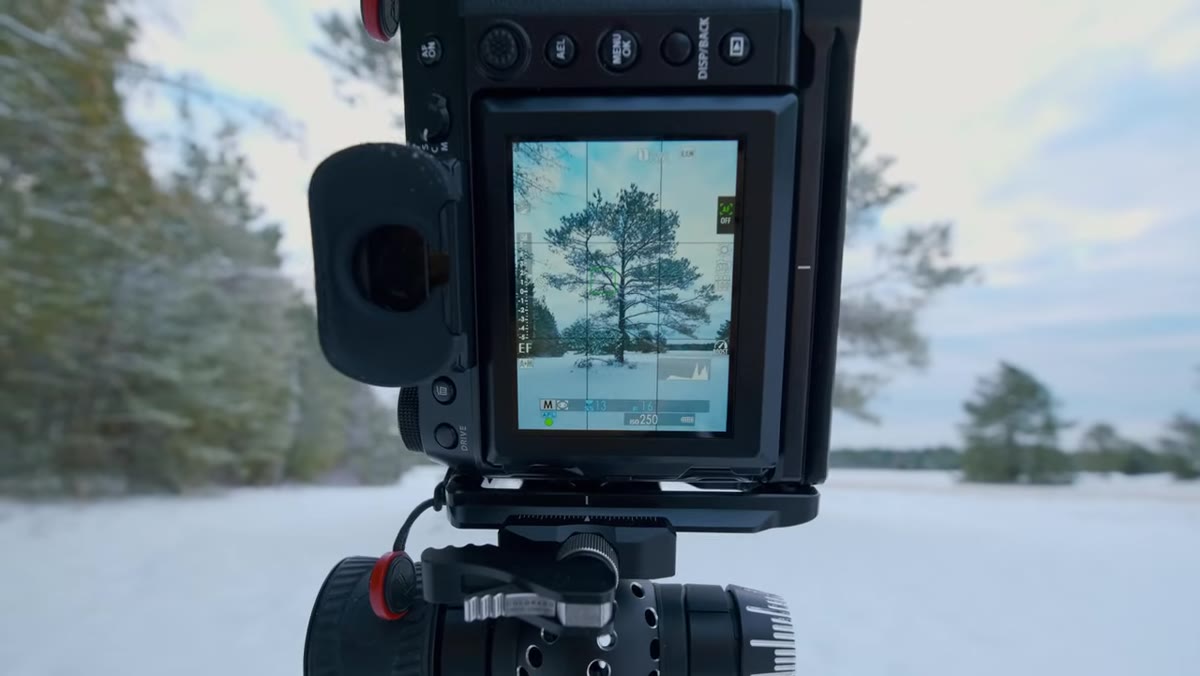
Mark’s opening composition is deliberately uncomplicated. The tree sits nearly dead center, the textured sky fills the upper portion of the frame, and a gentle leading line in the snow draws the eye forward. He resists the urge to complicate it. On mornings when the light is doing something interesting, a quiet and direct composition often serves the image better than a busy one. The sky had color and separation between clouds that morning, and he let that do the heavy lifting.
Tree placed near center frame, textured sky above
Mark’s opening composition is deliberately uncomplicated. The tree sits nearly dead center, the textured sky fills the upper portion of the frame, and a gentle leading line in the snow draws the eye forward. He resists the urge to complicate it. On mornings when the light is doing something interesting, a quiet and direct composition often serves the image better than a busy one. The sky had color and separation between clouds that morning, and he let that do the heavy lifting.
This is a useful reminder that simplicity is a deliberate choice, not a beginner’s shortcut. Centering a subject works when the symmetry or the surrounding environment justifies it. Here, the sky’s texture balanced the weight of the tree below it.
Step 3: Expose to the Right, and Don’t Trust the Preview
 Camera screen showing snow scene, exposure discussion
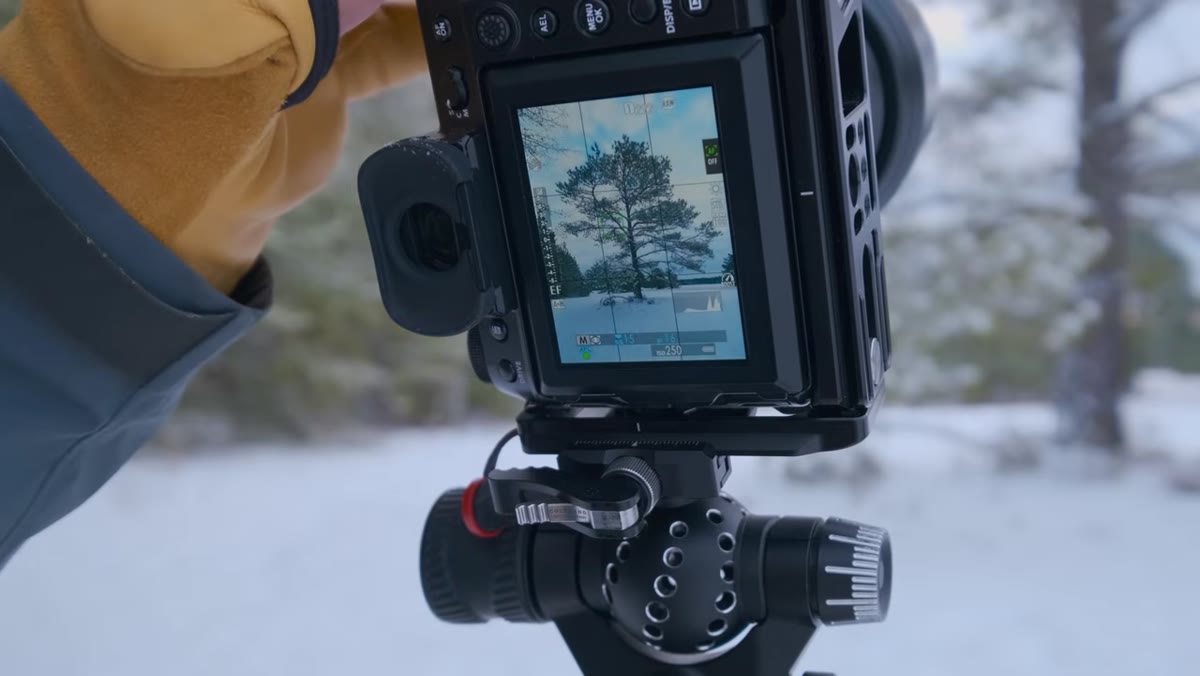
This is where Mark addresses the most common technical mistake people make in snow: underexposure. Your camera’s metering system reads all that bright white and concludes the scene is overexposed, so it pulls the exposure down. The snow ends up gray and flat in your raw file. You then crank the exposure in post, and you’ve introduced noise and lost the clean tonal quality that made the scene worth shooting in the first place.
Camera screen showing snow scene, exposure discussion
This is where Mark addresses the most common technical mistake people make in snow: underexposure. Your camera’s metering system reads all that bright white and concludes the scene is overexposed, so it pulls the exposure down. The snow ends up gray and flat in your raw file. You then crank the exposure in post, and you’ve introduced noise and lost the clean tonal quality that made the scene worth shooting in the first place.
The fix is to expose to the right, meaning push your exposure up until you’re close to clipping the highlights, then back off just slightly. Check your histogram, not your LCD preview. The preview on a bright day in snow is unreliable. Watch the right edge of the histogram and keep your brightest whites just below the wall. This protects the shadow detail, keeps the snow luminous in post, and gives you a much cleaner file to work with.
Step 4: Switch Focal Lengths to Tell a Layered Story
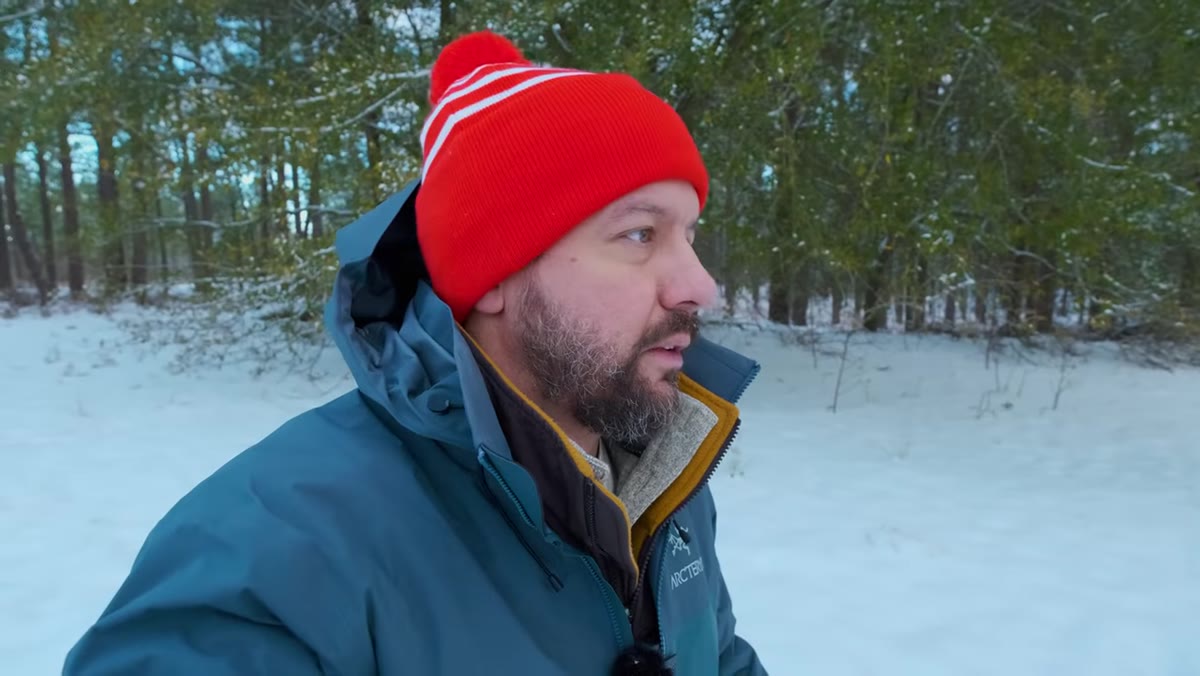 Longer focal length being considered, zooming to branch detail
Once Mark has his wide establishing shot locked in, he shifts to a longer focal length to compress into the detail of the snow-covered branches. He talks about this as storytelling, building a sequence of images that together communicate the experience of that morning better than any single frame could. The wide shot places you in the scene. The detail shot puts you inside it.
Longer focal length being considered, zooming to branch detail
Once Mark has his wide establishing shot locked in, he shifts to a longer focal length to compress into the detail of the snow-covered branches. He talks about this as storytelling, building a sequence of images that together communicate the experience of that morning better than any single frame could. The wide shot places you in the scene. The detail shot puts you inside it.
This two-image approach is something I use constantly in my own workshop teaching. A 70-200mm or even a 100-400mm can find images within images that your wide lens would never see. The weight of snow bending a small branch, the way ice crystals catch the light along a single pine needle, the texture of bark under a thin white crust. These are the frames that turn a good gallery into a great one.
Step 5: Work the Scene on Foot Before Locking In
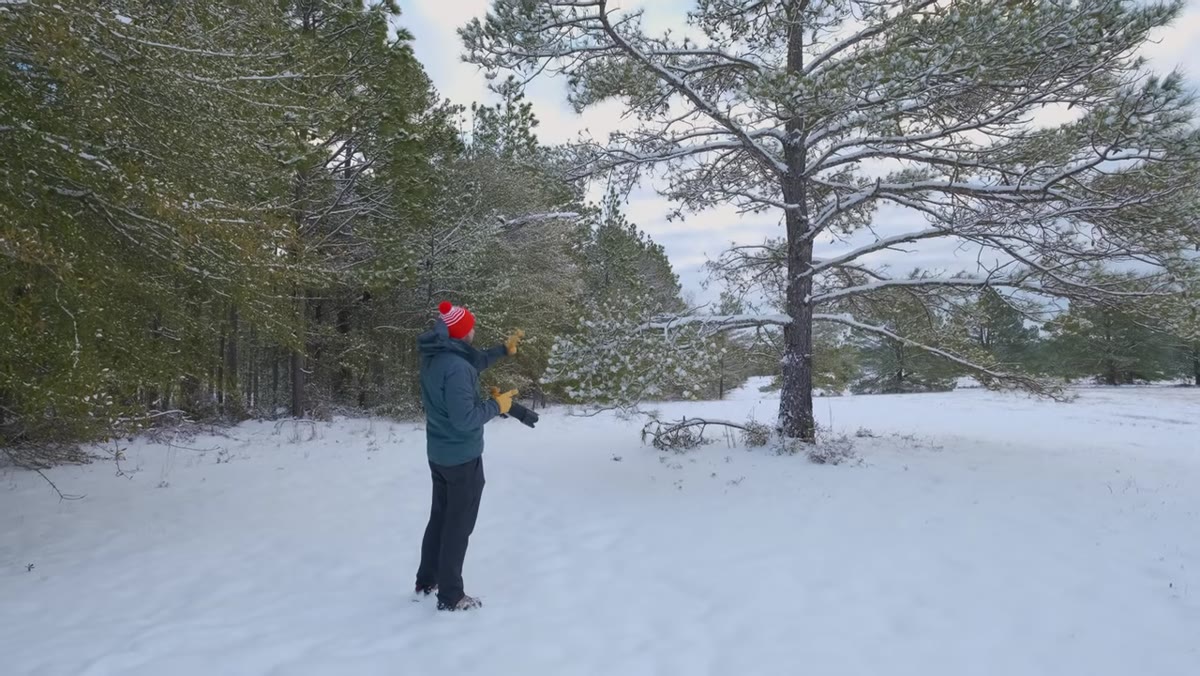 Photographer moving position, looking for intimate framing
Mark spends real time on his feet, moving around the tree, crouching, shifting left and right, looking for a tighter and more intimate composition. He describes it as a bit chaotic at first, which is honest and useful to hear. Intimate scenes in winter landscapes, the ones that don’t have a clear horizon or a strong vanishing point, take more time to resolve. You’re trying to simplify without losing the sense of place.
Photographer moving position, looking for intimate framing
Mark spends real time on his feet, moving around the tree, crouching, shifting left and right, looking for a tighter and more intimate composition. He describes it as a bit chaotic at first, which is honest and useful to hear. Intimate scenes in winter landscapes, the ones that don’t have a clear horizon or a strong vanishing point, take more time to resolve. You’re trying to simplify without losing the sense of place.
The discipline here is to not force a composition. Keep moving until the elements align naturally. Mark is looking for balance between the trunk on one side and a reaching branch on the other. That kind of visual counterweight gives the frame a sense of stability even when the elements are organic and asymmetrical.
Step 6: Use Natural Balance as a Compositional Tool
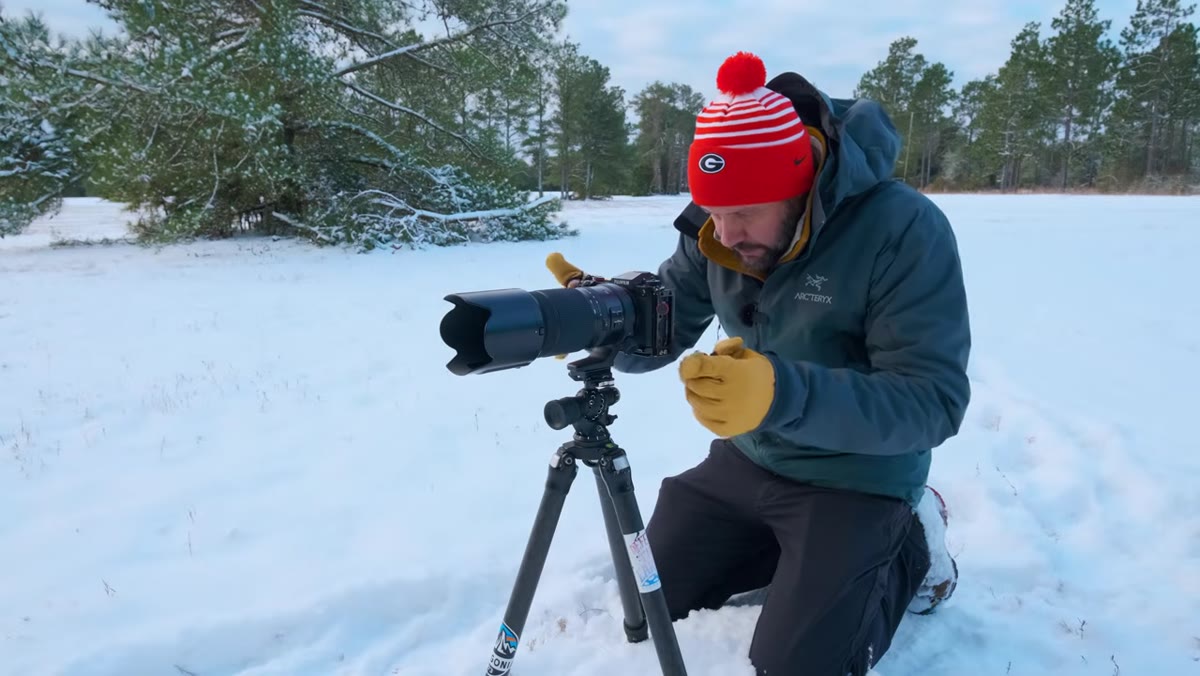 Tripod framing trunk right, arching branch left for balance
Once Mark sets the tripod, he frames the tree trunk toward the right side of the frame with a bare, arching branch extending into the upper left. He describes this as creating balance, and that’s exactly what it does. It gives the eye a reason to travel across the frame and settle. It also reinforces the narrative of heavy snow, a branch bowed under the weight of the storm.
Tripod framing trunk right, arching branch left for balance
Once Mark sets the tripod, he frames the tree trunk toward the right side of the frame with a bare, arching branch extending into the upper left. He describes this as creating balance, and that’s exactly what it does. It gives the eye a reason to travel across the frame and settle. It also reinforces the narrative of heavy snow, a branch bowed under the weight of the storm.
Looking for these natural counterpoints is a skill that sharpens with practice. When you’re working a scene and something feels slightly off, ask whether the visual weight is distributed across the frame. Often shifting your position by two feet solves it.
A Note from My Own Winters
One thing I’d add from twenty years of chasing snow mornings: bring lens cloths and keep them inside your jacket. Breath vapor, wind-blown snow, and the condensation that forms when a cold lens meets warmer air are the enemies of sharp images in winter. I’ve lost more than a few good light moments to a fogged front element. Keep your glass warm and your cloths dry, and you’ll make better images more consistently than any compositional tip will give you.
The single most transferable lesson from Mark’s approach is this: fresh snow gives you a narrow window, and the photographers who use that window well are the ones who already know what they’re looking for before the conditions arrive. Scout in the off-season. Build your mental list of locations that would come alive under snow. When the forecast shows overnight accumulation, you’ll know exactly where to be at first light, and you won’t waste the window figuring out where to point the camera.
Watch the full tutorial on YouTube and pay attention to how Mark talks through his decisions in real time. That transparency about uncertainty is where the real education happens.
Comments
Leave a Comment