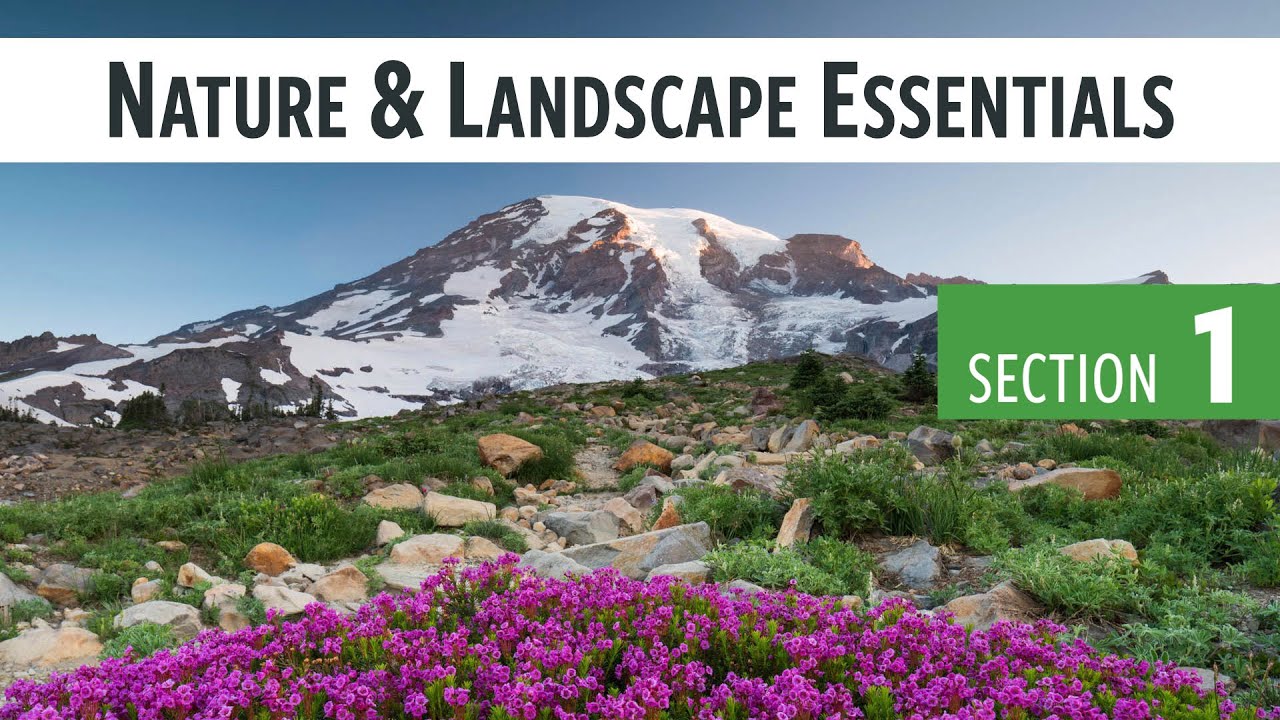
There’s a particular kind of photographer who plans a sunrise shoot, drives two hours in the dark, and still wonders why the image feels flat. I was that photographer. After twenty years of waking before the alarm, pulling on the lucky hat, and hiking into the blue-black cold, I still catch myself rushing past the foundational thinking that separates a technically correct image from one that stops people mid-scroll. When I came across John Greengo’s tutorial series, I recognized immediately that what he’d built wasn’t just a gear list or a tip sheet. It was a structured framework for how to think before you ever press the shutter.
Watch the full tutorial on YouTube
In this John Greengo tutorial, the opening lesson functions as a course map and a philosophy statement at the same time. If you’re newer to landscape work, it tells you exactly what’s coming and why it matters. If you’ve been shooting for years, it’s a useful reminder that great nature photography is a layered discipline, and that most of us have a gap somewhere in that stack. Here’s how I’d walk a student through what Greengo lays out in this introduction, and where I’d add weight from my own time in the field.
Step 1: Understand the full scope of what the course covers
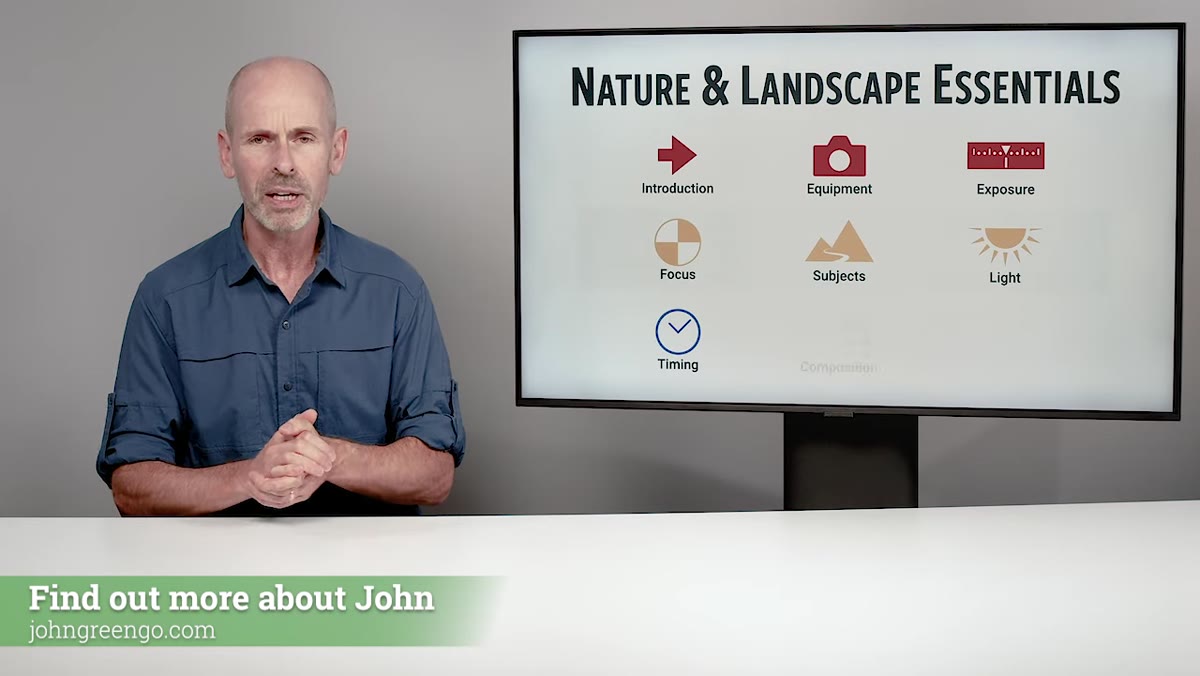 Greengo outlining the course sections in sequence
Before you learn a single camera setting, Greengo maps the entire terrain. The course moves through gear, exposure, focus, subjects, lighting, composition, and field process. Knowing this sequence matters because these categories aren’t independent. The decisions you make about equipment affect what’s available to you compositionally. How you read light changes how you approach focus. Greengo treats the discipline as a connected system, and understanding that map before you begin keeps you from treating each lesson as an isolated tip.
Greengo outlining the course sections in sequence
Before you learn a single camera setting, Greengo maps the entire terrain. The course moves through gear, exposure, focus, subjects, lighting, composition, and field process. Knowing this sequence matters because these categories aren’t independent. The decisions you make about equipment affect what’s available to you compositionally. How you read light changes how you approach focus. Greengo treats the discipline as a connected system, and understanding that map before you begin keeps you from treating each lesson as an isolated tip.
When I first started shooting seriously, I consumed techniques in random order, collecting tricks without understanding how they related to each other. A structured overview like this one would have saved me years. Read the map before you start walking.
Step 2: Recognize why landscape photography is genuinely accessible
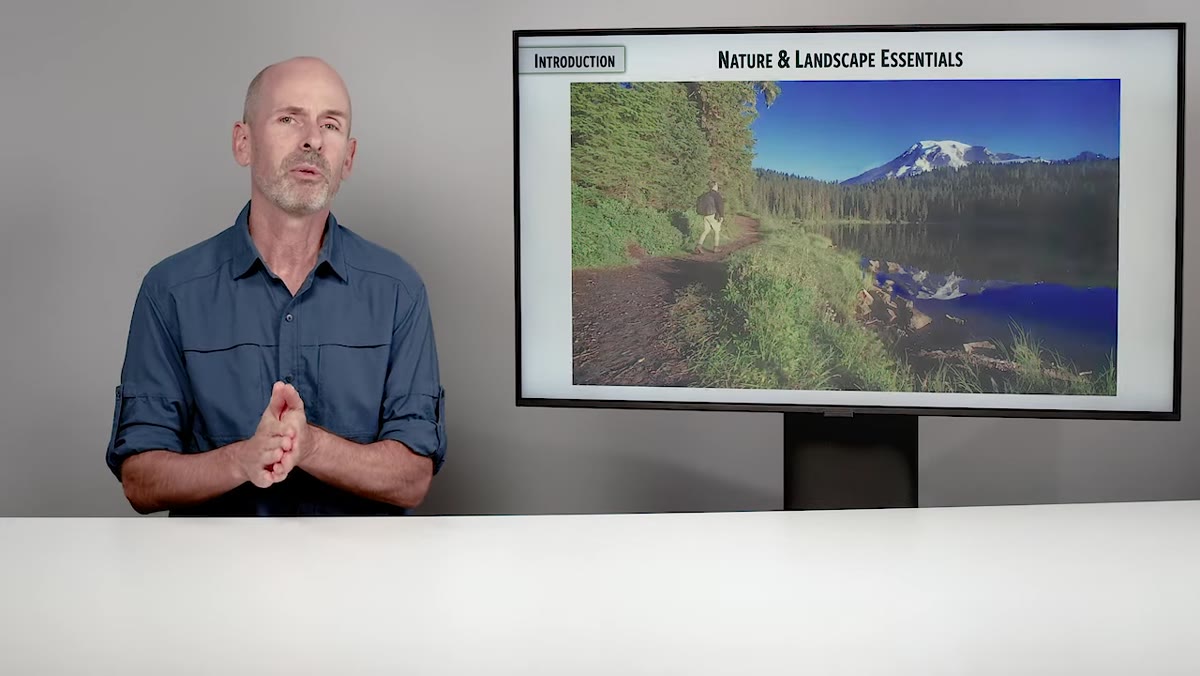 Greengo explaining that landscapes don’t refuse to be photographed
One of the first grounding points Greengo makes is deceptively simple: landscapes don’t say no. Unlike portrait or street photography, the natural world doesn’t flinch, turn away, or ask you to stop. That accessibility is part of why this genre draws so many people in, and it’s worth sitting with honestly. It means the barrier to entry is low, which is good. But it also means the competition for attention in the final image is high, because everyone with a phone has a version of that mountain.
Greengo explaining that landscapes don’t refuse to be photographed
One of the first grounding points Greengo makes is deceptively simple: landscapes don’t say no. Unlike portrait or street photography, the natural world doesn’t flinch, turn away, or ask you to stop. That accessibility is part of why this genre draws so many people in, and it’s worth sitting with honestly. It means the barrier to entry is low, which is good. But it also means the competition for attention in the final image is high, because everyone with a phone has a version of that mountain.
The opportunity this creates is real, though. Because the subject is patient, you can be patient. You can come back. You can wait. The mountain doesn’t care about your schedule, as a mentor once told me, and that’s not a limitation. It’s an invitation.
Step 3: Accept the physical requirement of the work
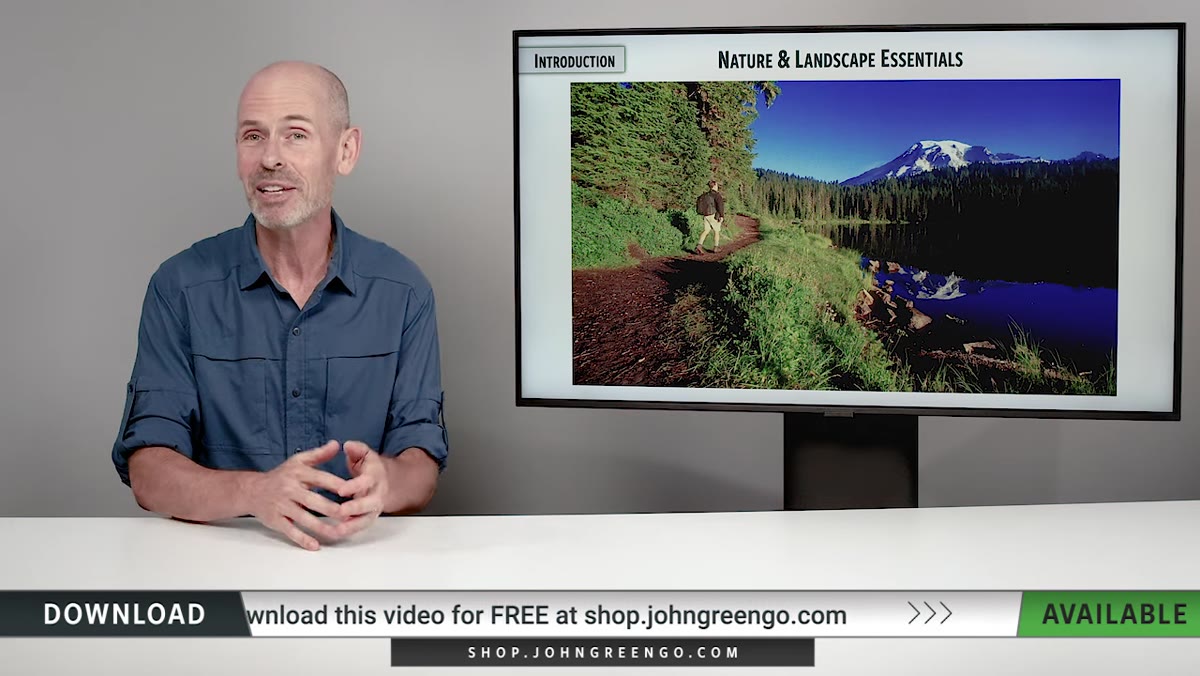 Greengo linking hiking ability directly to image quality
Greengo is direct about something many tutorials gloss over: if you want great nature and landscape images, you need to like being outside. Not just tolerate it. Getting to the right place at the right time on foot, in the right weather, is not optional equipment. It’s the equipment. No amount of technical skill compensates for being in the wrong location when the light does something extraordinary.
Greengo linking hiking ability directly to image quality
Greengo is direct about something many tutorials gloss over: if you want great nature and landscape images, you need to like being outside. Not just tolerate it. Getting to the right place at the right time on foot, in the right weather, is not optional equipment. It’s the equipment. No amount of technical skill compensates for being in the wrong location when the light does something extraordinary.
This means conditioning matters, and so does gear weight. I’ve watched workshop students arrive with enormous camera bags and struggle up a half-mile trail. By the time we reached the overlook, they were too tired to think carefully. Build your kit around what you can carry comfortably for three hours in the dark. The camera you have at the summit beats the heavier one in the car.
Step 4: Internalize the “five minutes away” principle
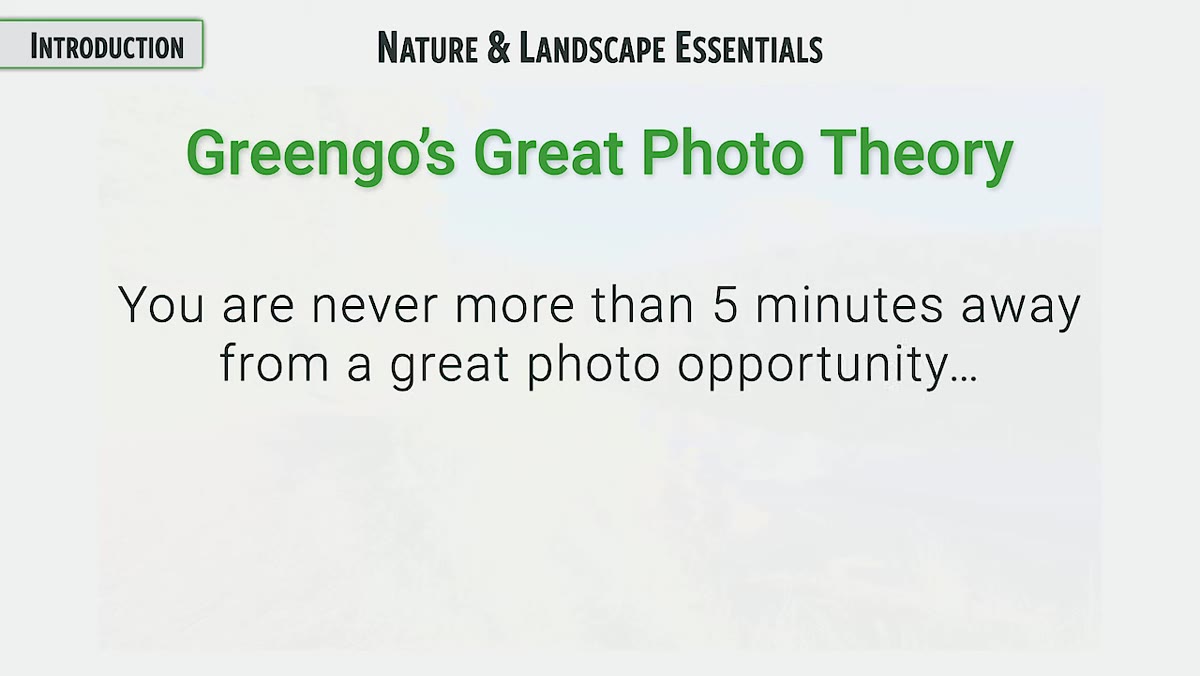 Greengo introducing his great photo theory about proximity to a good image
Greengo introduces what he calls his great photo theory, and it’s the kind of simple idea that sounds obvious until you actually apply it. The premise is that at any given moment in nature, you are never more than five minutes away from a photograph worth making. Something is always happening. Light shifts. A cloud edge catches color. Water moves over a rock in a way it won’t repeat.
Greengo introducing his great photo theory about proximity to a good image
Greengo introduces what he calls his great photo theory, and it’s the kind of simple idea that sounds obvious until you actually apply it. The premise is that at any given moment in nature, you are never more than five minutes away from a photograph worth making. Something is always happening. Light shifts. A cloud edge catches color. Water moves over a rock in a way it won’t repeat.
The practical instruction here is to stay alert and stay loose. When the obvious shot isn’t presenting itself, resist the urge to pack up and drive somewhere else. Instead, slow down and look harder at what’s already in front of you. Some of my best-selling prints came from locations where I initially thought there was nothing to work with. The fog that rolled in and ruined my planned shot of a canyon ended up giving me a two-day exercise in patience and a single frame I’ve never been able to replicate.
Step 5: Use the course PDF as an active reference tool
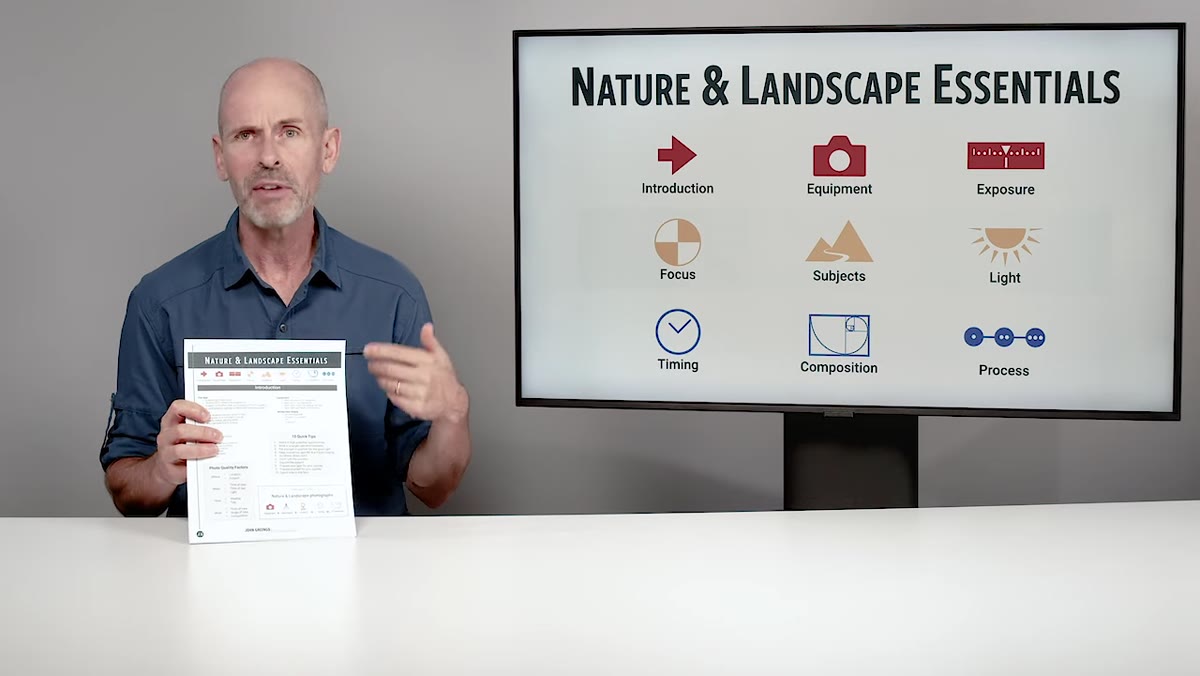 Greengo referencing the downloadable PDF that accompanies the course
Greengo mentions a companion PDF that condenses the key concepts from the course into a printable or digital reference. The instruction here is behavioral, not technical: download it, use it in the field, and treat it as a living checklist rather than a certificate of completion. Passive consumption of photography education is nearly useless. The material has to transfer into the field.
Greengo referencing the downloadable PDF that accompanies the course
Greengo mentions a companion PDF that condenses the key concepts from the course into a printable or digital reference. The instruction here is behavioral, not technical: download it, use it in the field, and treat it as a living checklist rather than a certificate of completion. Passive consumption of photography education is nearly useless. The material has to transfer into the field.
I keep a laminated one-page checklist in my bag with a short sequence: location confirmed, light window estimated, focal length chosen, tripod set, exposure locked. Greengo’s PDF can serve the same function if you build the habit of consulting it before a shoot rather than after.
What I’d Add From Twenty Years Out Here
Greengo’s introduction wisely avoids the gear-first trap that many photography courses fall into, saving equipment for its own dedicated section. I’d reinforce that choice even more strongly. The single best thing a newer landscape photographer can do right now is to go out and shoot with whatever they have, in whatever conditions exist today, without waiting for better gear or better weather.
I occasionally still shoot film for exactly this reason. When you have twelve frames on a roll, you stop and ask whether this is worth one of them. That discipline transfers back to digital work in ways that no tutorial can fully replicate. Before you get deep into Greengo’s gear section, spend a morning shooting with constraints you set yourself. It sharpens your eye faster than any new piece of equipment will.
The single most important takeaway from this introduction is that landscape photography rewards preparation and presence in equal measure. Greengo is laying a foundation here, not just filling time before the “real” content. The photographers who absorb this framing before moving into the technical sections will get dramatically more out of everything that follows.
Watch the full tutorial on YouTube and start with the introduction, even if you’ve been shooting for years. The map is worth reading before you start the trail.
Comments
Leave a Comment