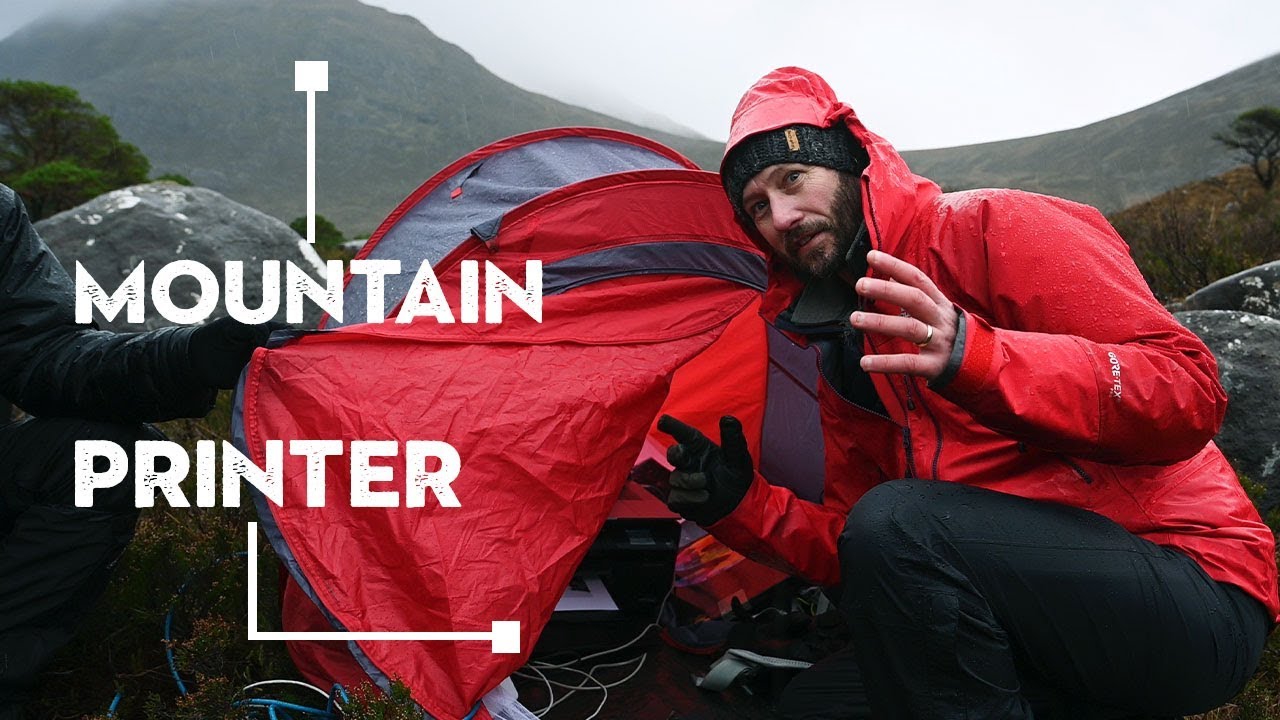
There’s a particular kind of clarity that comes when you make the work harder than it needs to be. I’ve stood in freezing rivers at 4am more times than I can count, and every time my kids ask me why I don’t just wait until the light is reasonable and the ground is dry, I tell them the same thing: the difficult conditions are usually the point. So when I came across a recent Nigel Danson tutorial where he and the team from Photo Speed haul a 25-kilogram printer up a Scottish mountain at dawn to print photographs on location, I didn’t watch it because the stunt was funny. I watched it because the fieldwork underneath the stunt was genuinely instructive.
Watch the full tutorial on YouTube
What the video actually demonstrates, once you get past the absurdity of a printer on a stretcher crossing a flooded stream, is how a working photographer reads a landscape in real time. How they move, how they wait, how they make compositional decisions under pressure when the light is shifting every few minutes and there’s no time to second-guess yourself. That’s the tutorial hiding inside the adventure video, and it’s worth pulling apart step by step.
Step 1: Arrive Before First Light and Read the Sky
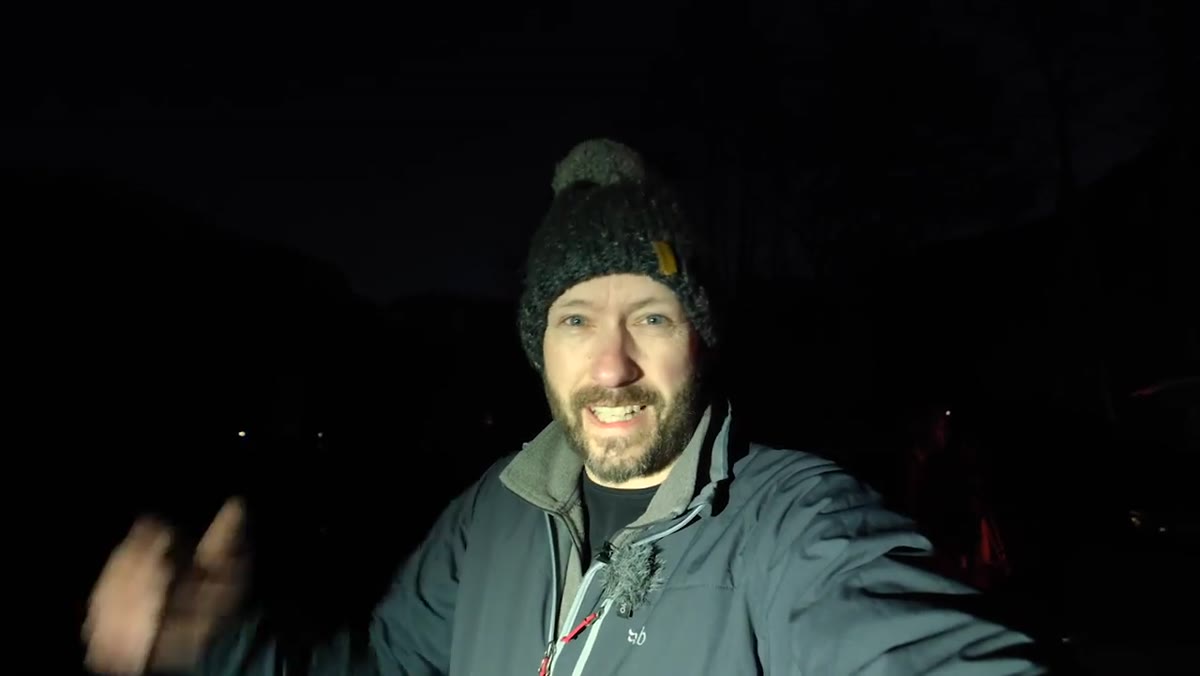 Nigel addressing camera at 7am with stars still visible above the valley
Nigel and the group are on location around 7am, with stars still visible in the sky above Torran. This isn’t incidental. Arriving before sunrise gives you 15 to 20 minutes of pre-dawn light that most photographers skip entirely, and it’s often the most useful time you have. You’re reading the sky, clocking where the glow is building, and figuring out which direction the light will travel across the landscape before it actually arrives. If you show up at sunrise, you’re already reacting. If you show up before it, you’re preparing.
Nigel addressing camera at 7am with stars still visible above the valley
Nigel and the group are on location around 7am, with stars still visible in the sky above Torran. This isn’t incidental. Arriving before sunrise gives you 15 to 20 minutes of pre-dawn light that most photographers skip entirely, and it’s often the most useful time you have. You’re reading the sky, clocking where the glow is building, and figuring out which direction the light will travel across the landscape before it actually arrives. If you show up at sunrise, you’re already reacting. If you show up before it, you’re preparing.
Note the conditions coming in: the previous day had heavy wind and rain. That combination almost always means interesting skies at dawn. Cloud structure, residual moisture, and the possibility of alpenglow on any snow above the treeline. Checking the day-before weather is as important as checking the morning forecast.
Step 2: Identify Your Anchor Elements Before You Set Up the Camera
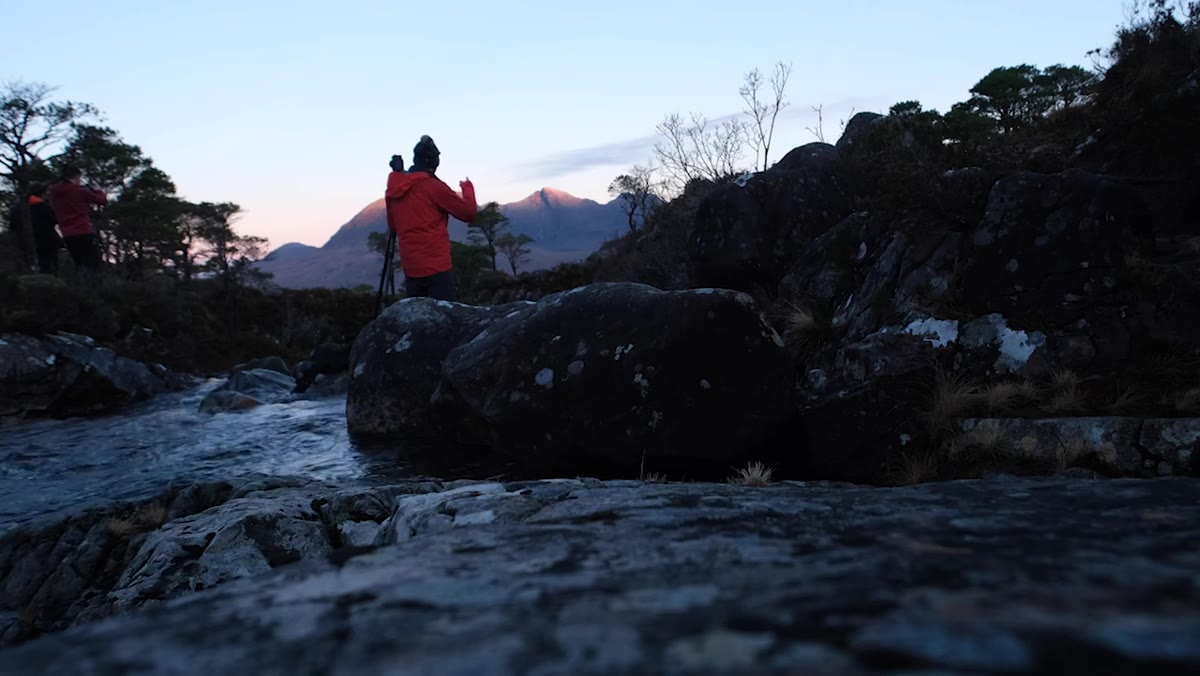
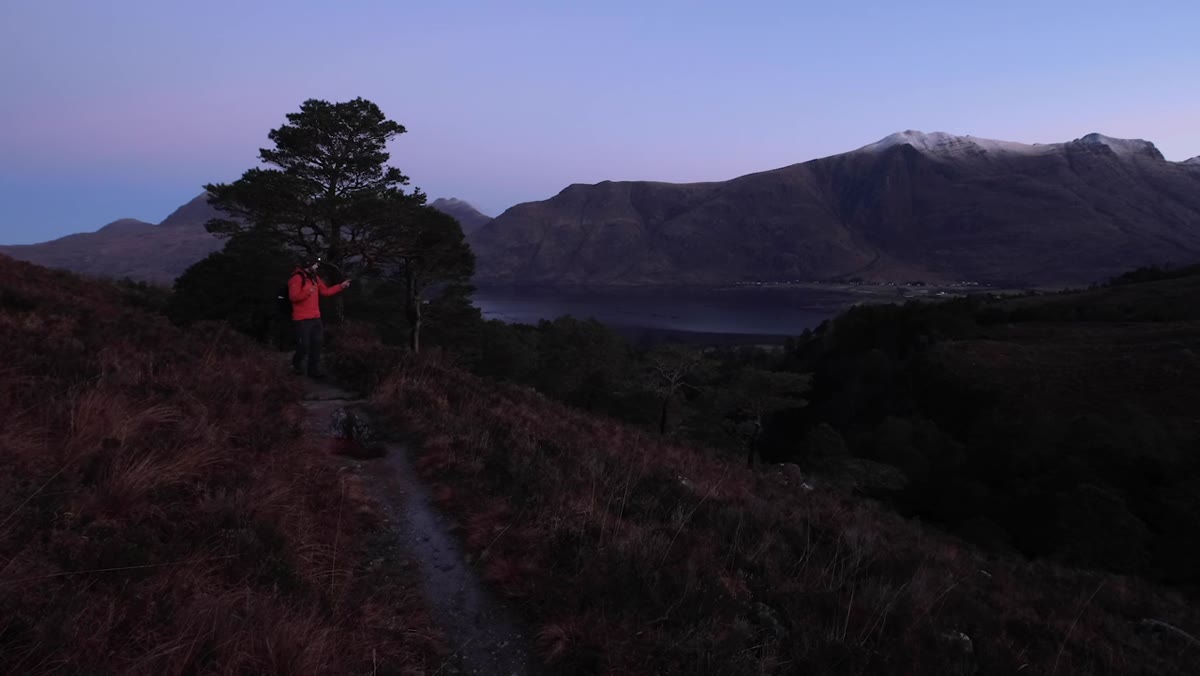 Nigel pointing out Scots pines and the river valley with mountains behind
Before Nigel takes a single frame, he describes the scene out loud: a small river, Scots pines on the bank, and a mountain range in the background. He’s naming his compositional layers before he’s touched his camera. This is a habit worth building deliberately. Foreground element, mid-ground structure, background payoff. If you can’t name all three before you set up your tripod, you’re not ready to shoot.
Nigel pointing out Scots pines and the river valley with mountains behind
Before Nigel takes a single frame, he describes the scene out loud: a small river, Scots pines on the bank, and a mountain range in the background. He’s naming his compositional layers before he’s touched his camera. This is a habit worth building deliberately. Foreground element, mid-ground structure, background payoff. If you can’t name all three before you set up your tripod, you’re not ready to shoot.
The Scots pines here are doing specific work. They’re vertical elements that connect the river at the base to the sky at the top, and they frame the mountains without blocking them. When you’re scouting, look for natural verticals that echo the shapes behind them. Nigel specifically notes wanting a closer tree to mirror the form of the mountain peak in the distance. That’s compositional rhyming, and it’s one of the fastest ways to create visual cohesion in a wide landscape.
Step 3: Position the Camera to Control the Horizon Line
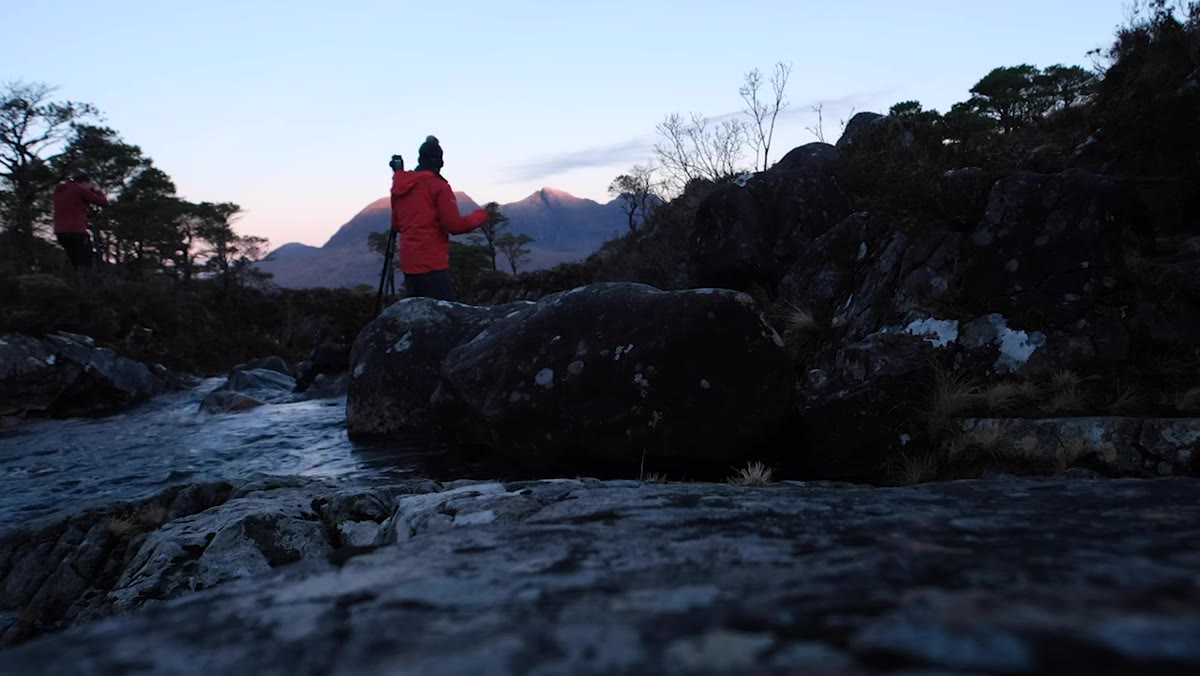 Camera raised high on tripod to keep trees below the horizon line
Once at the river, Nigel raises the camera as high as it will go on the tripod. The reason is specific and worth understanding exactly: he wants the treeline to sit below the horizon rather than cut across or above it. When trees punch above the skyline in a mountain shot, they compete with the peaks. When they stay below it, they sit in the landscape rather than interrupting it.
Camera raised high on tripod to keep trees below the horizon line
Once at the river, Nigel raises the camera as high as it will go on the tripod. The reason is specific and worth understanding exactly: he wants the treeline to sit below the horizon rather than cut across or above it. When trees punch above the skyline in a mountain shot, they compete with the peaks. When they stay below it, they sit in the landscape rather than interrupting it.
This is a small adjustment with a significant visual outcome. The difference of six inches of tripod height can change whether a shot reads as organized or cluttered. If you’re shooting near any vertical foreground element, take an extra minute to move the camera up and down and watch what happens to the relationship between that element and the background. The answer is almost always in the tripod, not the focal length.
Step 4: Shoot at 24mm and Focus on the Background
 Camera settings shown at 24mm on a 24-70mm lens, focused on mountain
Nigel is using 24mm on a 24-70mm lens, focused on the mountain rather than the foreground water or the trees. At this focal length with the aperture he’s using, there’s enough depth of field to keep the river and pines reasonably sharp while the mountain remains the primary point of focus. The wide end emphasizes the sense of space and keeps the foreground feeling expansive rather than compressed.
Camera settings shown at 24mm on a 24-70mm lens, focused on mountain
Nigel is using 24mm on a 24-70mm lens, focused on the mountain rather than the foreground water or the trees. At this focal length with the aperture he’s using, there’s enough depth of field to keep the river and pines reasonably sharp while the mountain remains the primary point of focus. The wide end emphasizes the sense of space and keeps the foreground feeling expansive rather than compressed.
The instinct for newer photographers is often to focus on the closest interesting thing, usually the foreground water. Resist it. In a layered landscape like this, the background is the destination. The foreground is the invitation. Focus on where you want the eye to end up, not where it starts.
Step 5: Move When the Light Moves
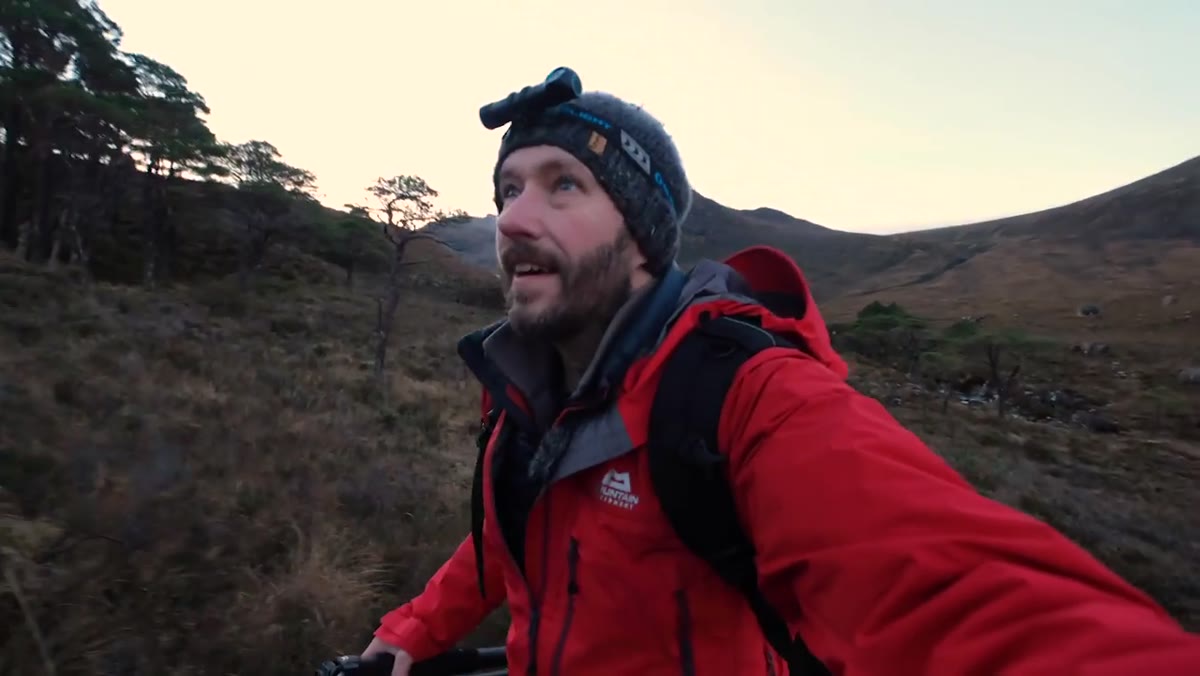 Nigel leaving the river location to climb higher toward alpenglow on the mountain
Once the main composition is captured, Nigel doesn’t stay put. He moves uphill to chase the alpenglow hitting the higher slopes, deliberately giving the other photographers space at the river while he looks for a wider vista. This is something I see people resist on group shoots. They find a spot that works and they anchor to it, worried they’ll miss something if they move.
Nigel leaving the river location to climb higher toward alpenglow on the mountain
Once the main composition is captured, Nigel doesn’t stay put. He moves uphill to chase the alpenglow hitting the higher slopes, deliberately giving the other photographers space at the river while he looks for a wider vista. This is something I see people resist on group shoots. They find a spot that works and they anchor to it, worried they’ll miss something if they move.
The light in a mountain environment is rarely doing the same thing at two different elevations at the same time. The valley might be in soft diffused shadow while the ridge above it is lit with direct dawn light. Treat the location as a vertical range to explore, not a fixed point. Give yourself permission to move toward the light even if you’ve already got a shot you’re happy with.
What I’d Add From Twenty Years of This
The one thing the video doesn’t have room to address is the role of patience when the light isn’t cooperating on your timeline. I’ve learned, sometimes painfully, that the mountain doesn’t reorganize itself around your schedule. I once drove six hours to a location, sat in dense fog for two full days, and came home with a single usable frame. That image is now my best-selling print. The fog I wanted to avoid became the entire point.
When you’re in a stunning location at dawn and the light isn’t quite where you hoped, don’t fill the time by shooting anyway. Use it to keep scouting. Move through the landscape. The shot you find while you’re waiting for another shot is often the better one.
The single most important thing Nigel’s video demonstrates is that the best landscape photographers are always in motion, mentally if not physically, reading the scene, anticipating the light, and making compositional decisions before the camera comes out of the bag. The printer on the mountain is memorable, but the fieldcraft underneath it is what’s worth studying.
Watch the full tutorial on YouTube and pay close attention to how Nigel narrates his thinking as he moves. That internal monologue, made external, is the real lesson.
Comments
Leave a Comment