
There’s a version of landscape photography that looks like pure intention. You pick the location, you check the forecast, you set three alarms. Then there’s the version that actually happens. I’ve been shooting full-time for twenty years, and I still have mornings where everything unravels before I’ve touched the camera. What keeps those mornings from being wasted isn’t luck. It’s having a secondary project already thought through, something you can pull off the shelf when your original plan falls apart.
That’s exactly what I watched unfold in this recent coastal vlog from First Man Photography. Watch the full tutorial on YouTube. After missing a planned sunrise shoot in the mountains, the photographer pivots to the coast and documents his process of finding and executing a black-and-white long exposure in a sea cove. It’s honest and practical, and it demonstrates something I think gets undervalued in photography education: how to work methodically when the day isn’t giving you the image you came for.
What struck me most was how closely this mirrors the advice a mentor gave me years ago. The mountain doesn’t care about your schedule. Neither does the tide. You either learn to read what’s in front of you and respond to it, or you go home empty. This vlog is essentially a masterclass in the response.
Step 1: Keep a Backup Project Ready Before You Need One
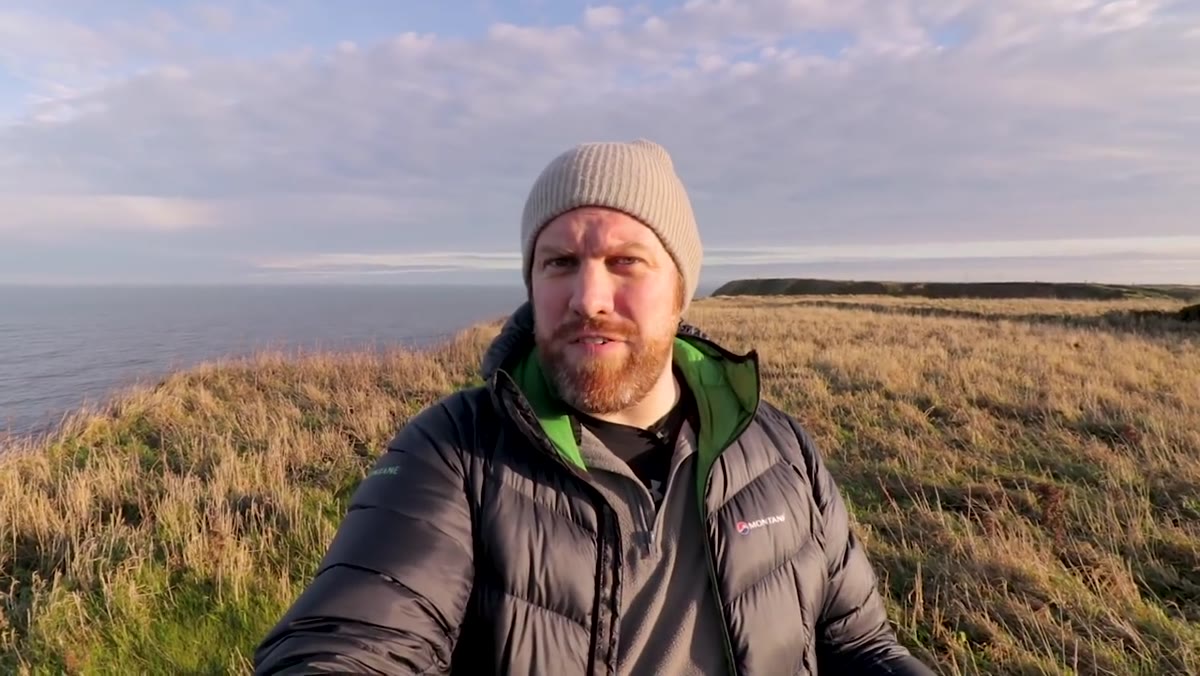 Photographer explaining his failed morning plan to camera
The first lesson here isn’t technical, it’s operational. When the original shoot collapsed due to a missed alarm, there was already a coastal project waiting. That kind of contingency planning is what separates a working photographer from someone who just hopes conditions cooperate. I keep a running list on my phone of locations within two hours of Bend that I’ve partially scouted but never fully worked. When a planned shoot goes sideways, I don’t improvise from zero. I pull from the list.
Photographer explaining his failed morning plan to camera
The first lesson here isn’t technical, it’s operational. When the original shoot collapsed due to a missed alarm, there was already a coastal project waiting. That kind of contingency planning is what separates a working photographer from someone who just hopes conditions cooperate. I keep a running list on my phone of locations within two hours of Bend that I’ve partially scouted but never fully worked. When a planned shoot goes sideways, I don’t improvise from zero. I pull from the list.
The practical version of this: after every trip, note one or two nearby spots you passed but didn’t stop for. Tag them, drop a pin, write down what drew your eye. Build the list slowly. When you need it, it will be there.
Step 2: Read the Scene Before You Set Up the Tripod
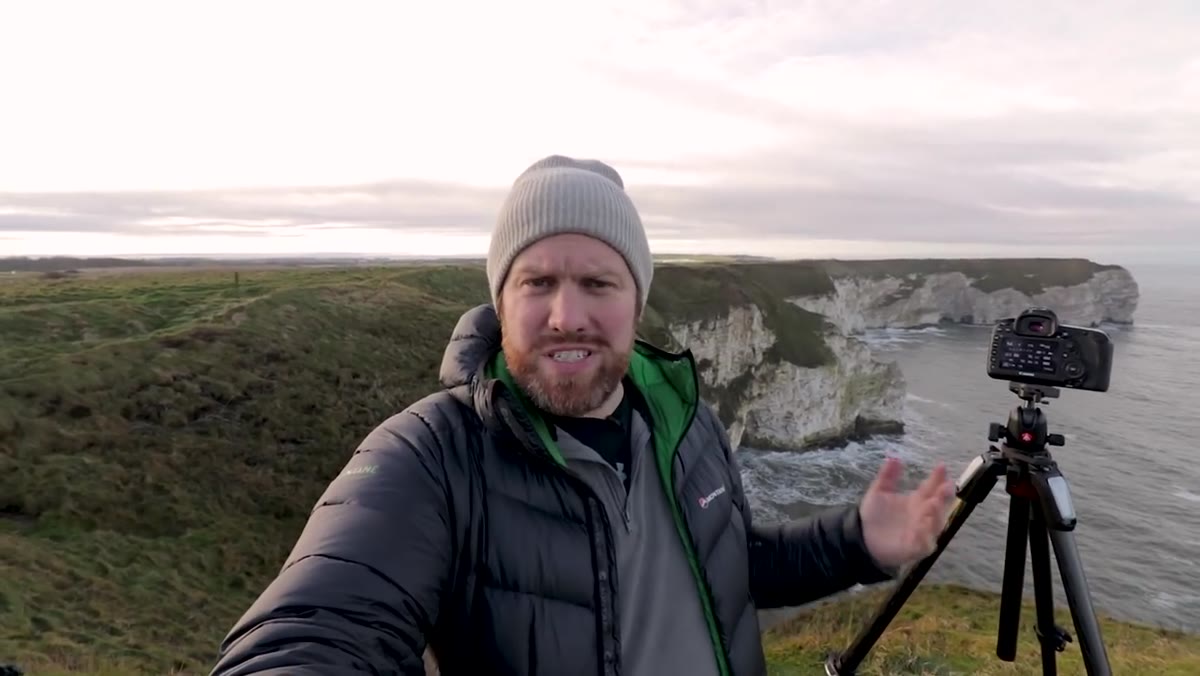 Photographer standing at cove edge, surveying the wider scene
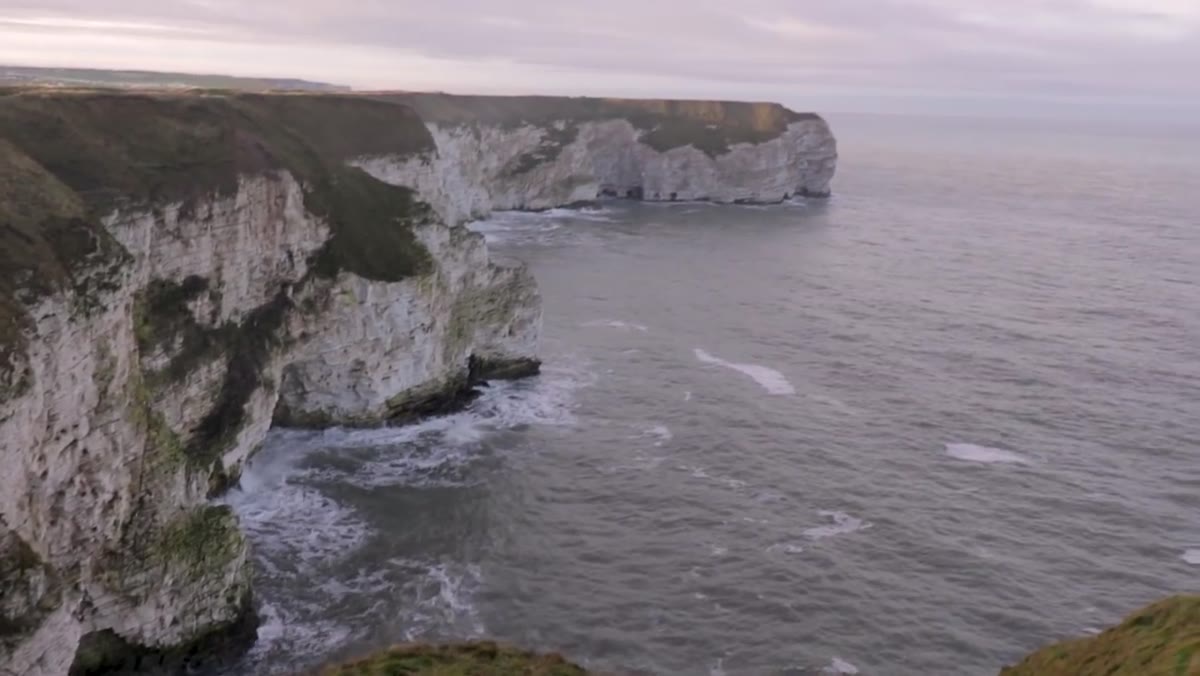
Before any gear comes out, spend a few minutes simply reading the geography. In this case, the location offered a small inlet leading into a broader cove, with a cliff face sitting naturally at the back of the frame. That layered depth, foreground water leading to a middle-ground cove leading to a background cliff, is exactly the kind of compositional structure that holds a viewer’s eye in a black-and-white image where color can no longer do that work.
Photographer standing at cove edge, surveying the wider scene
Before any gear comes out, spend a few minutes simply reading the geography. In this case, the location offered a small inlet leading into a broader cove, with a cliff face sitting naturally at the back of the frame. That layered depth, foreground water leading to a middle-ground cove leading to a background cliff, is exactly the kind of compositional structure that holds a viewer’s eye in a black-and-white image where color can no longer do that work.
Look for a foreground element that implies movement (water, grass, clouds), a mid-ground that creates depth, and a background that anchors the frame. Coastal coves are generous with all three. The question is just which angle presents them cleanest.
Step 3: Commit to Black and White Before You Shoot, Not After
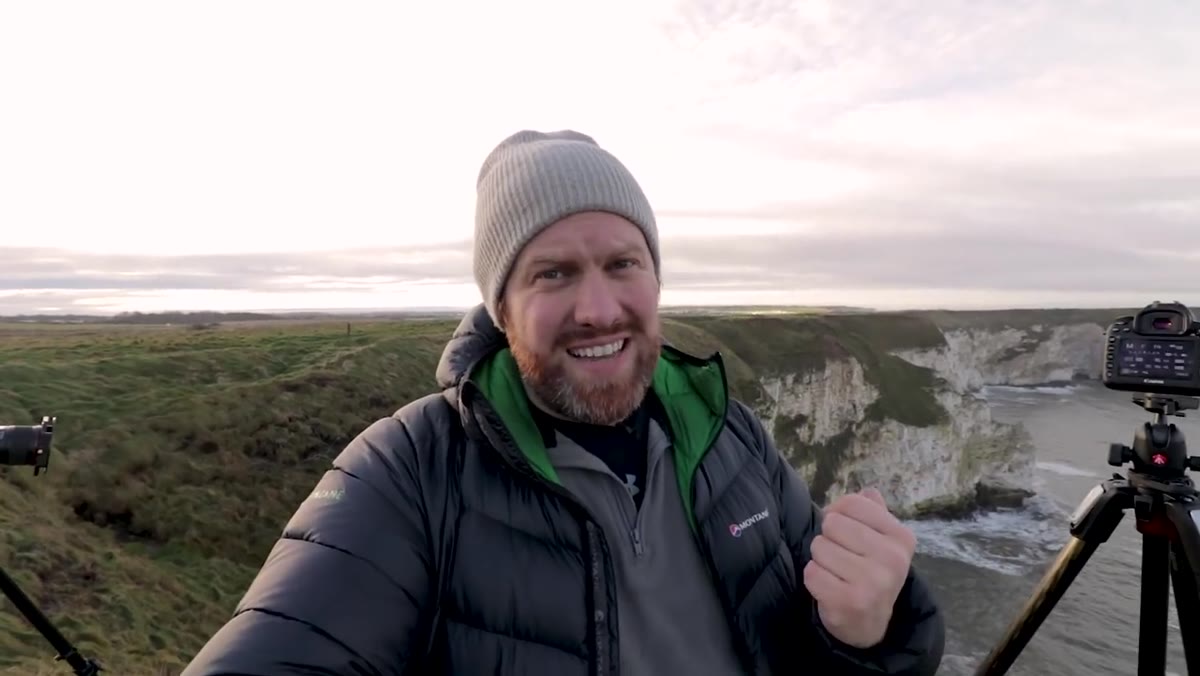 Overcast sky above cove showing heavy cloud texture and detail
The decision to shoot for black and white was made on location, looking at the sky. The light had no strong color in it, but the cloud structure was rich with texture and tonal variation. That’s a key distinction. A colorless sky is not a flat sky. In black and white, that kind of overcast can render beautifully, especially when you’re planning to use a long exposure to draw motion through those clouds.
Overcast sky above cove showing heavy cloud texture and detail
The decision to shoot for black and white was made on location, looking at the sky. The light had no strong color in it, but the cloud structure was rich with texture and tonal variation. That’s a key distinction. A colorless sky is not a flat sky. In black and white, that kind of overcast can render beautifully, especially when you’re planning to use a long exposure to draw motion through those clouds.
If you’re on location and the colors aren’t doing anything interesting, ask yourself whether the shapes and textures are. Clouds with depth, rock faces with strong contrast, smooth water against rough stone. These are all black-and-white subjects even if they look uninspiring in a color preview. Train yourself to see in tonal contrast first. I occasionally still shoot a roll of black-and-white film just to recalibrate that muscle.
Step 4: Use a 6-Stop ND Filter to Lengthen Exposure at f/16
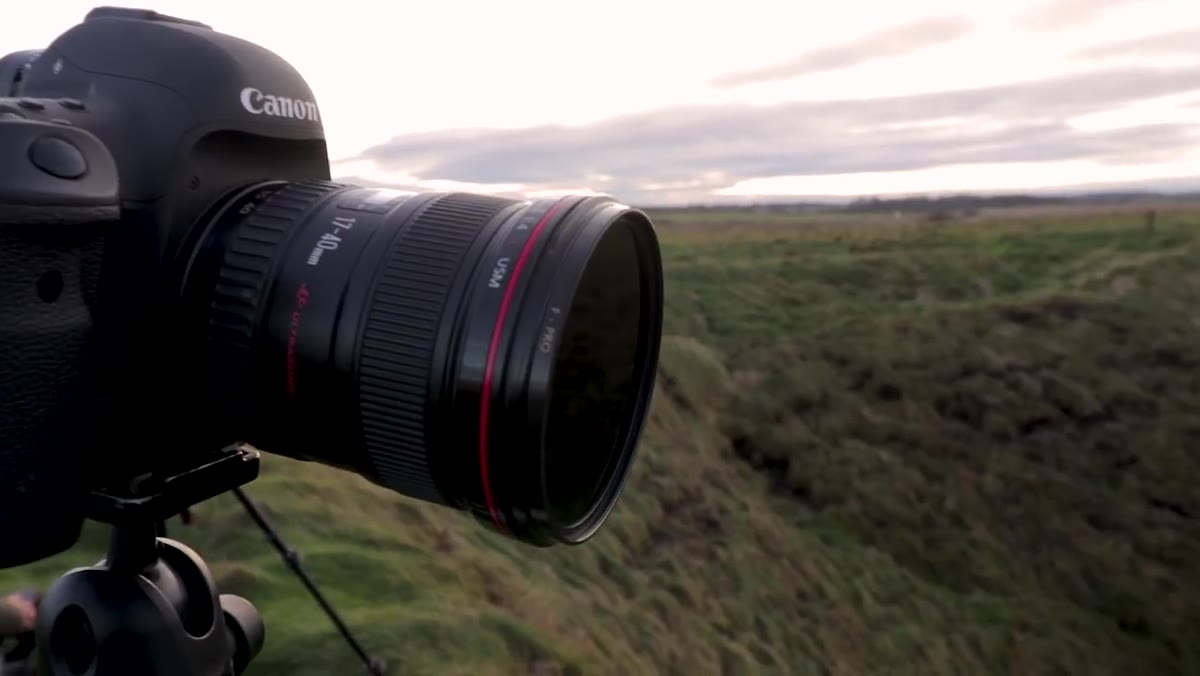 Camera settings shown, f/16 with 6-stop ND filter attached
The settings used here were deliberate and specific. A 6-stop neutral density filter was placed on the lens, and the aperture was set to f/16. That combination pushed the exposure out to roughly one second at ISO 100. The goal was not to completely eliminate water movement, but to soften it, introducing just enough blur to give the sea surface a silky, directional quality without losing the sense that water is actually moving.
Camera settings shown, f/16 with 6-stop ND filter attached
The settings used here were deliberate and specific. A 6-stop neutral density filter was placed on the lens, and the aperture was set to f/16. That combination pushed the exposure out to roughly one second at ISO 100. The goal was not to completely eliminate water movement, but to soften it, introducing just enough blur to give the sea surface a silky, directional quality without losing the sense that water is actually moving.
One second is a good starting point for this kind of subtle smoothing effect. If you want more motion, move to a 10-stop filter and aim for five seconds or longer. Five seconds will pull streaks through the frame and give the water a more painterly, atmospheric quality. Start with one second, review the result, then push further if the scene calls for it.
Step 5: Test Both Exposure Lengths and Compare
 Photographer considering swapping to a 10-stop ND filter
Rather than committing immediately to one look, the approach here was to consider testing a second, longer exposure using a 10-stop filter. This is sound practice. The difference between a one-second exposure and a five-second exposure on moving water is dramatic, and which one works depends entirely on the specific scene, the direction of water movement, the shape of the rocks, and the mood you’re after.
Photographer considering swapping to a 10-stop ND filter
Rather than committing immediately to one look, the approach here was to consider testing a second, longer exposure using a 10-stop filter. This is sound practice. The difference between a one-second exposure and a five-second exposure on moving water is dramatic, and which one works depends entirely on the specific scene, the direction of water movement, the shape of the rocks, and the mood you’re after.
Bracket your long exposures the same way you’d bracket for highlights and shadows. Shoot the scene at one second, three seconds, and ten seconds if conditions allow. You can’t always predict which will hold together until you review them side by side back home.
Step 6: Eliminate Camera Shake on Unstable Ground
 Photographer noting tripod is on bouncy grass, bracing for shot
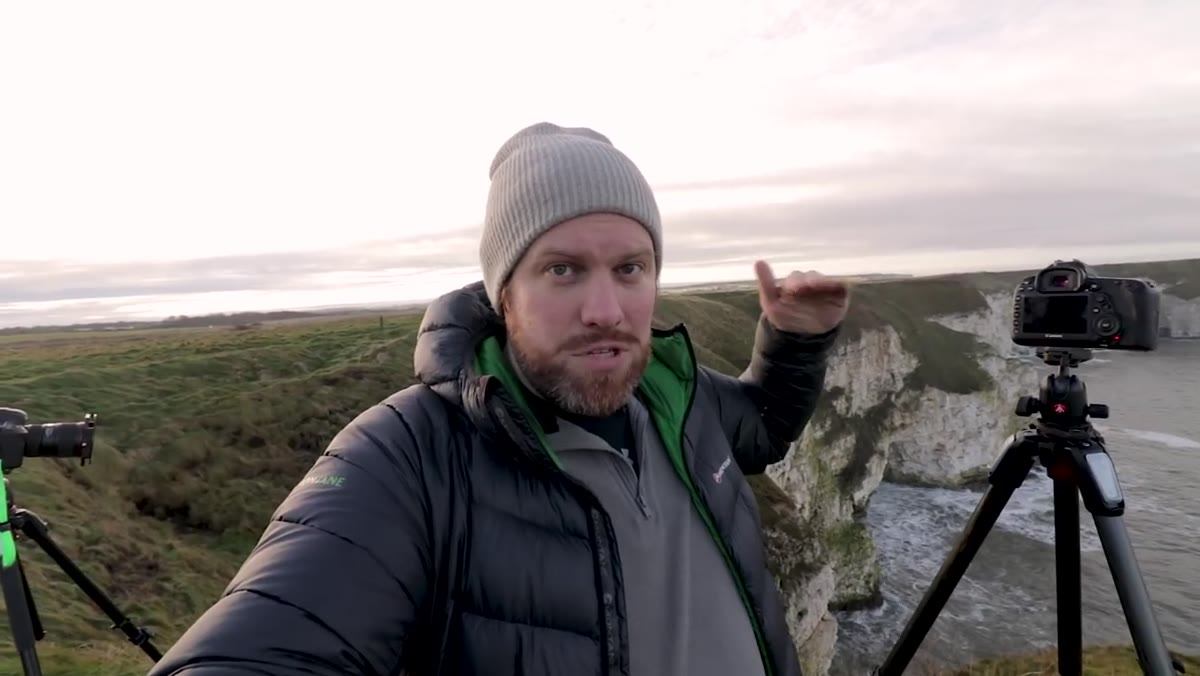
This one is easy to miss in the moment. The tripod was positioned on soft, springy coastal grass, which introduced vibration risk even with a remote or timer release. The solution was simple awareness: pause, confirm the platform is stable, avoid touching the tripod during exposure, and consider using a two-second timer delay to let any vibration from pressing the shutter button dissipate before the exposure begins.
Photographer noting tripod is on bouncy grass, bracing for shot
This one is easy to miss in the moment. The tripod was positioned on soft, springy coastal grass, which introduced vibration risk even with a remote or timer release. The solution was simple awareness: pause, confirm the platform is stable, avoid touching the tripod during exposure, and consider using a two-second timer delay to let any vibration from pressing the shutter button dissipate before the exposure begins.
On soft ground, check all three tripod legs individually. Press down lightly on the head and watch for movement. If you feel any flex, reposition. A sharp composition ruined by camera shake at a two-second exposure is a frustrating problem to find on your monitor at home.
One Thing I’d Add from My Own Practice
The backup project idea in this video is solid, but I’d push it one step further: review your year’s work the same way the photographer describes doing here. Print out small versions of everything. Put them on a wall. Look for gaps. The gaps become your project list. I do this every January and it consistently shows me which landscapes I’m avoiding, usually the ones that feel too difficult or too uncertain. That discomfort is usually where the most interesting work is waiting.
The image categories he identified, woodland, coast, mountains, are useful not just for planning but for understanding your own instincts. If you’ve been to the coast six times this year and the mountains zero times, that’s data. Use it.
Plans fall apart. Alarms don’t go off. Light goes flat. The photographers who keep producing work aren’t the ones with better luck. They’re the ones with a list, a process, and the willingness to shoot what’s in front of them rather than waiting for the version they imagined. That’s the real takeaway from this vlog.
Watch the full tutorial on YouTube to follow the full shoot in real time, including the final image review.
Comments (2)
Just subscribed. If the rest of your content is this good, I'm in.
Applied this to my portfolio shots and the improvement is noticeable.
Leave a Comment