
There’s a version of landscape photography that lives on spreadsheets and weather apps and pre-visualized compositions you’ve been planning since January. And then there’s what actually happens when you show up. After twenty years of dragging gear up ridgelines before dawn, I’ve learned that the gap between those two versions of events is where the real craft lives. The ability to read conditions on the fly, swap your plan without ego, and still produce meaningful work is what separates photographers who make images from photographers who collect hikes.
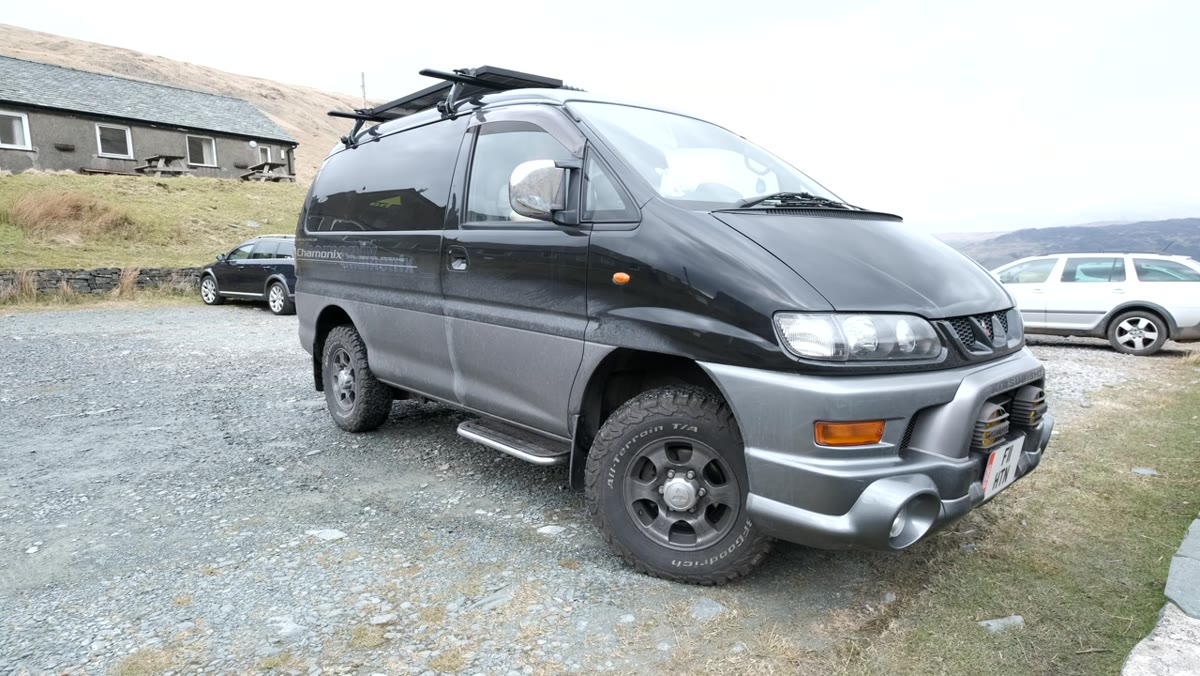
In this Thomas Heaton tutorial, filmed during a solo camper van road trip through the Lake District, that exact scenario plays out in real time. Watch the full tutorial on YouTube. Heaton planned to summit Great Gable, one of the most commanding peaks in the Lakes, but arrived to find the entire valley smothered in low cloud. What followed was a live masterclass in adaptive field craft: a location switch, a humbling climb, and finally a long-lens session pulling light and atmosphere out of a moody, rain-edged sky. The techniques he demonstrates here map directly onto problems I encounter every season, and they’re worth breaking down step by step.
Step 1: Assess Conditions Before You Leave the Car Park
 Thomas scanning cloud-covered peaks from valley floor
Before you unpack a single thing, stop and look. Heaton drives into the Lake District and immediately clocks that the cloud ceiling has swallowed his intended summit. He doesn’t get out, put on his boots, and hope for the best. He sits with the information and makes a decision. This sounds obvious, but the sunk cost of a long drive is powerful, and most photographers will push on just to feel like the effort was worthwhile.
Thomas scanning cloud-covered peaks from valley floor
Before you unpack a single thing, stop and look. Heaton drives into the Lake District and immediately clocks that the cloud ceiling has swallowed his intended summit. He doesn’t get out, put on his boots, and hope for the best. He sits with the information and makes a decision. This sounds obvious, but the sunk cost of a long drive is powerful, and most photographers will push on just to feel like the effort was worthwhile.
Get in the habit of doing a proper visual scan from the lowest point of the valley before committing. Check where the cloud base sits relative to your intended elevation. If it’s sitting below your target peak, you’ll likely be shooting in a grey void. A quick check of a topographic map alongside what you’re seeing with your eyes will tell you more than any forecast app.
Step 2: Switch Locations Without Ego
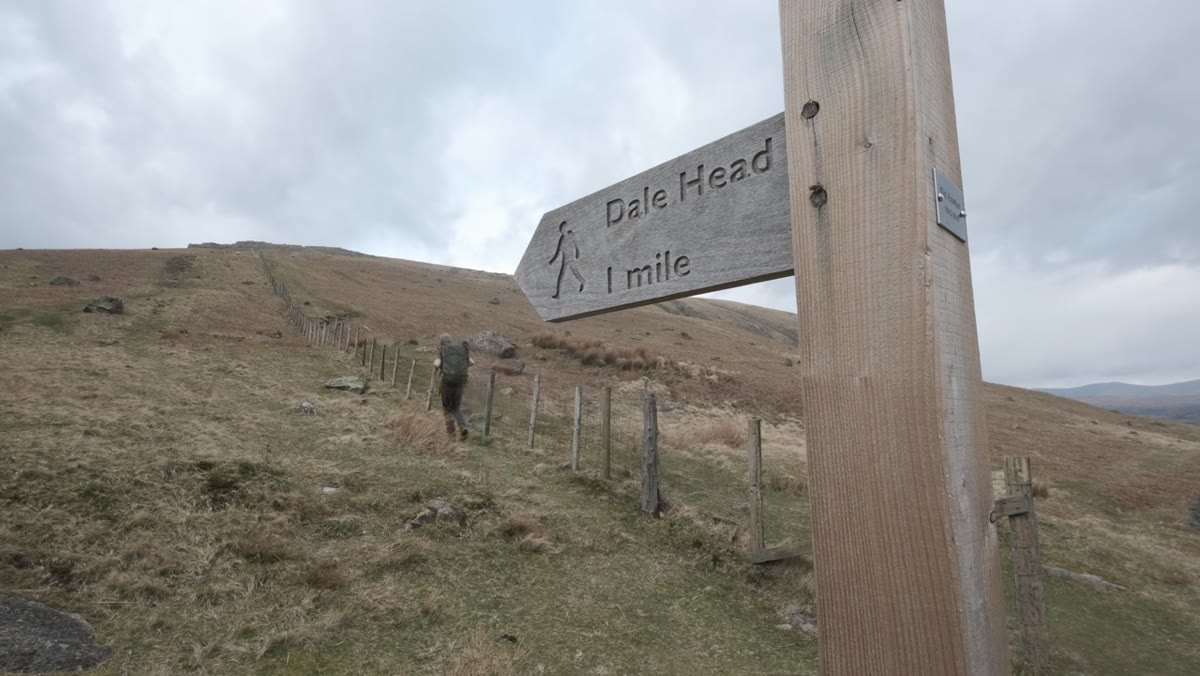
 Map consultation, identifying Dale Head as alternative to Great Gable
Heaton identifies an alternative peak, Dale Head, which sits roughly 150 meters lower in elevation. Critically, he can see it’s sitting just below the cloud layer, which means clear sightlines and the potential for dramatic light breaking across the surrounding fells. He commits to the switch quickly and without drama. That decisiveness matters.
Map consultation, identifying Dale Head as alternative to Great Gable
Heaton identifies an alternative peak, Dale Head, which sits roughly 150 meters lower in elevation. Critically, he can see it’s sitting just below the cloud layer, which means clear sightlines and the potential for dramatic light breaking across the surrounding fells. He commits to the switch quickly and without drama. That decisiveness matters.
When you’re pivoting in the field, look for a location that keeps the interesting atmospheric elements in play while getting you under or just beside the cloud ceiling. Lower elevation isn’t a consolation prize. It’s a different vantage point, often one with more compositional layers because you’re looking across rather than straight down. Study your map for ridgelines and saddles that face the direction of any incoming light, even if they’re not the headline destination.
Step 3: Commit Physically, Even When You Don’t Want To
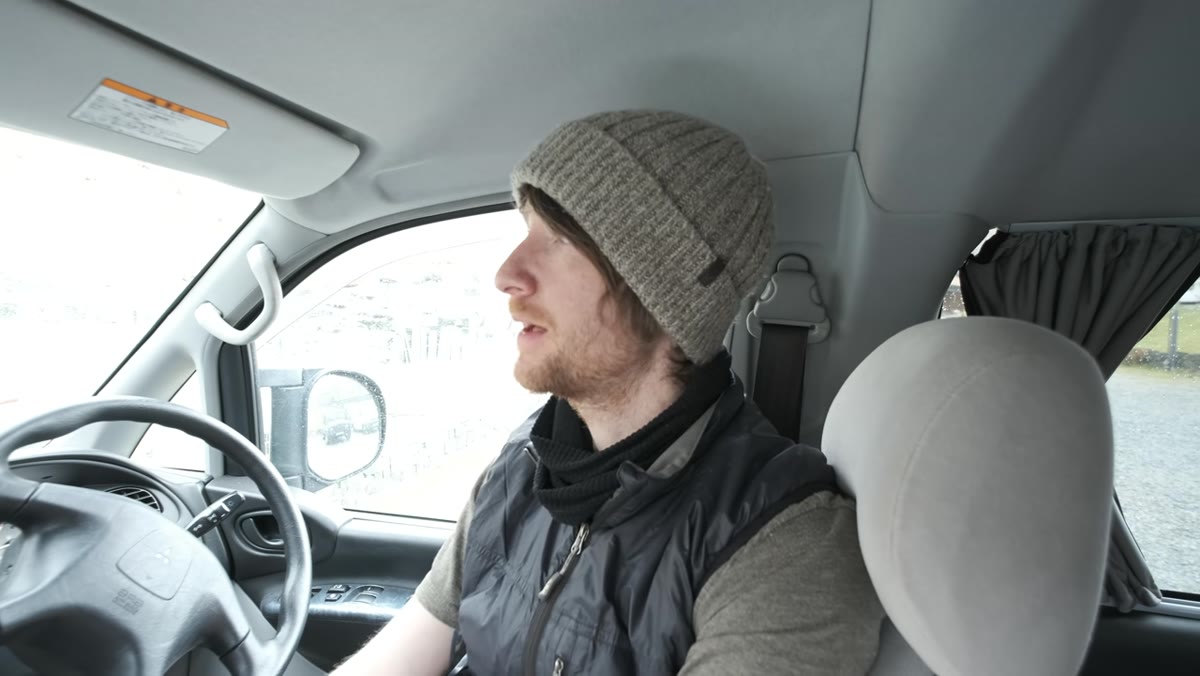
 Thomas hiking uphill, visibly tired, acknowledging he nearly stayed in the van
Heaton is candid here in a way that I find genuinely useful: he nearly sat in the van and drove home. He was tired from the road trip, the day hadn’t gone to plan, and the easier option was right there. He went anyway. And the view at the top was, in his words, glorious.
Thomas hiking uphill, visibly tired, acknowledging he nearly stayed in the van
Heaton is candid here in a way that I find genuinely useful: he nearly sat in the van and drove home. He was tired from the road trip, the day hadn’t gone to plan, and the easier option was right there. He went anyway. And the view at the top was, in his words, glorious.
I have a rule I’ve used for years, borrowed from a mentor who told me that the mountain doesn’t care about your schedule. The only question is whether you’re willing to show up for it. Tiredness is a real factor and shouldn’t be ignored when safety is involved, but low motivation and physical exhaustion are different things. If your legs work and the light is happening, move.
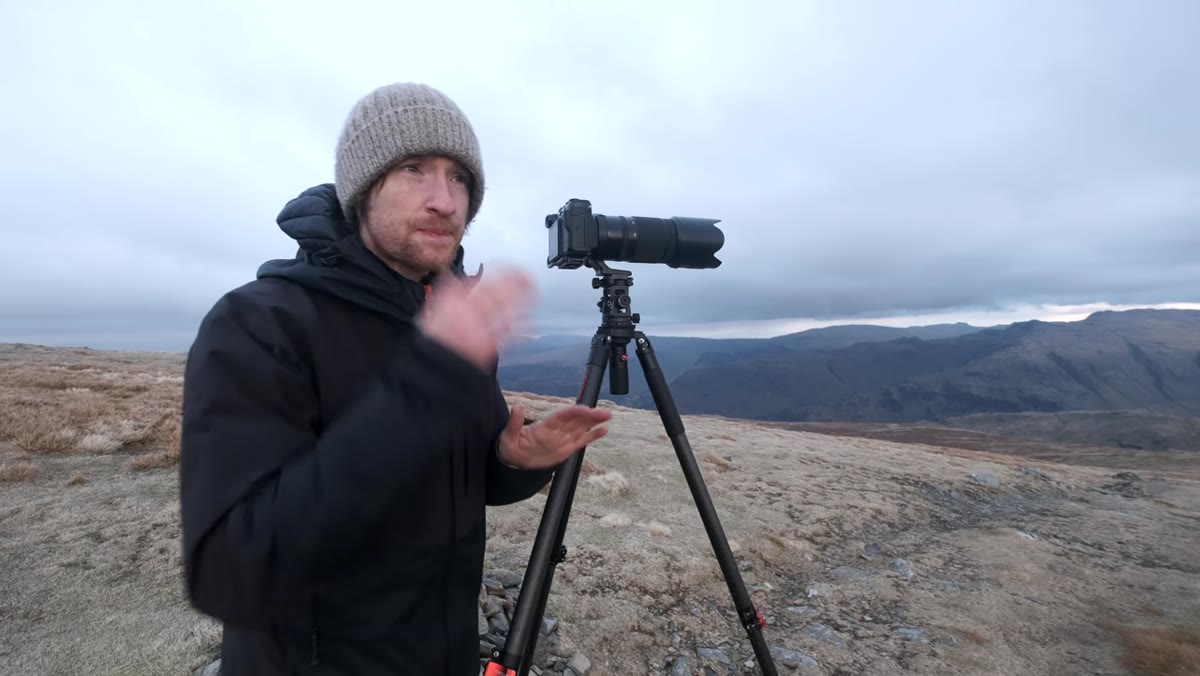
Step 4: Read the Light as It Shifts Around You
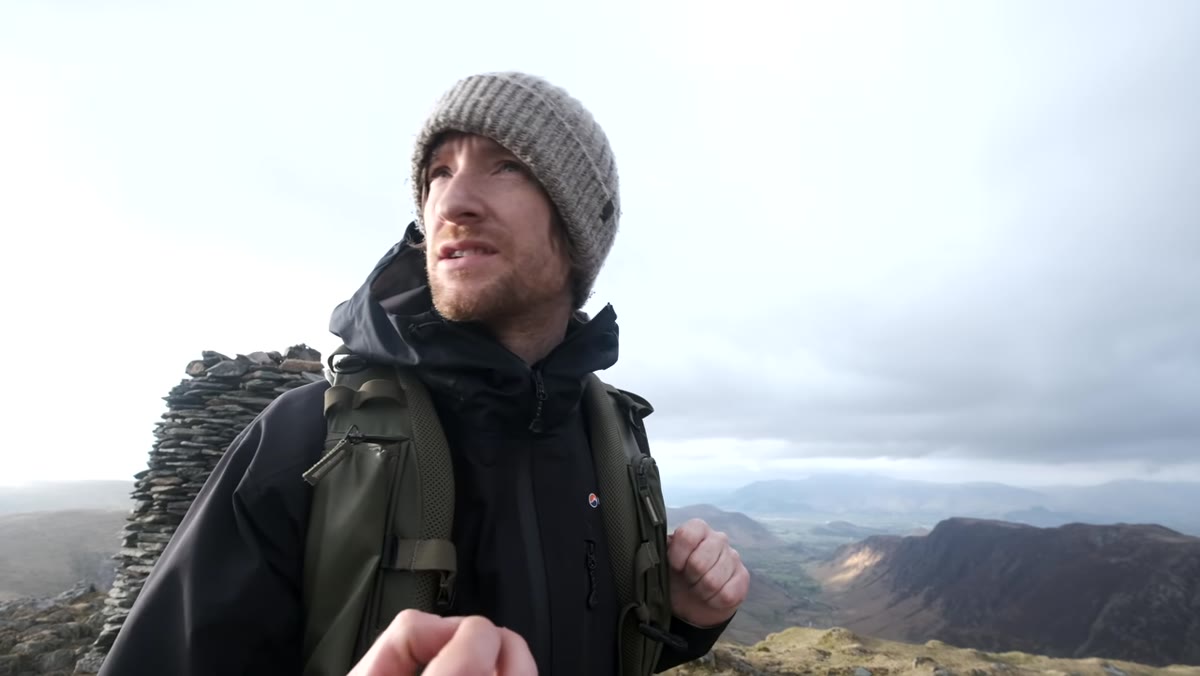 Dynamic cloud and light conditions over Lake District fells
Once Heaton reaches the summit area, he doesn’t immediately set up and start shooting. He watches. Rain showers are moving across the valley, clouds are building in one direction while light breaks through in another. This kind of dynamic sky requires patience before it rewards you with a decisive moment.
Dynamic cloud and light conditions over Lake District fells
Once Heaton reaches the summit area, he doesn’t immediately set up and start shooting. He watches. Rain showers are moving across the valley, clouds are building in one direction while light breaks through in another. This kind of dynamic sky requires patience before it rewards you with a decisive moment.
Position yourself so you have multiple potential compositions within a short arc of movement. You’re not locked to one tripod position when conditions are this active. Watch where the light patches are traveling and anticipate where they’ll land in the next two to three minutes. Having a wide and a telephoto lens ready, without needing to dig through a bag, is essential here.
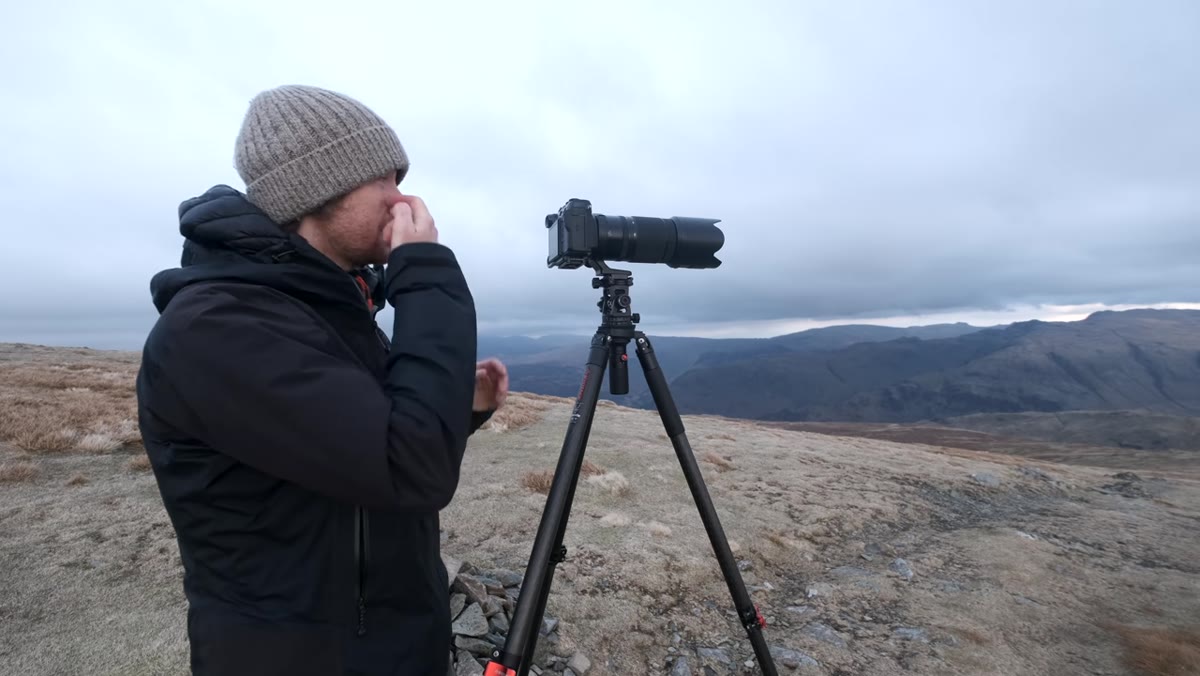
Step 5: Use a Long Lens to Extract Compressed Layers
 Long lens framing a lit saddle with cloud layers and depth
This is the technical core of the session. With the broader landscape partially obscured by cloud, Heaton reaches for a long lens and begins isolating specific pockets of the scene. He finds a saddle catching a soft beam of light, with cloud layers stacking behind it, and compresses that depth into a single tight frame. His aperture is f/16 to keep everything from foreground ridge to distant fell in focus.
Long lens framing a lit saddle with cloud layers and depth
This is the technical core of the session. With the broader landscape partially obscured by cloud, Heaton reaches for a long lens and begins isolating specific pockets of the scene. He finds a saddle catching a soft beam of light, with cloud layers stacking behind it, and compresses that depth into a single tight frame. His aperture is f/16 to keep everything from foreground ridge to distant fell in focus.
Long lenses do something wide angles can’t in conditions like these: they strip out the chaos and find the one moment of coherence in a messy sky. Frame for tonal contrast, meaning a lit element against a darker cloud bank, or a dark foreground ridge against brighter mid-ground. Focus on the most distant sharp element in the frame. At f/16 with a telephoto, depth of field is already doing heavy work for you, but confirm your focus point manually. Auto mode will hunt in low contrast conditions.
Step 6: Embrace Atmosphere Over the “Clean” Shot
 Abstract, layered Lakeland view with diffused light and mist
Heaton names something that I’ve had to learn to trust over years of shooting: photographs made in complex, imperfect light often carry more emotional weight than images made in textbook golden hour conditions. The soft, almost vignetting effect of cloud rolling around a valley, a single shaft of light on a distant ridge, rain hanging in the air as a haze. These are conditions that a lot of photographers pack up and leave in.
Abstract, layered Lakeland view with diffused light and mist
Heaton names something that I’ve had to learn to trust over years of shooting: photographs made in complex, imperfect light often carry more emotional weight than images made in textbook golden hour conditions. The soft, almost vignetting effect of cloud rolling around a valley, a single shaft of light on a distant ridge, rain hanging in the air as a haze. These are conditions that a lot of photographers pack up and leave in.
Resist that urge. Shoot what’s in front of you, not what you planned to shoot. Atmospheric photographs made in difficult conditions tend to age well, outlasting the technically polished but emotionally inert images made on perfect clear evenings.
What I’d Add From My Own Experience
I shoot in the high desert and the Cascades mostly, and the Lake District’s particular brand of fast-moving, layered weather is something I’ve only encountered on trips to the UK and coastal Norway. But the adaptive mindset Heaton demonstrates translates everywhere. The specific thing I’d emphasize for photographers working in mountains and high elevation terrain: build your alternate location into your planning before you leave home. I keep a second and even third option mapped for every major shoot, so when the primary location is blown out or socked in, I’m not making decisions under pressure with tired legs. The switch from Great Gable to Dale Head looks instinctive, but it works because Heaton knows that landscape well. Study your area until you have that fluency, and then the pivots become creative rather than reactive.
The single most important takeaway from this tutorial isn’t a camera setting. It’s the act of getting out of the van. All the technique in the world is worthless if you let fatigue or a changed forecast keep you in the car park. The conditions that seem worst are often the ones that produce the most memorable frames.
Watch the full tutorial on YouTube to see exactly how Heaton reads the light in real time and works the long lens across those Lakeland layers.
Comments
Leave a Comment