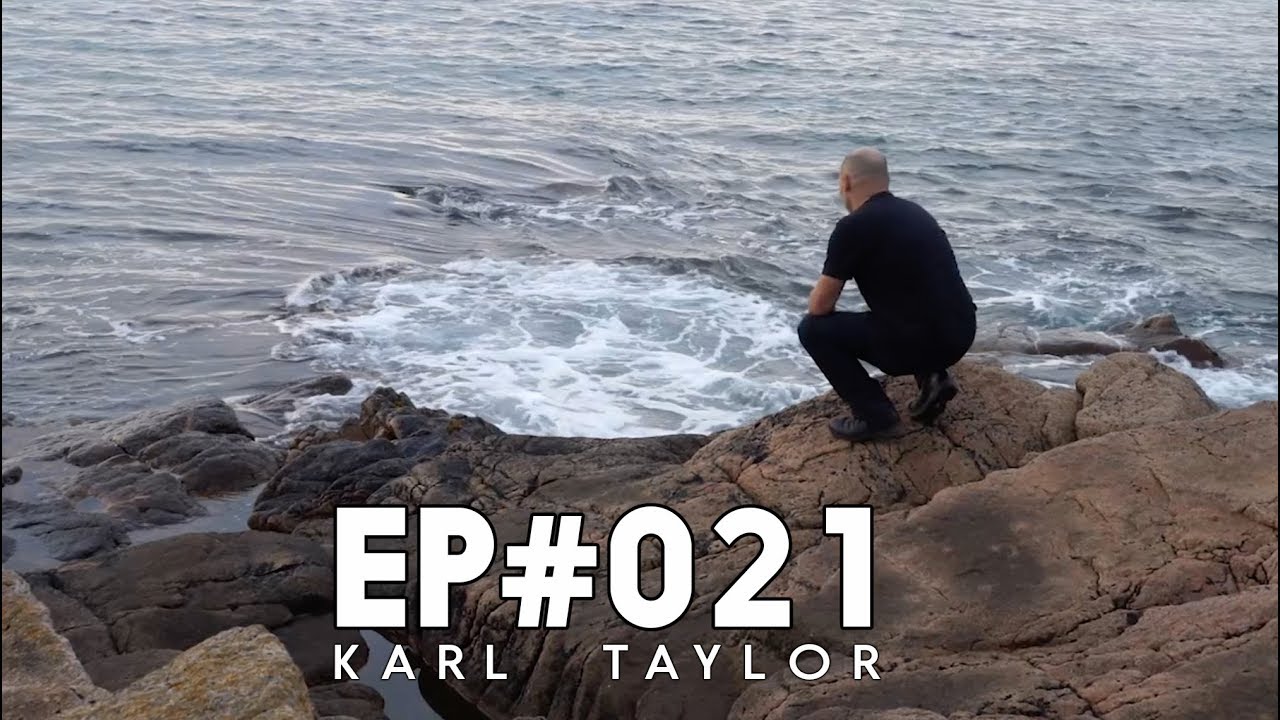
There’s a particular kind of frustration I know well: you’ve done your location scouting, checked the forecast three times, and then you’re standing on a cliff edge watching flat grey light bleed across the sky while the clouds do exactly nothing interesting. I’ve had sessions like that more times than I can count, and they’ve taught me more than the golden-hour home runs ever did. That’s part of why I keep coming back to work from photographers who shoot in real conditions, not controlled ones.
In this Visual Education tutorial, the team heads out to scout and shoot a coastal seascape, wrestles with uncertain weather, and still comes home with a strong series of images. Watch the full tutorial on YouTube What makes this one worth studying is not a single clever technique, it’s the whole field mentality: keep shooting, work the light you have, and stay alert to what’s actually happening in front of you. That last part pays off in a way nobody could have planned.
My mentor used to say “the mountain doesn’t care about your schedule,” and I think about that on every coastal shoot. The ocean especially operates on its own terms. What this tutorial captures is the practical side of accepting that and building a workflow flexible enough to respond.
Step 1: Scout the Location Before Committing to a Spot
 Presenter walking coastal terrain searching for a shooting position
Good seascape images start on foot, not behind the camera. The Visual Education team spends real time walking the coastline before setting up, assessing angles, the position of rocks in the water, and the general direction of available light. This is the part most photographers skip when the light is already doing something and panic sets in.
Presenter walking coastal terrain searching for a shooting position
Good seascape images start on foot, not behind the camera. The Visual Education team spends real time walking the coastline before setting up, assessing angles, the position of rocks in the water, and the general direction of available light. This is the part most photographers skip when the light is already doing something and panic sets in.
When I’m scouting coastal locations, I move slower than feels comfortable. I’m looking at how the foreground elements, rocks, wet sand, tide pools, relate to the horizon and any background landmarks. A formation that looks flat from one angle can have real depth from ten meters to the left. Don’t pull the tripod out until you’ve walked the options.
Step 2: Read the Light and Adjust Your Expectations
 Overcast coastal sky with flat light over the water
The team is open about the fact that the conditions aren’t what they hoped for. Cloud cover is moving in, the Sun is diffused, and the session feels like it might underwhelm. This is the honest reality of most coastal shoots. The skill is in recalibrating rather than packing up.
Overcast coastal sky with flat light over the water
The team is open about the fact that the conditions aren’t what they hoped for. Cloud cover is moving in, the Sun is diffused, and the session feels like it might underwhelm. This is the honest reality of most coastal shoots. The skill is in recalibrating rather than packing up.
Flat light is not useless light. It reduces harsh shadows, softens reflections on wet surfaces, and can give seascapes a moody, even-toned quality that golden hour can’t always deliver. When I’m working in these conditions, I shift my attention to texture and foreground detail rather than dramatic sky. I’ll often drop lower to emphasize wet rock patterns or the motion of shallow water moving over sand.
Step 3: Work the Seascape Systematically at Different Elevations
 Photographer showing series of seascape images captured from low angle near water
The team comes away with a full series of coastal images, not just one or two frames. This is intentional. They’re working the scene at different heights, varying their proximity to the waterline, and capturing the location across a window of time as light shifts.
Photographer showing series of seascape images captured from low angle near water
The team comes away with a full series of coastal images, not just one or two frames. This is intentional. They’re working the scene at different heights, varying their proximity to the waterline, and capturing the location across a window of time as light shifts.
This is something I push hard in my workshops: resist the urge to stop shooting once you have one shot you like. Move in closer. Get lower. Change your focal length. The image you think is the keeper in the field is often not the one that holds up on a monitor later. A systematic approach to working the scene means you’re building a set of options, not gambling on a single frame.
Step 4: Launch the Drone for Aerial Coverage of the Scene
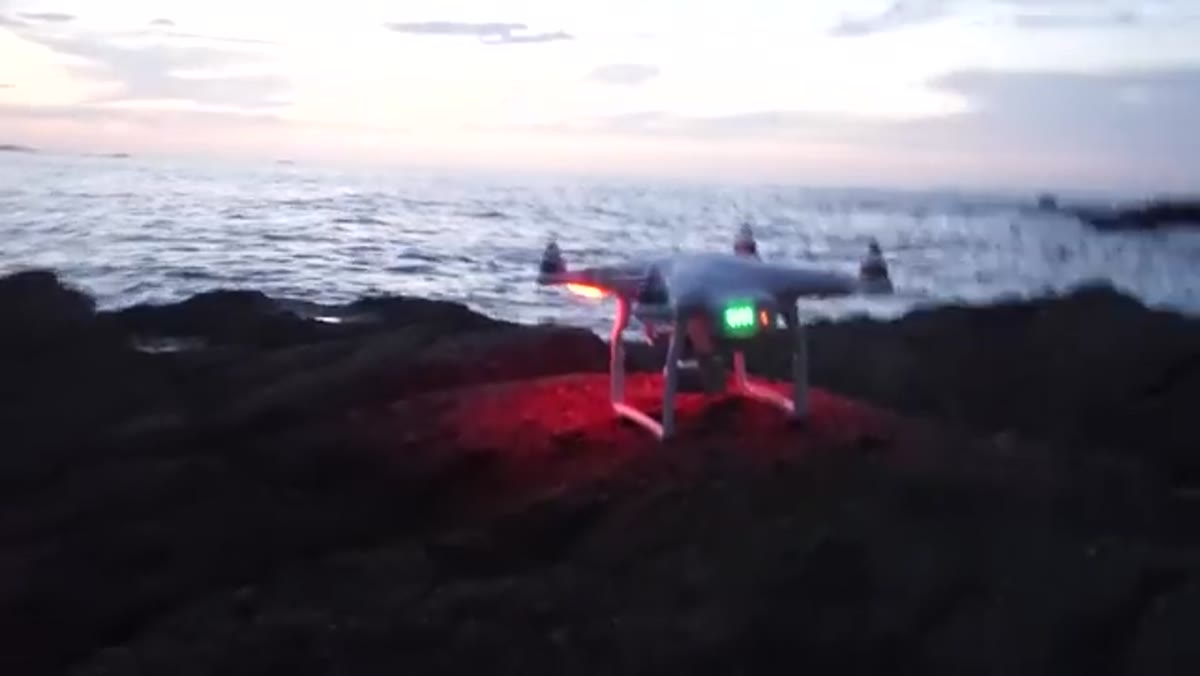 Drone being prepared for launch at coastal location during sunset
Once the ground-level shooting session wraps, the team launches a drone to extend the coverage of the scene from above. This gives an entirely different perspective on the same coastal environment, revealing patterns in the water, the layout of rocks, and the relationship between land and sea that’s impossible to see from the shoreline.
Drone being prepared for launch at coastal location during sunset
Once the ground-level shooting session wraps, the team launches a drone to extend the coverage of the scene from above. This gives an entirely different perspective on the same coastal environment, revealing patterns in the water, the layout of rocks, and the relationship between land and sea that’s impossible to see from the shoreline.
If you’re adding drone work to your coastal sessions, plan it as a second phase rather than an afterthought. The light may be changing by the time you launch, so know what you’re specifically looking for in the air before it goes up. Have a shot list in your head: abstract water texture, birds-eye rock formations, the coastal edge itself. It’s easy to waste battery time chasing random angles without a plan.
Step 5: Stay Alert. The Scene Can Change in an Instant
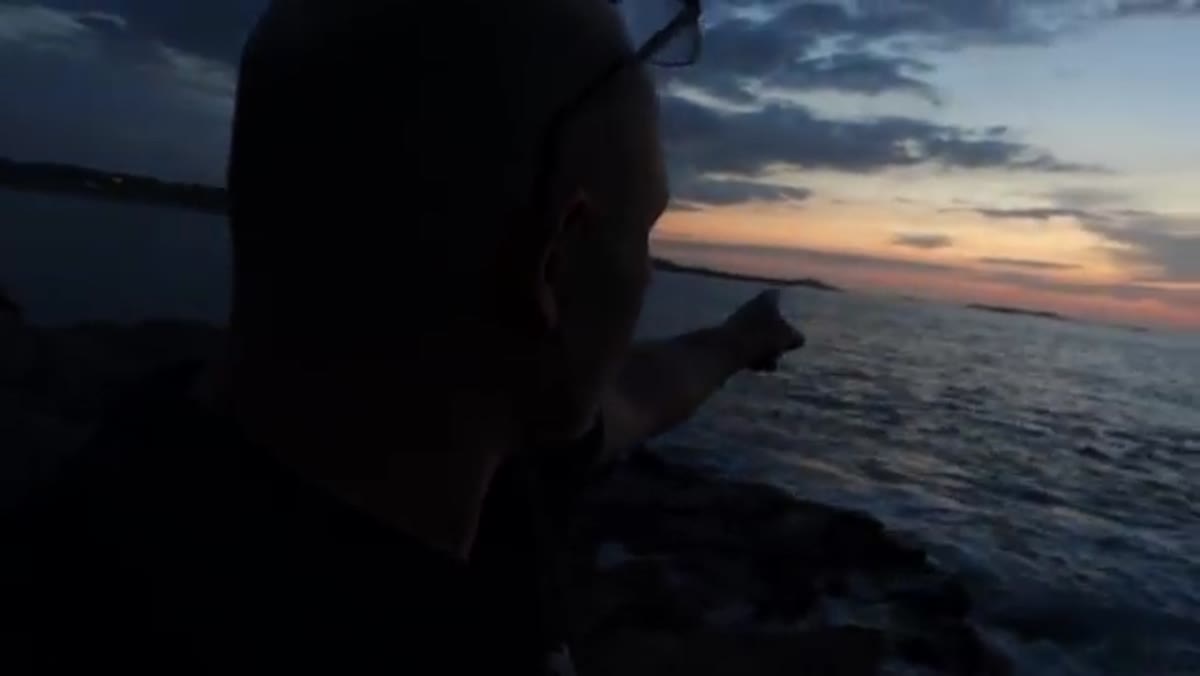
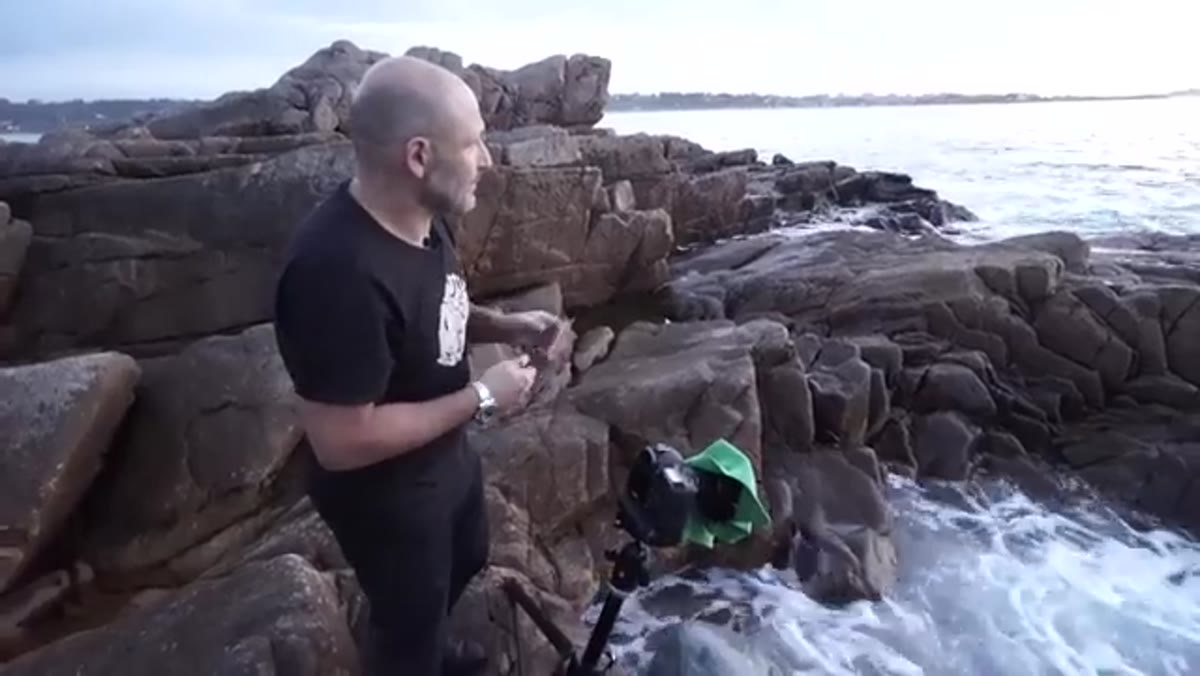 Presenter pointing toward dolphins visible in the bay water
This is the step nobody can script. While the team is shooting and preparing to fly the drone, dolphins appear in the bay directly in front of them. The reaction is immediate: cameras come back up, the drone gets redirected, and suddenly the entire session shifts into something none of them anticipated.
Presenter pointing toward dolphins visible in the bay water
This is the step nobody can script. While the team is shooting and preparing to fly the drone, dolphins appear in the bay directly in front of them. The reaction is immediate: cameras come back up, the drone gets redirected, and suddenly the entire session shifts into something none of them anticipated.
The takeaway here is practical, not philosophical. Keep your gear accessible even when you think you’re done shooting. I’ve missed extraordinary moments because I was already breaking down my tripod or scrolling through frames on the back of the camera. Coastal environments especially are dynamic, wildlife, weather, surf, and you don’t want the camera in the bag when something worth photographing moves into frame.
Step 6: Redirect the Drone Toward the Wildlife Opportunity
 Drone footage tracking dolphins moving through bay water
Once the dolphins are spotted, the drone becomes a dedicated wildlife platform rather than a landscape tool. The operator works to close distance carefully, keeping the drone from diving too fast toward the water, managing altitude while tracking the movement of the pod.
Drone footage tracking dolphins moving through bay water
Once the dolphins are spotted, the drone becomes a dedicated wildlife platform rather than a landscape tool. The operator works to close distance carefully, keeping the drone from diving too fast toward the water, managing altitude while tracking the movement of the pod.
Transitioning a drone session mid-flight from landscape to wildlife is a real skill. Keep altitude changes gradual. Sudden descents spook animals and often ruin the footage anyway because of camera shake. Prioritize smooth lateral tracking over trying to get as close as possible. Distance plus good light is almost always better than proximity plus chaos.
What I’d Add From Twenty Years on the Coast
I’ve been shooting coastal landscapes long enough to know that the sessions I remember most are almost never the ones I planned perfectly. The fog sessions, the surprise wildlife, the light that did something strange at the last minute, those are the ones that produce the images I’m still selling years later.
The Visual Education team captures something real in this episode: field photography is a discipline of attention, not just technique. You can have the right settings dialed in and miss everything because you stopped paying attention to the scene. Treat every session as still in progress until you’re actually back in the car.
One practical note on coastal drone work specifically: check your local regulations before you fly near wildlife. In many regions there are minimum altitude requirements and no-fly zones around protected marine animals. Know the rules for your area before the session, not after the dolphins show up.
The single most useful idea in this tutorial is also the simplest: keep shooting and stay present, because the landscape will show you things you didn’t come for, and those are often the best things it has. A well-executed plan gets you competent images. Real attention gets you memorable ones.
Watch the full tutorial on YouTube and pay particular attention to how the team responds when conditions change. That adaptability is the actual skill being demonstrated, not just the camera work.
Comments
Leave a Comment