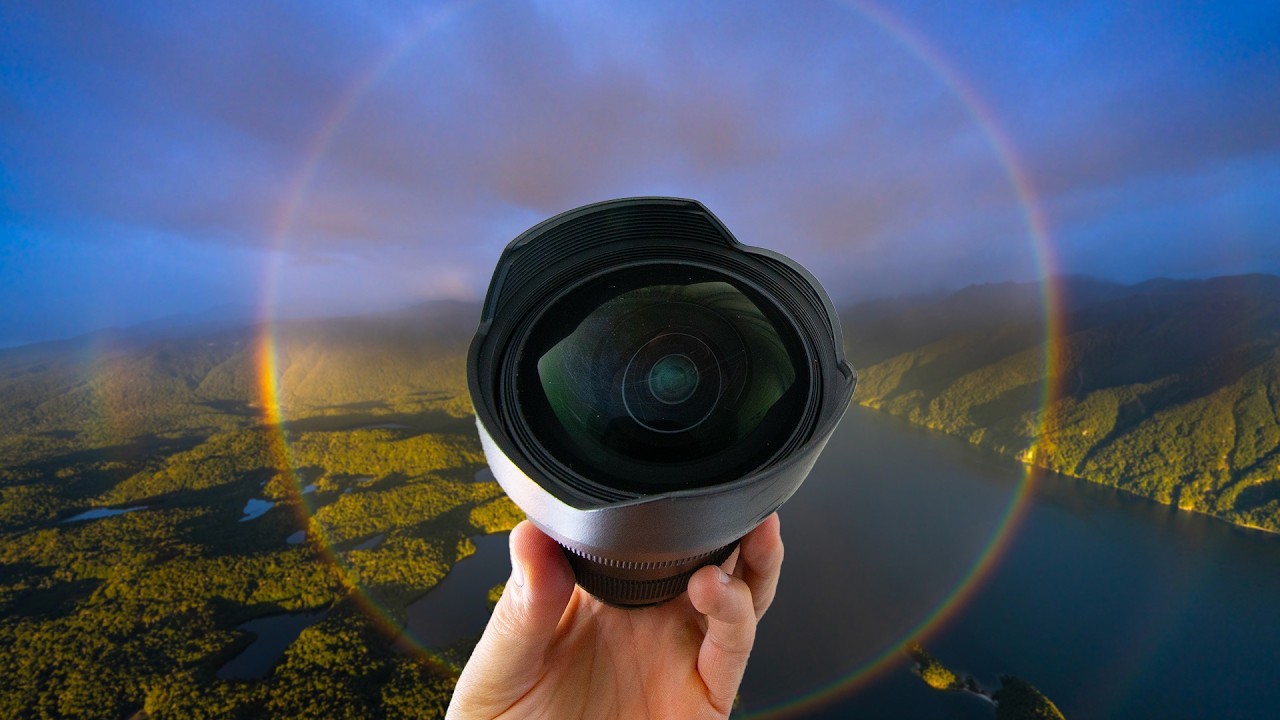
There’s a lens sitting in a lot of camera bags that photographers pull out, feel vaguely disappointed by, and quietly put back. The ultra-wide angle. I spent probably two full years underusing mine before I figured out why my results looked flat and unconvincing compared to what I knew the lens could do. The problem wasn’t the lens. It was how I was using it, specifically the assumptions I was carrying over from shooting at longer focal lengths.
In this William Patino tutorial on mastering the wide-angle lens, he cuts straight to the mistakes most photographers make and why this lens demands a completely different physical and compositional approach. It’s one of the clearer breakdowns I’ve seen on the subject. Watch the full tutorial on YouTube and then come back here, because I want to walk through each point with some additional context from the field.
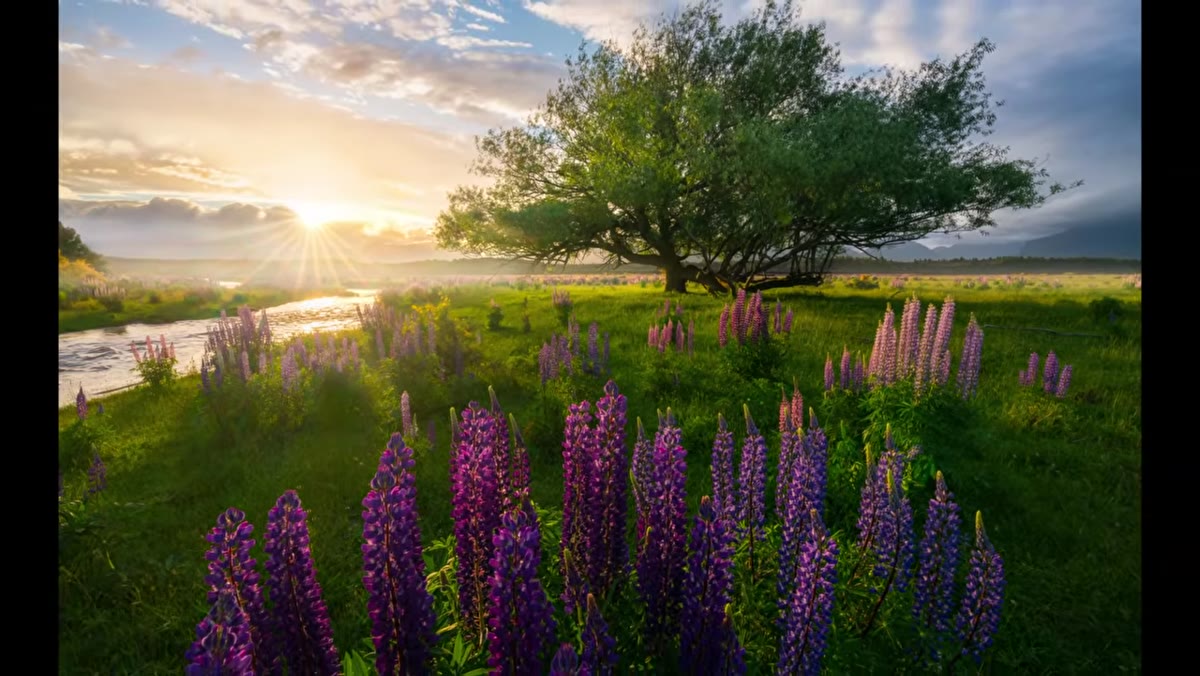
About half my portfolio is shot wide. This lens is not a novelty or a shortcut to dramatic-looking scenics. Used correctly, it creates a sense of genuine presence, like the viewer has been placed inside the landscape rather than asked to look at it from across the room. But that effect has very specific requirements.
Step 1: Get Uncomfortably Close to Your Foreground
 Photographer’s feet near a rocky foreground element
Most people who pick up an ultra-wide angle for the first time treat it like a standard lens they happened to zoom out on. They stand at a comfortable shooting height, find a composition that looks reasonable, and wonder why the final image looks like everything is a mile away. The fix is to get physically much closer to your foreground than feels natural, often within one to two feet of the nearest element.
What this proximity does is create a diminishing perspective, where objects scale down rapidly from large in the foreground to small in the background. That scaling is what gives the image its sense of depth and three-dimensionality. When you stay too far back, everything in the frame registers at roughly the same visual distance and the whole thing collapses into a flat plane. Get low, get close, and trust that the ultra-wide field of view will still capture your background.
Step 2: Keep Your Background Subject Large and Anchored
 Mountain range visible in the distant background of a wide composition
Here’s the tension that makes this lens genuinely difficult: the same optical properties that let you fill the foreground with detail will also shrink whatever is in the background. A mountain range that looked massive to your eye will look like a distant ridge if you’re not positioned well. Sea cliffs that dominated the horizon become a thin stripe along the top of the frame.
Patino’s point here is a good one. You need to be intentional about your background subject having visual weight. That might mean physically moving closer to your background element before you start building the foreground composition, or choosing locations where the scale of the distant subject is large enough to survive the compression. If your eye travels through the foreground and arrives at something unimpressive, the whole image loses its reason to exist.
Step 3: Break Your Default Shooting Height
 Photographer crouching low with camera near ground level
One of the quieter habits that kills wide-angle work is staying at tripod-eye-level for every shot. It’s easy to do. You find a spot, set up your tripod at a comfortable working height, and start composing from there. The problem is that shooting consistently from one height produces images that all feel the same, regardless of location.
The ultra-wide lens rewards experimentation with angle more than almost any other focal length. Going lower to the ground dramatically increases the sense of scale in the foreground. Going higher can open up layers in the landscape that weren’t visible from standing height. Looking through natural gaps, behind rocks, or through the branches of a low tree creates framing that places the viewer inside the scene rather than in front of it. Try three or four angles before you commit to one.
Step 4: Use Natural Frames and Windows in the Landscape
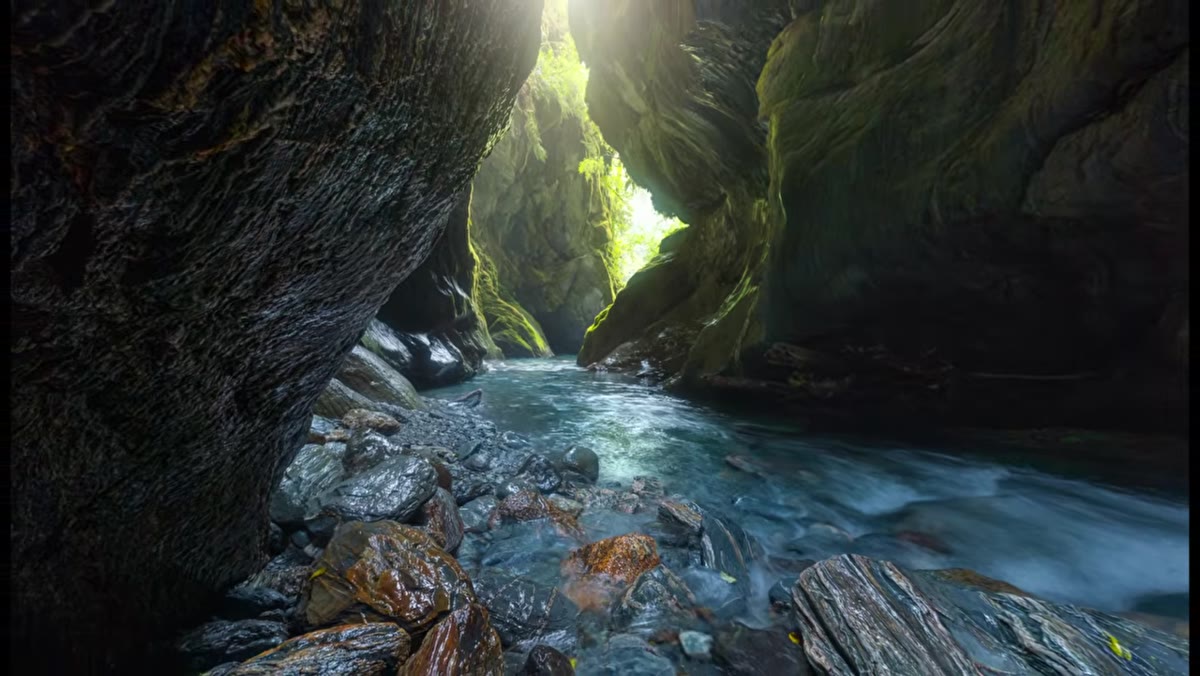 Wide angle shot framed through natural rock or vegetation opening
This is where the ultra-wide lens starts to separate itself from other focal lengths. Because of its extreme field of view, you can get close enough to a natural frame, an archway of rock, a gap between two boulders, a break in a treeline, to have it occupy a meaningful portion of the image while still capturing the full scene beyond it. A telephoto can’t do this. Even a standard wide angle struggles with it.
Patino describes this as looking for “natural windows” in the landscape. Once you train your eye to see them, they appear everywhere. The key is that the frame doesn’t just have to look decorative. It should do compositional work, directing the viewer’s eye toward the background subject and adding a layer of depth that separates the near, mid, and far elements of the scene. When foreground framing and background subject work together, the image has the kind of pull that stops people from scrolling.
A Note From Twenty Years of Shooting Wide
I want to add something Patino doesn’t cover directly but that I’ve found to be essential in practice: patience with the physical setup.
When you’re working one to two feet from a foreground element, prone on wet rock or wedged between boulders to get the angle right, the temptation is to rush because the light is changing. I’ve learned to arrive earlier than I think I need to, scout the foreground in the last of the flat pre-dawn light, and have my position chosen before the sky starts doing anything interesting. My mentor used to say the mountain doesn’t care about your schedule, and he was right. The light will not wait while you’re still figuring out where to put your feet.
The other thing worth knowing is that this lens punishes sloppy horizon lines and tilted verticals more than any other. What looks like a slight tilt in your viewfinder becomes a noticeable lean in the final image. Use a bubble level, or shoot slightly wider than you need and correct in post. It’s not a character flaw to fix a horizon.
The single most important thing to take from Patino’s tutorial is this: the ultra-wide angle is a physical lens. It requires you to move your body, change your height, get closer than is comfortable, and think about proximity as a compositional variable. Once that clicks, the lens stops feeling like a problem and starts feeling like one of the most expressive tools you own.
Watch the full tutorial on YouTube and pay close attention to how Patino discusses the relationship between foreground scale and background presence. That balance is the whole game.
Comments
Leave a Comment