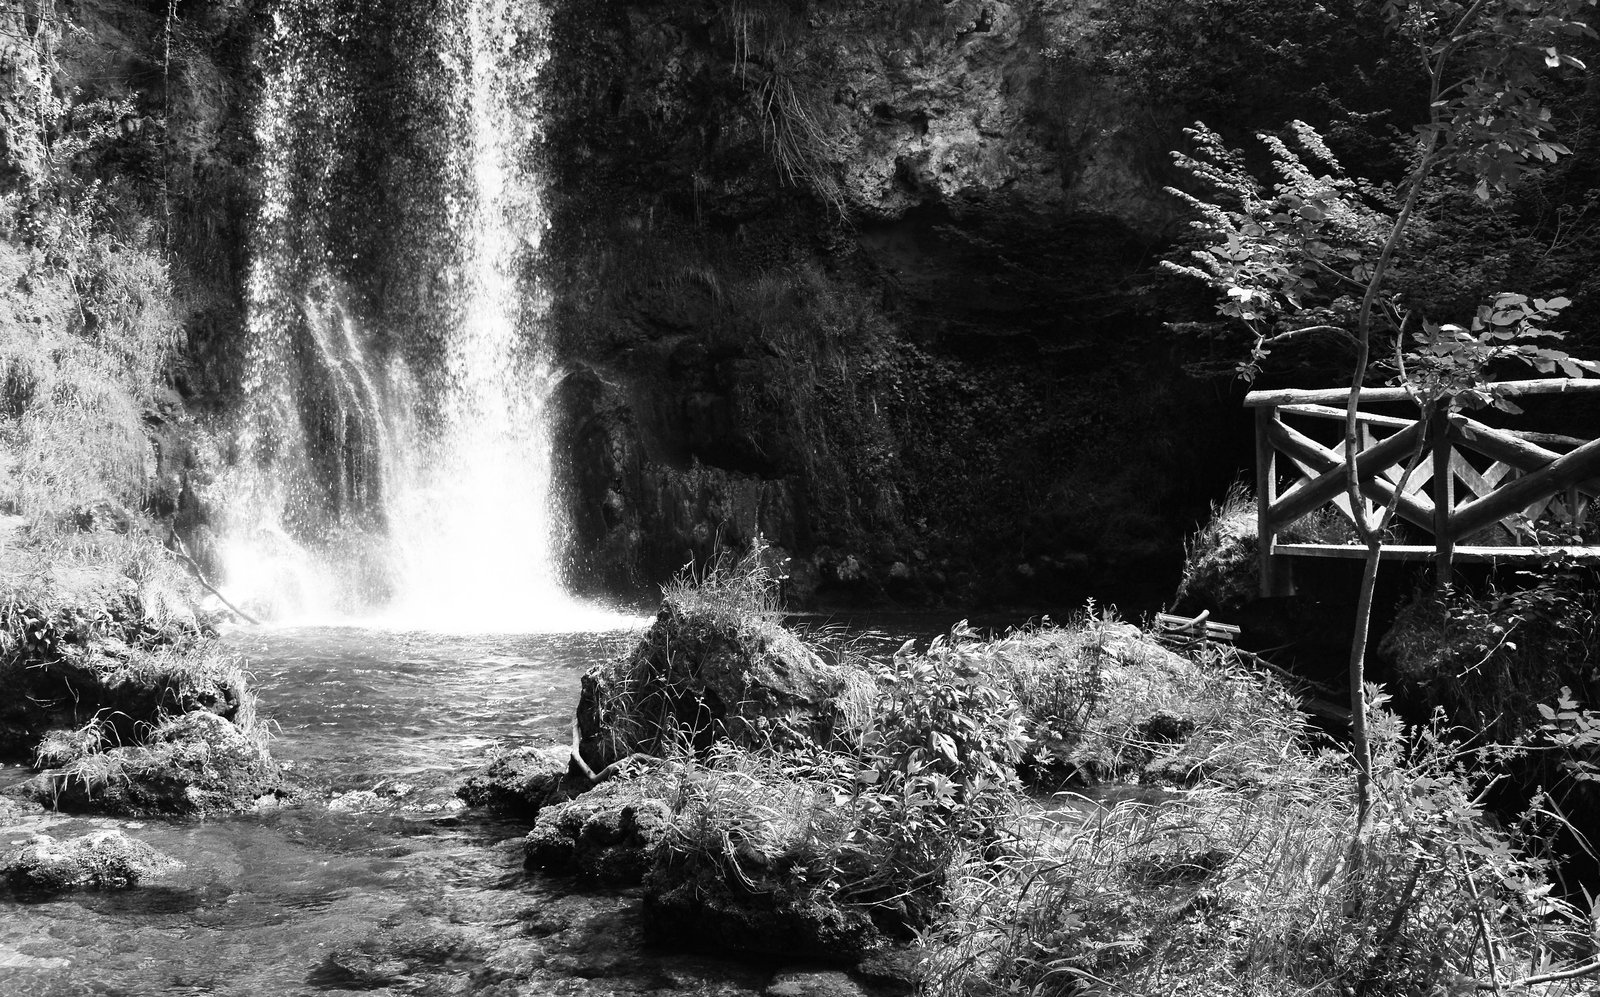
There’s a particular kind of frustration that comes from standing in front of a beautiful waterfall and knowing, even as you press the shutter, that the image isn’t going to work. The water looks right to your eye. The light feels soft. But something is off, and you can’t name it yet. I’ve stood in that exact spot more times than I’d like to admit, boots soaked, hat dripping, watching the histogram on my LCD tell me the truth my gut already suspected.
Most waterfall photography problems aren’t solved at the waterfall. They’re solved before you leave the car.
The Real Enemy Isn’t Shutter Speed, It’s Contrast
Everyone talks about shutter speed when the subject is waterfalls, and shutter speed matters, but it’s not the first variable I’m thinking about. The first thing I’m thinking about is tonal contrast between the water and everything surrounding it.
Waterfalls are bright. The surrounding forest, mossy rocks, and shadowed pools are dark. When you shoot in direct sun, that gap between highlights and shadows can easily exceed 12 or 13 stops, which is at or beyond the dynamic range of most sensors. You end up either protecting the water and crushing the shadows, or lifting the shadows and blowing out the falls entirely. Neither version looks like what you saw standing there.
The fix is simple but requires patience: wait for cloud cover or shoot within the first 30 minutes after sunrise, when the sky is lit but the sun hasn’t cleared the ridgeline. Overcast days aren’t a consolation prize in waterfall photography. They’re the preferred condition.
Shutter Speed Is a Creative Decision, Not a Formula
That said, let’s talk shutter speed, because the advice you’ll see most often, “use a slow shutter to smooth the water,” is not a rule. It’s a starting point that many photographers treat as gospel, and it produces a lot of images that look like someone airbrushed white silk over a creek.
I shoot waterfall shutter speeds across a wide range depending on what the water is actually doing. For a thin, high-velocity fall with lots of separation and texture in the flow, I might use 1/15s or even 1/30s to retain some of that structure. For a wide cascade over mossy shelves, I’ll drop to 2 or 4 seconds to let the motion blur build into something with visual weight. The goal isn’t smoothness. The goal is motion that reads as intentional.
My default starting point is ISO 100, f/11, and I let the shutter fall where it needs to based on available light and my ND filter choice. I keep a 6-stop (Breakthrough Photography X4) and a 10-stop (same line) in my bag for situations where even stopping down won’t get me to the exposure time I want in brighter conditions. If you’re getting shutter speeds you like without a filter, great. If you’re fighting the light, a 6-stop ND will usually get you where you need to be for around $150, which is less than most people spend guessing with cheaper glass that introduces color casts you’ll spend an hour correcting in Lightroom.
Composition Anchors the Motion
A blurred waterfall with no compositional anchor is just a white smear. I always look for something static and textured within the frame: a particular rock, a fallen log cutting diagonally through the foreground, a cluster of ferns catching sidelight. That contrast between fixed and moving is where the tension in the image lives.
I almost always shoot from a lower angle than feels natural standing up. Getting the tripod down to 12 or 18 inches above the waterline changes the relationship between the foreground and the falls. Suddenly that mossy rock in the lower third has presence. It earns its place in the frame instead of just sitting there.
Framing through trees or overhanging branches on the upper edge of the frame also helps control a blown sky that you couldn’t fully protect in capture. If the canopy gives you a natural vignette, use it. That’s not a trick. That’s the location doing compositional work for you.
Learning to Read the Water
A few years ago I drove four hours to a slot canyon waterfall in southern Oregon that I’d been watching in other photographers’ work for almost a year. I got there and found the flow was too low. The falls that looked muscular in everyone else’s shots were a trickle. I almost packed up.
Instead, I spent two days shooting the smaller secondary cascades I’d walked past on the way in, the ones that had been invisible to me because I was fixated on the hero shot. One of those images, a 2-second exposure of a fan of water spreading across a black basalt shelf, has sold more prints than anything else I made that year.
The water will show you something if you stop trying to make it match the image you planned on the drive over. Checking flow data before you go is practical advice (the USGS WaterWatch tool is free and reasonably accurate for gauged streams), but being willing to abandon your plan when you arrive is the more important skill.
What the Camera Doesn’t Care About
Shoot in RAW. Always. A waterfall image that you capture at 14-bit RAW gives you meaningful latitude to recover highlights in the flowing water and push shadows in the surrounding forest, latitude you simply don’t have in a JPEG. In Lightroom, I typically recover highlights aggressively on the falls themselves, sometimes pulling the Highlights slider to -80 or -90, and then use a masked adjustment on the surrounding area to bring up Shadows by 40 or 50 points. That combination, strong highlight recovery on the water, localized shadow lift on the surroundings, closes most of the gap that the camera couldn’t bridge in a single capture.
A polarizing filter, rotated to cut the surface glare off wet rocks and shallow pools, can also reduce your effective contrast ratio before you even get to post-processing. A good circular polarizer (I use the Breakthrough Photography X4 CPL, around $100 for a 77mm thread) gives you back detail in the water’s surroundings that would otherwise cost you time in Lightroom you can’t fully buy back.
The photograph of a waterfall that stays with someone isn’t the one with the smoothest water. It’s the one where you can feel the cold, hear the sound, and sense the photographer made a decision about what they were actually trying to say.
Comments
Leave a Comment