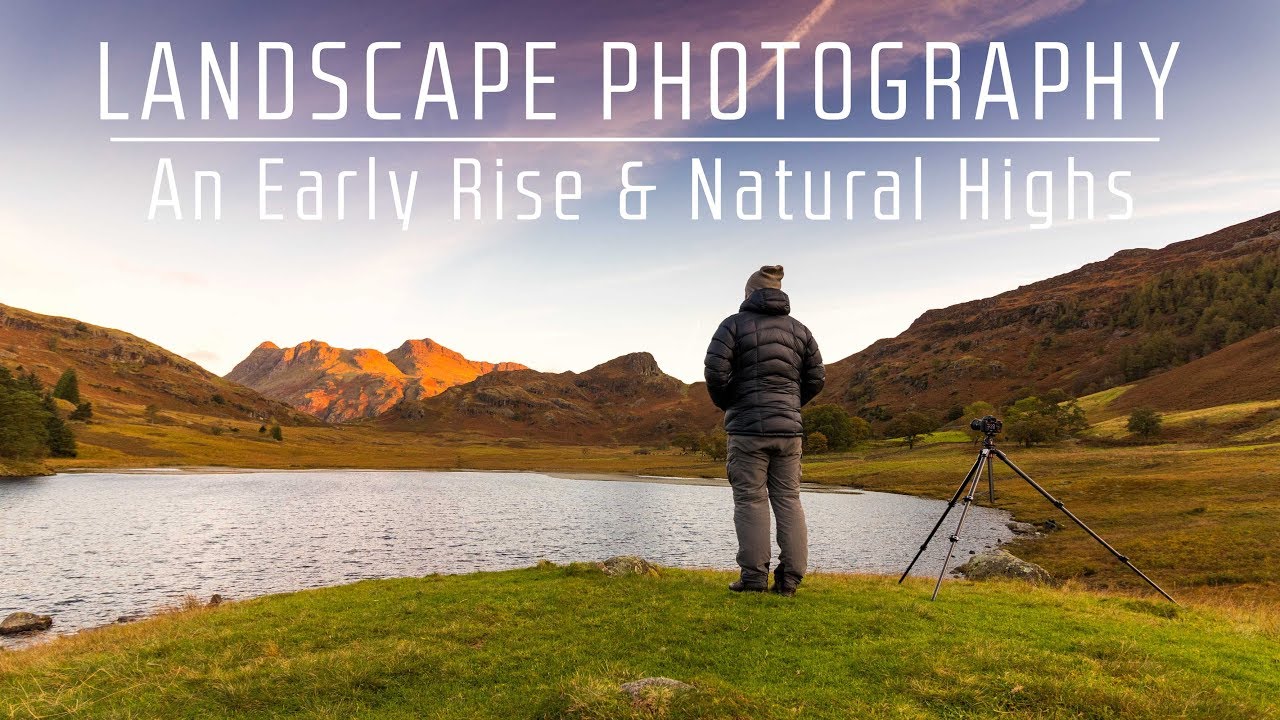
There is a specific kind of dread that comes with a 3:45am alarm when you already know the conditions might not deliver. I have stood on enough cold ridgelines, stared at enough flat grey skies, and driven enough dark highways to know that the morning will do what the morning wants. And yet I keep showing up. The reason I keep showing up is the same reason I found myself rewatching this particular tutorial from First Man Photography more than once: it captures something honest about what it actually feels like to work a location well, not just the hero shot, but the full arc of a day in the field. Watch the full tutorial on YouTube
In this First Man Photography tutorial, the photographer heads out to Blea Tarn in the Lake District for back-to-back sunrise sessions, then pushes further up into the hills to keep working the light as the morning develops. What drew me to it wasn’t a flashy technique. It was the decision-making. How do you think about a scene when you’re tired? How do you stay productive after the peak light has passed? These are the questions that separate a good shoot from a frustrating one, and this video addresses both without making it feel like a lecture.
The practical camera work here is clean and repeatable. I’ve broken it down below into the specific steps he moves through, with the reasoning behind each one, so you can apply this workflow the next time you’re out before dawn trying to make something worth keeping.
Step 1: Read the Sky Before You Touch the Camera
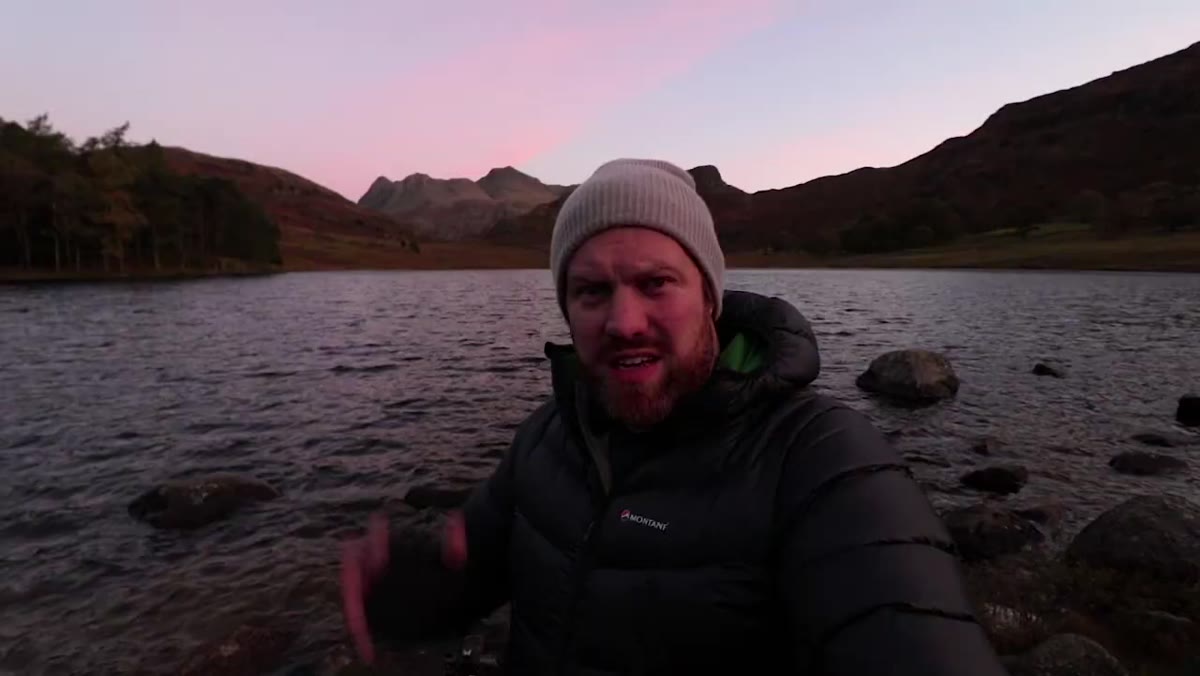 Photographer standing at Blea Tarn with pink sky visible behind him
When he arrives at Blea Tarn, the first thing he does is identify the one compelling element in the scene: a pink streak of light across the sky. Everything else, the composition, the foreground choice, the exposure strategy, follows from that single observation. The lesson here is sequencing. Too many photographers arrive at a location and immediately start adjusting settings. The better habit is to stop, look, and find the one thing the light is actually doing right now. Then build the frame around it.
Photographer standing at Blea Tarn with pink sky visible behind him
When he arrives at Blea Tarn, the first thing he does is identify the one compelling element in the scene: a pink streak of light across the sky. Everything else, the composition, the foreground choice, the exposure strategy, follows from that single observation. The lesson here is sequencing. Too many photographers arrive at a location and immediately start adjusting settings. The better habit is to stop, look, and find the one thing the light is actually doing right now. Then build the frame around it.
At a popular location like this one, where other photographers are already set up nearby, this discipline matters even more. You’re not going to out-compose everyone on a well-known tarn at sunrise. What you can do is respond more precisely to what the light is offering in that exact moment.
Step 2: Use Available Foreground Elements to Anchor the Frame
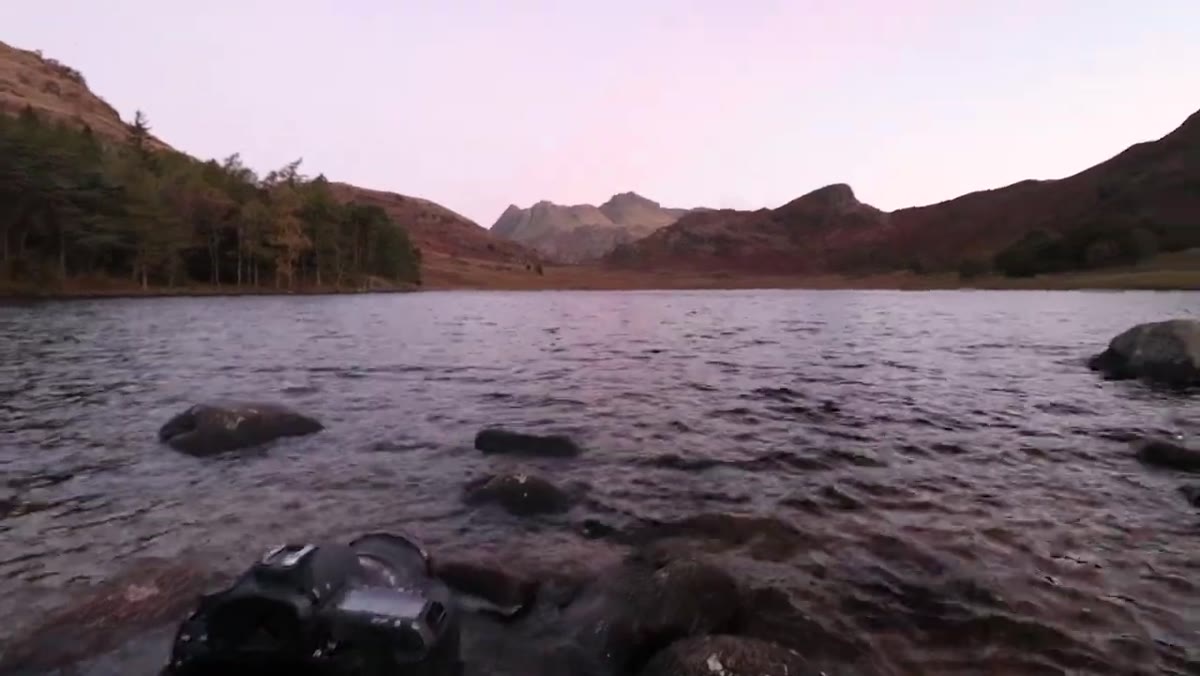 Wide shot of tarn with stones in foreground, mountains and sky beyond
He works with what’s in front of him: stones at the water’s edge, the tarn itself, the mountains behind, and that sky. Simple, layered, effective. The stones provide a close foreground that gives the eye somewhere to land before it travels back through the frame. This kind of foreground-to-background depth is especially important in wide compositions at low apertures, and he’s at f/16 here specifically because he’s standing close to those rocks.
Wide shot of tarn with stones in foreground, mountains and sky beyond
He works with what’s in front of him: stones at the water’s edge, the tarn itself, the mountains behind, and that sky. Simple, layered, effective. The stones provide a close foreground that gives the eye somewhere to land before it travels back through the frame. This kind of foreground-to-background depth is especially important in wide compositions at low apertures, and he’s at f/16 here specifically because he’s standing close to those rocks.
The honest admission that the shot isn’t a unique one is worth sitting with. He’s near the carpark. Other people are shooting the same scene. His edge isn’t exclusivity. It’s execution. Getting the depth of field right, smoothing the water with a long exposure, and being present for the color. That combination, done well, is enough.
Step 3: Dial In Your Long Exposure Settings for Still Water
 Camera settings shown, rocks and water in frame during blue hour
His settings at the tarn: f/16, shutter speed around three and a half seconds, ISO 100. The long exposure isn’t arbitrary. It serves two purposes. First, it smooths the water surface just enough to create a calm reflection without going full mirror-glass, which can look artificial. Second, it helps saturate and hold the color in a pale early-sky that might otherwise render thin and washed out.
Camera settings shown, rocks and water in frame during blue hour
His settings at the tarn: f/16, shutter speed around three and a half seconds, ISO 100. The long exposure isn’t arbitrary. It serves two purposes. First, it smooths the water surface just enough to create a calm reflection without going full mirror-glass, which can look artificial. Second, it helps saturate and hold the color in a pale early-sky that might otherwise render thin and washed out.
He also mentions bracketing his exposures, not because he needs to at this level of experience, but because he’s tired and doesn’t want to second-guess himself in the field. That’s a legitimate professional decision. Bracketing costs you nothing on digital and removes one mental load from an already demanding morning. I do the same thing in poor light or whenever I’m dealing with a high-contrast sky.
Step 4: After the Hero Shot, Keep Working the Light
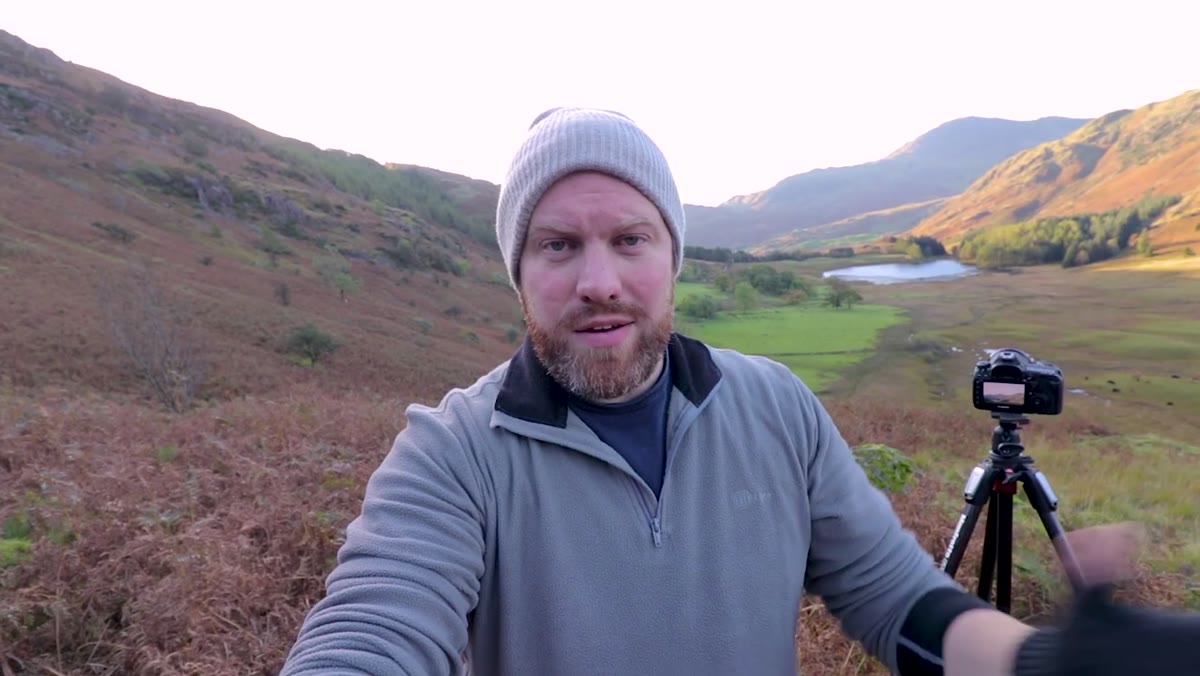 Photographer halfway up hillside, sunlight striking mountain face
Once the sunrise shot is done, he hikes partway up a nearby hill and sets up a second composition. This is where the tutorial earns its value for me. Most sunrise content ends when the pink fades. He keeps going, and his reasoning is sharp: once you have a strong shot in the bag, the pressure drops, and you can focus on craft rather than anxiety. Use that headspace to experiment with light, shadow lines, and tighter focal lengths.
Photographer halfway up hillside, sunlight striking mountain face
Once the sunrise shot is done, he hikes partway up a nearby hill and sets up a second composition. This is where the tutorial earns its value for me. Most sunrise content ends when the pink fades. He keeps going, and his reasoning is sharp: once you have a strong shot in the bag, the pressure drops, and you can focus on craft rather than anxiety. Use that headspace to experiment with light, shadow lines, and tighter focal lengths.
The second scene has golden light striking one side of the mountain while the other side remains in shadow. That contrast, the hard edge where light meets dark, becomes a compositional tool. He uses the shadow line to draw the eye into the frame, pointing it toward Blea Tarn below. It’s the same scene from a different elevation and a different angle, and the resulting image has a completely different emotional weight.
Step 5: Follow the Light, Not the Map
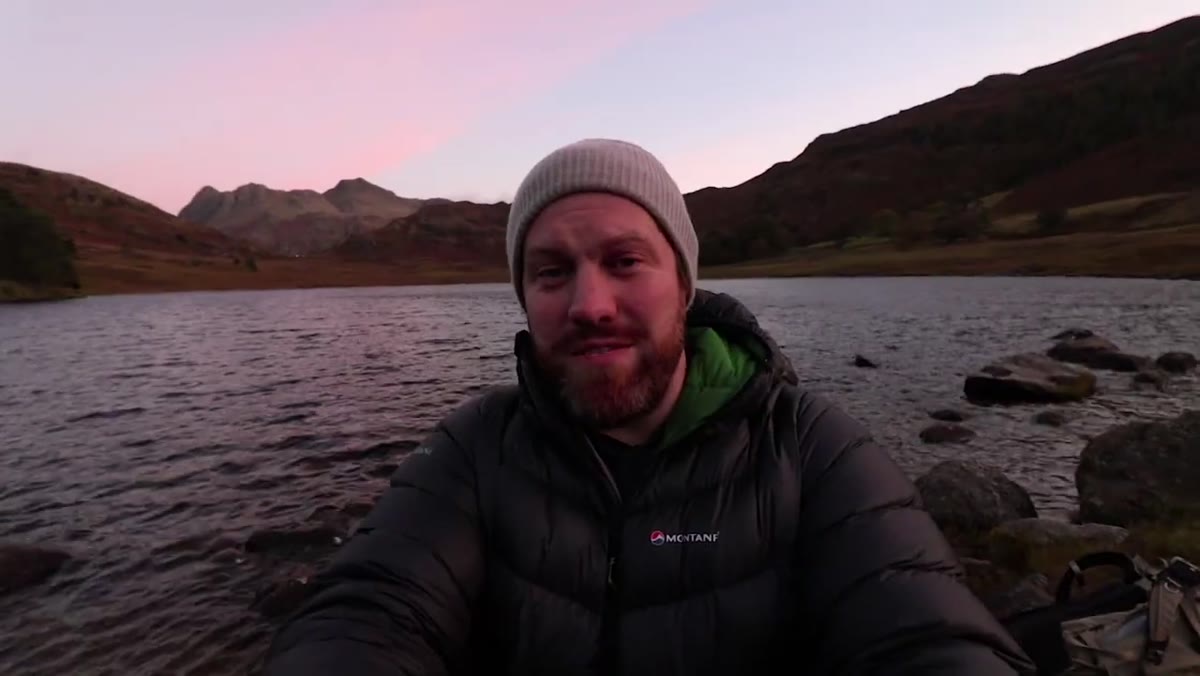
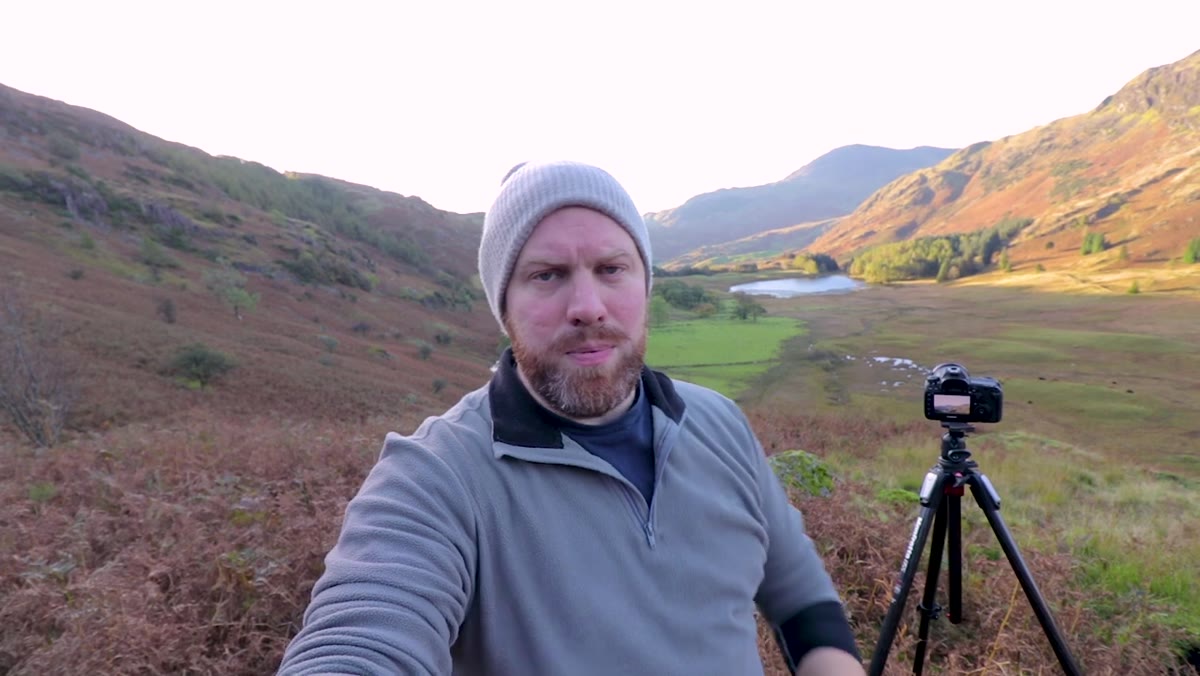 Photographer shooting at 40mm, mountain lit in foreground, shadowed valley behind
At the second location he’s shooting at 40mm, the long end of his Canon 17-40mm, and he’s made a deliberate choice to fill the frame with the portion of the scene that’s actually lit. The shadowed areas behind him are irrelevant. They add nothing at this moment. So he excludes them. He’s also added trees in the lower left corner as a secondary point of interest, just enough to keep the composition from feeling empty in that quadrant.
Photographer shooting at 40mm, mountain lit in foreground, shadowed valley behind
At the second location he’s shooting at 40mm, the long end of his Canon 17-40mm, and he’s made a deliberate choice to fill the frame with the portion of the scene that’s actually lit. The shadowed areas behind him are irrelevant. They add nothing at this moment. So he excludes them. He’s also added trees in the lower left corner as a secondary point of interest, just enough to keep the composition from feeling empty in that quadrant.
Settings here shift with the improved light: f/11, 1/20th of a second, ISO 100. As the sun climbs, your shutter speed rises and your depth of field needs change. Staying responsive to those shifts, rather than locking in one set of numbers for the whole morning, is what keeps the images looking intentional rather than accidental.
One Thing I’d Add From My Own Experience
The part of this workflow I’d push even further is the scouting mindset during the post-sunrise hike. He finds a strong second composition here, but the hike itself can reveal third and fourth options that only reveal themselves once the dramatic light is gone and you’re just walking and looking. I’ve come home with a day’s best image at 9am, in flat overcast light, from a vantage point I stumbled across while heading back to the car. Keep your eyes on the scene even when you think the shoot is over.
The single most transferable idea in this tutorial is the discipline of identifying your one strong shot early, then staying in the field with lowered stakes and higher curiosity. That combination produces better work over a full day than any single exposure decision you’ll make. The morning doesn’t reward the photographer who arrives with the best gear. It rewards the one who keeps moving and keeps looking.
Watch the full tutorial on YouTube to see both compositions come together in real time, including the drone footage that adds a completely different perspective on the landscape.
Comments (3)
Never thought of approaching it this way. Really creative.
Great breakdown. The step-by-step approach really helps.
Really solid breakdown. This pairs perfectly with the workflows work I've been writing about.
Leave a Comment