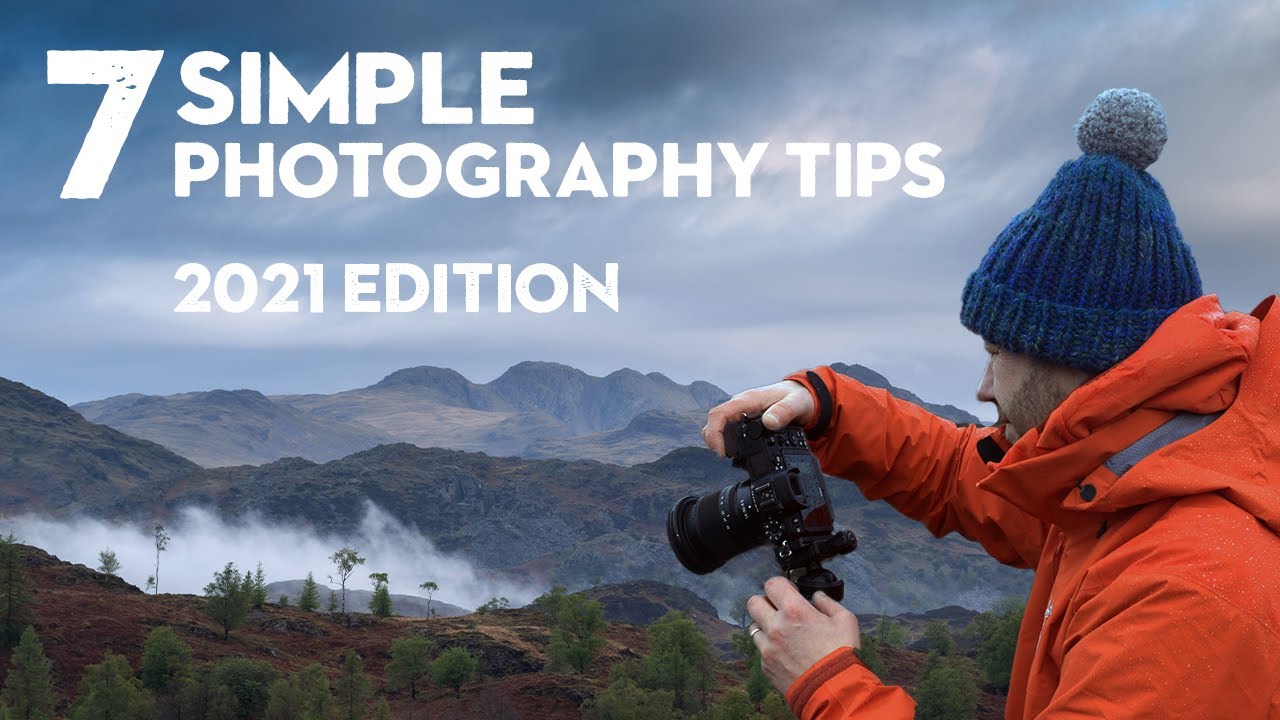
There’s a particular kind of photographer I see at workshops who sets up the tripod, fires off a bracket, and starts packing up — all within about four minutes of arriving at a location. I’ve been that photographer. Early in my career, excitement read as urgency, and urgency killed compositions before they had a chance to breathe. Twenty years of shooting landscapes in places like the Oregon high desert and the coast ranges have taught me that the best frame at any location is almost never the first one you see. It’s the one you find after you’ve resisted that urge.
That’s exactly the problem Nigel Danson addresses in his tutorial on improving landscape photography, and he does it with the kind of relaxed, field-tested honesty that only comes from someone who has genuinely worked through these habits himself. Watch the full tutorial on YouTube — it’s worth your hour. What follows is my breakdown of his seven tips, expanded with what I’ve learned applying similar thinking across two decades of prints and workshops.
Step 1: Don’t Commit to Your First Composition
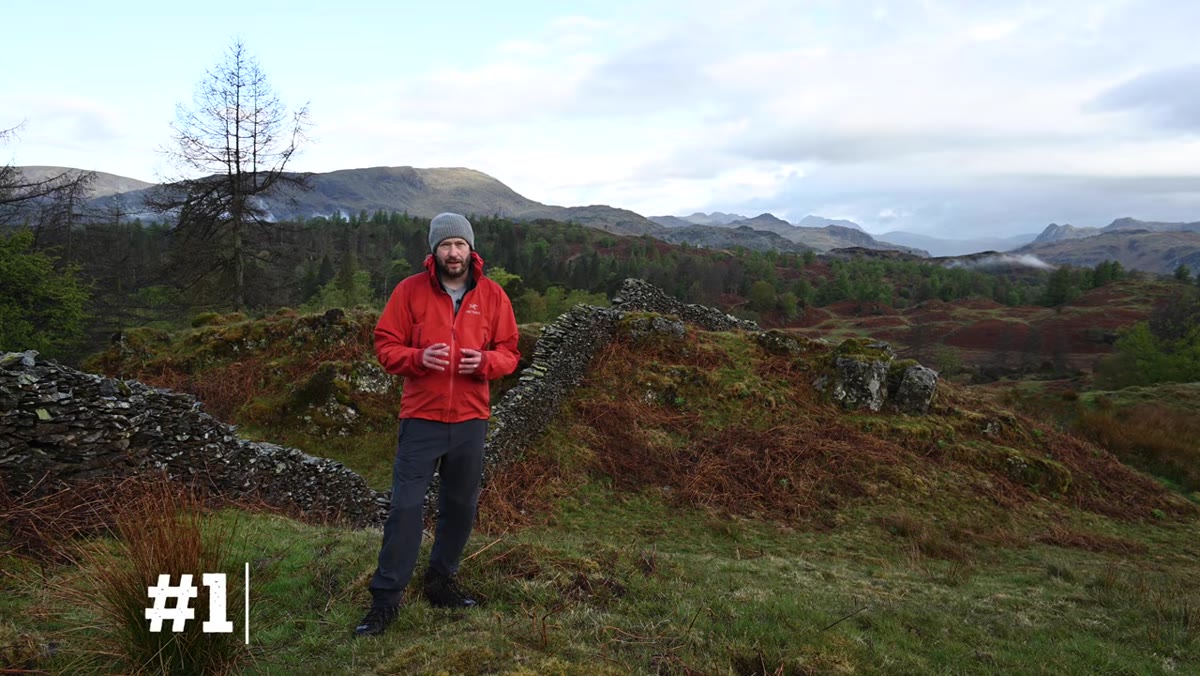 Nigel walking along a stone wall, camera in hand
When Danson arrives at a dramatic dry-stone wall with mountain backdrop, his instinct is to notice a good composition immediately. His discipline is to ignore it. He physically walks the scene for 15 to 20 minutes before touching his tripod. He moves left, right, crouches, stands, turns the camera vertical, and treats the location like a puzzle with more than one solution.
This is harder than it sounds because your brain is wired to reward that first recognition hit. The wall with the mountain behind it looks great — so shoot it, right? Don’t. Use your phone or handhold your camera and work the full perimeter of the scene. I tell workshop students to find at least three genuinely different compositions before committing to any of them. The one you end up shooting is almost always the third or fourth, never the first.
Step 2: Use Foreground Elements to Create Layered Depth
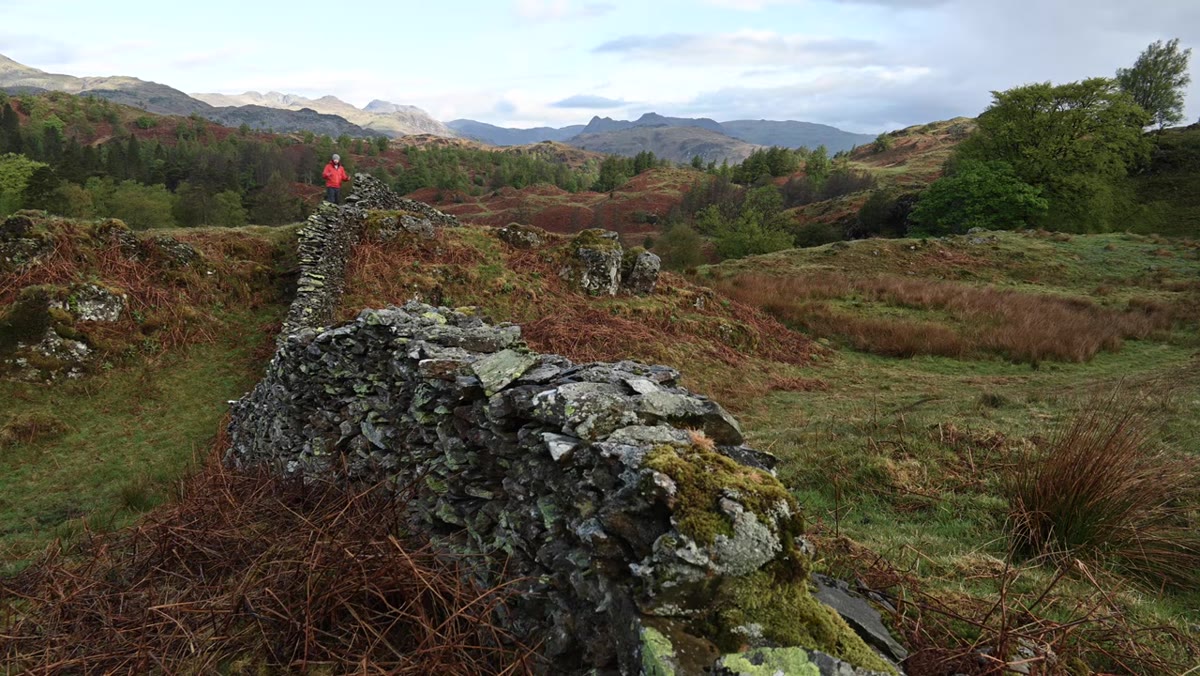 Stone wall curving through the foreground with mountains layered behind
Danson walks through his actual composition reasoning at the wall, explaining what made him stay with one framing over others. The wall’s curve gave him a foreground that swept the eye into the frame, while the mountains behind created a distinct middle and background plane. He wasn’t just pointing at a pretty scene. He was building visual layers.
In practice, this means looking for a foreground object within two to four feet of your lens, something with texture and direction, and then finding how it relates to what’s happening at distance. Rocky outcrops, frost-covered grasses, tide pools, fallen branches. The foreground anchors the viewer; the background gives them somewhere to travel. When both are strong, the image has a kind of gravitational pull that flat, background-only shots can’t replicate.
Step 3: Shoot in the Softer, More Directional Light
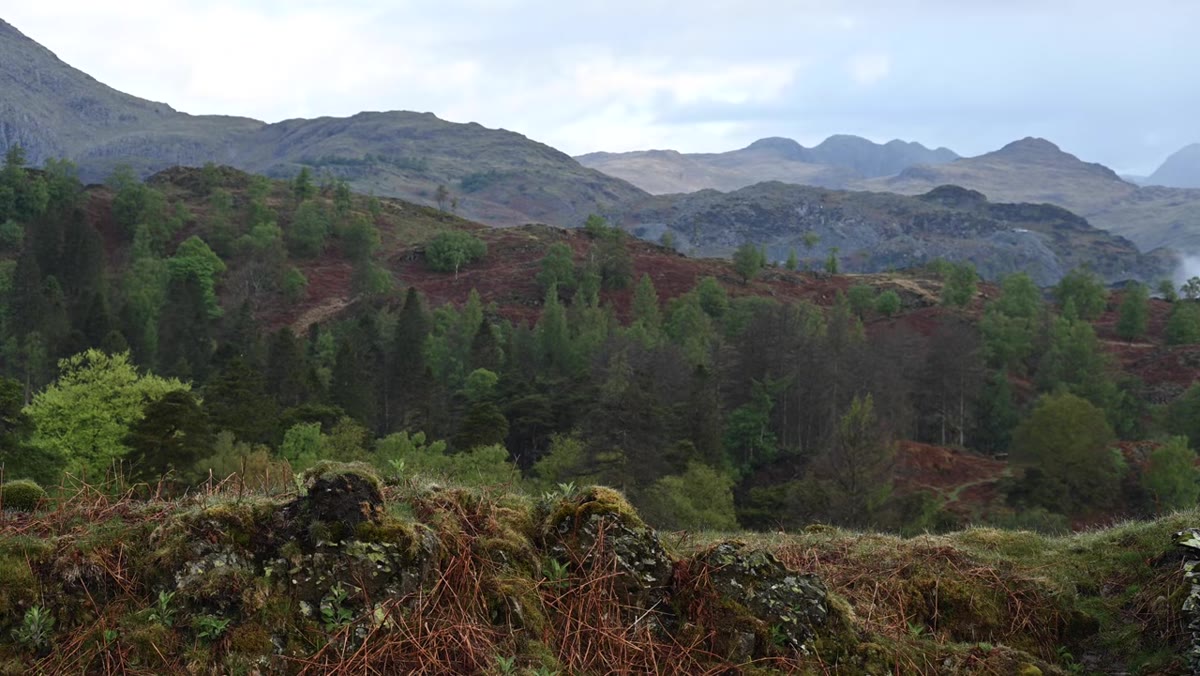 Mist hanging over distant hills in early morning golden light
Danson sets out at dawn specifically because mist is sitting over the hills. He knows that soft, directional light at low angles wraps around landscape features in a way that midday overhead light simply destroys. This isn’t news to most photographers, but his application of it is worth noting: he treats the quality of light as the primary filter for whether a location is worth visiting on a given day, not the location itself.
I wake up early enough to be on location before first light, which means I’m usually scouting in the dark and setting up by feel. The payoff is shooting during that 20-to-40 minute window when the sun is below or just at the horizon and everything is rendered in soft gradients without hard shadows. If you’re shooting on a full manual kit, start with ISO 400, aperture around f/8, and let your shutter speed adjust to exposure. In mist or overcast, you can often drop to ISO 100 without losing the shot.
Step 4: Work the Scene Vertically, Not Just Horizontally
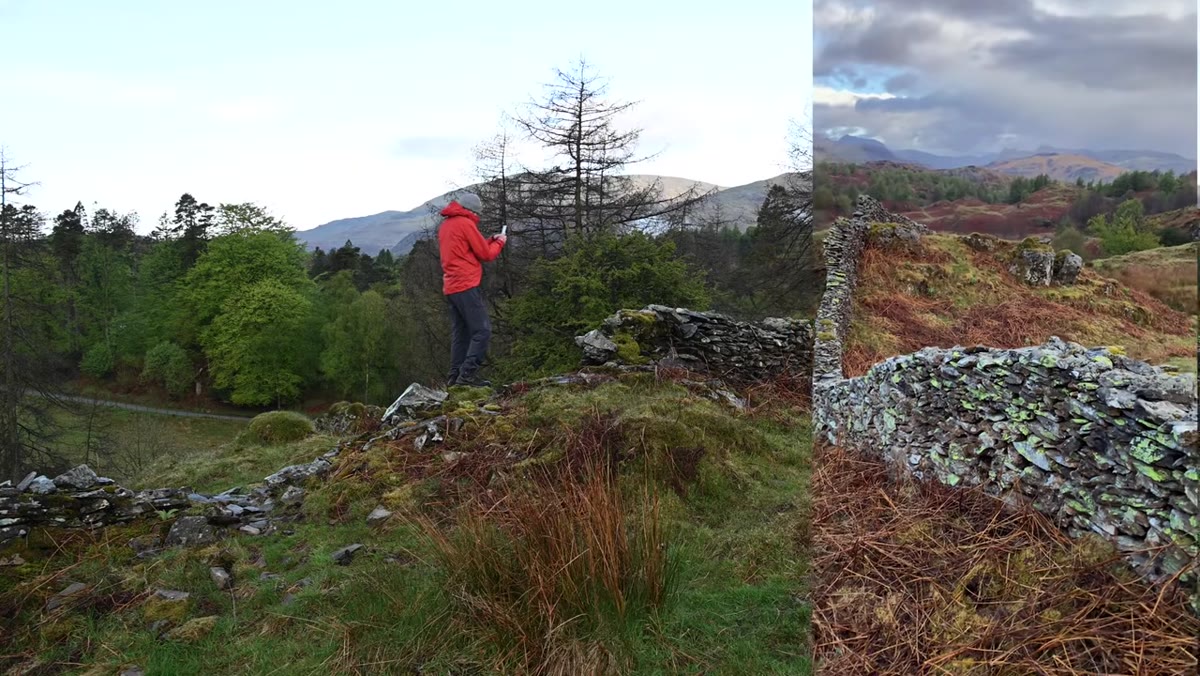 Nigel rotating phone to portrait orientation while composing the wall
One of the specific moves Danson demonstrates is rotating his phone to portrait orientation mid-scout and immediately finding a stronger frame. It sounds obvious, but most photographers default to landscape orientation for landscape photography and rarely challenge that assumption in the field.
Portrait orientation often works better when your strongest element is a vertical line, a tall rock face, a tree line, or a leading foreground that needs vertical compression. It also tends to perform better on mobile platforms, which matters if any of your work reaches audiences that way. Try shooting both orientations at every serious location. You’ll be surprised how often the vertical edit is the stronger print.
Step 5: Move Your Position Before Changing Your Lens
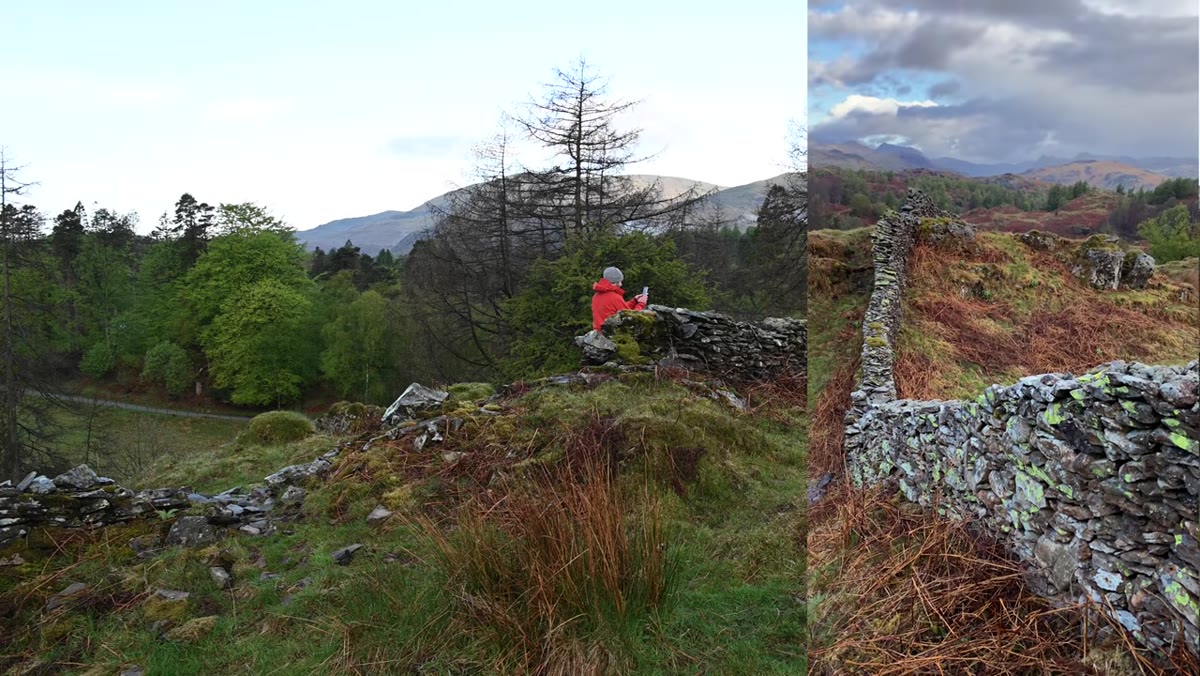 Nigel physically moving further down the wall to find a new angle
Danson demonstrates this without explicitly labeling it: when a composition isn’t quite working, his first move is to shift his physical position, not reach for a different focal length. He walks further along the wall and finds a framing where a large rock on the left creates visual balance with the wall’s L-shape on the right.
Zooming optically changes your field of view but it also compresses or expands your spatial relationships in ways that can flatten a scene. Moving your feet changes those relationships in a fundamentally different way. A five-meter shift to the left can separate overlapping background elements, change the angle of a leading line, or bring a distracting object behind a natural mask. Exhaust your physical position options before you start swapping glass.
A Note From Two Decades in the Field
The tip that runs underneath all of Danson’s advice, never quite stated directly, is patience as a craft skill rather than a personality trait. I learned this the hard way. A mentor once told me that the mountain doesn’t care about your schedule, and he was right in a way that took years to actually absorb. The best image I’ve ever made commercially came from two days of sitting in fog at a location six hours from home. I almost left on day one. The fog broke on day two for about 40 minutes and I had one usable frame. That print has outsold everything else I’ve made.
Danson’s tips aren’t hacks. They’re the structural habits of a photographer who has learned to slow down inside a scene. Working multiple compositions, building depth through layering, respecting light quality, shooting vertically, moving your feet before your lens: each one of these is a form of patience made practical. Applied together, they change not just your images but how you read a location when you first arrive.
The single thing worth carrying away from this tutorial: treat your first instinct at any location as a starting point, not a destination. Spend the time you’d normally use shooting to explore instead, and only commit to a frame when you’ve genuinely tested your alternatives.
Watch the full tutorial on YouTube to see Danson demonstrate all seven tips across a full field session. His commentary while actually composing shots is the part you don’t want to skip.
Comments
Leave a Comment