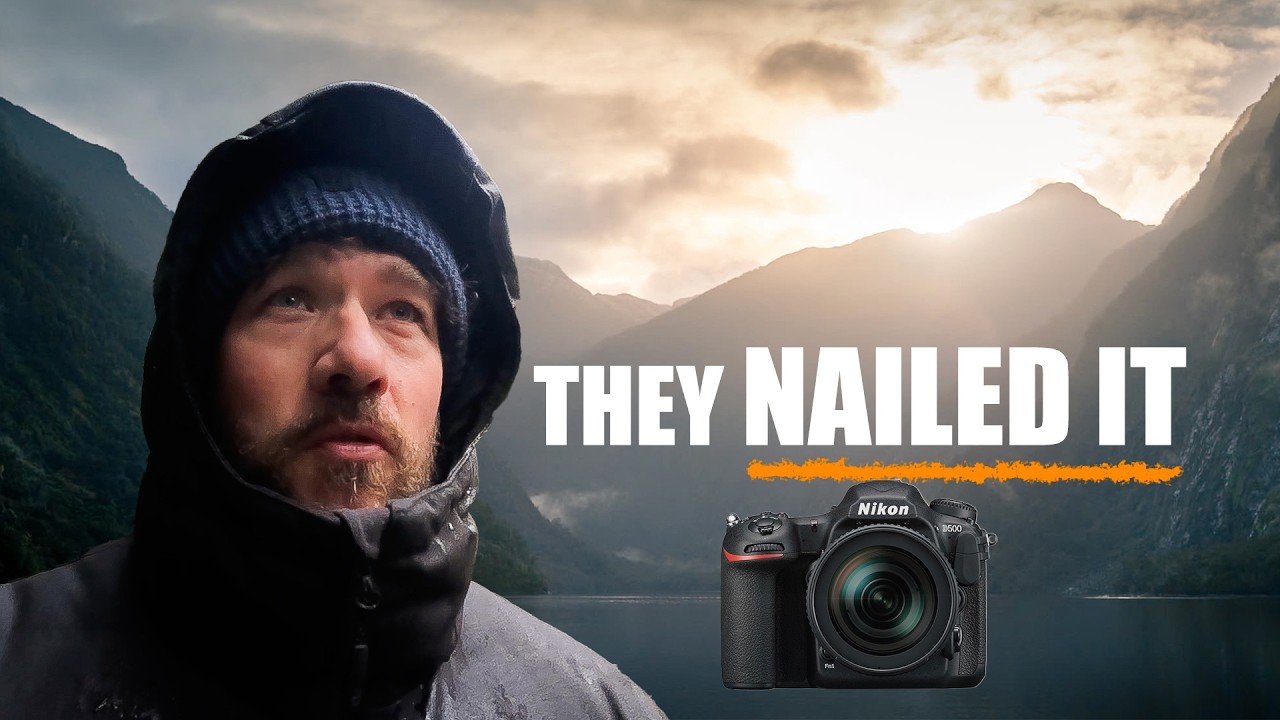
There’s a particular kind of location that makes you feel like you’re cheating. Somewhere so visually loaded that you almost don’t deserve the shot. New Zealand’s Fiordland is that place for a lot of us, and I’ve spent enough time chasing similar terrain in the Pacific Northwest to know that raw beauty is actually the hardest thing to work with. Too many options will freeze you. The mountain is stunning but the foreground is a mess. The light is perfect but you’re standing in the wrong spot. You make a dozen mediocre frames instead of one strong one.
That’s exactly why this William Patino tutorial stopped me mid-scroll. In it, he leads a small group of photographers through five days in Dusky Sound, one of Fiordland’s most remote fiords, and the way he coaches his participants through real-time compositional decisions is the kind of thing you normally only get from standing next to someone in the field. Watch the full tutorial on YouTube and then come back here, because I want to walk through the specific techniques he demonstrates and add some context from twenty years of doing this kind of work myself.
The through-line of everything Patino teaches in this video is layering. Foreground, mid-ground, background. It sounds basic until you’re standing on a beach at first light with snow on the peaks and you realize you’ve been pointing your lens at the mountain and ignoring the stream at your feet. This tutorial is a cure for that.
Step 1: Read the Location Before You Set Up
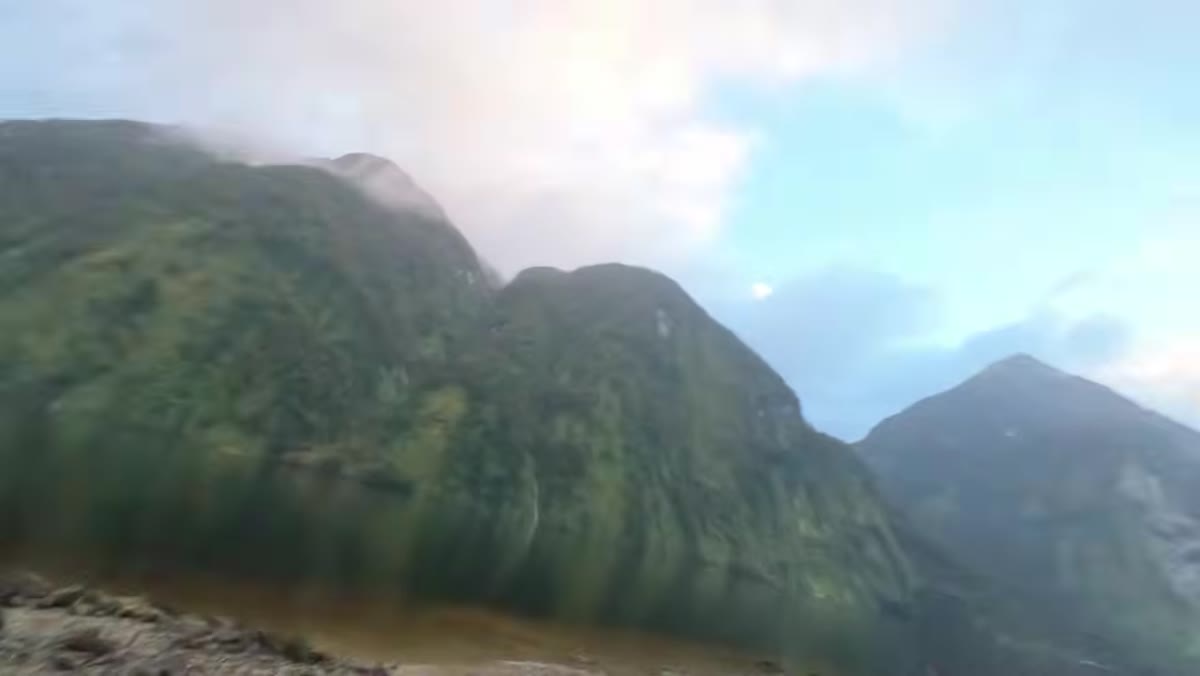 William Patino assessing a beach with mountain backdrop at dawn
Before anyone pulls out a camera, Patino walks the beach. He identifies what the scene has to offer: a stream in the foreground, dense forest to one side, and a snow-dusted peak in the background. He notes that the forest is complex enough to be distracting for beginners, and steers the group toward the stream instead. That’s a real decision, not a throwaway comment. He’s editing the location before he even picks up the camera.
William Patino assessing a beach with mountain backdrop at dawn
Before anyone pulls out a camera, Patino walks the beach. He identifies what the scene has to offer: a stream in the foreground, dense forest to one side, and a snow-dusted peak in the background. He notes that the forest is complex enough to be distracting for beginners, and steers the group toward the stream instead. That’s a real decision, not a throwaway comment. He’s editing the location before he even picks up the camera.
When I arrive somewhere new, I give myself ten minutes of hands-in-pockets time. No camera. Just walk and look. The worst frames I’ve ever made came from setting up in the first spot I found because the light was moving fast and I panicked. The best ones came from resisting that urgency.
Step 2: Use a Stream as a Compositional Engine
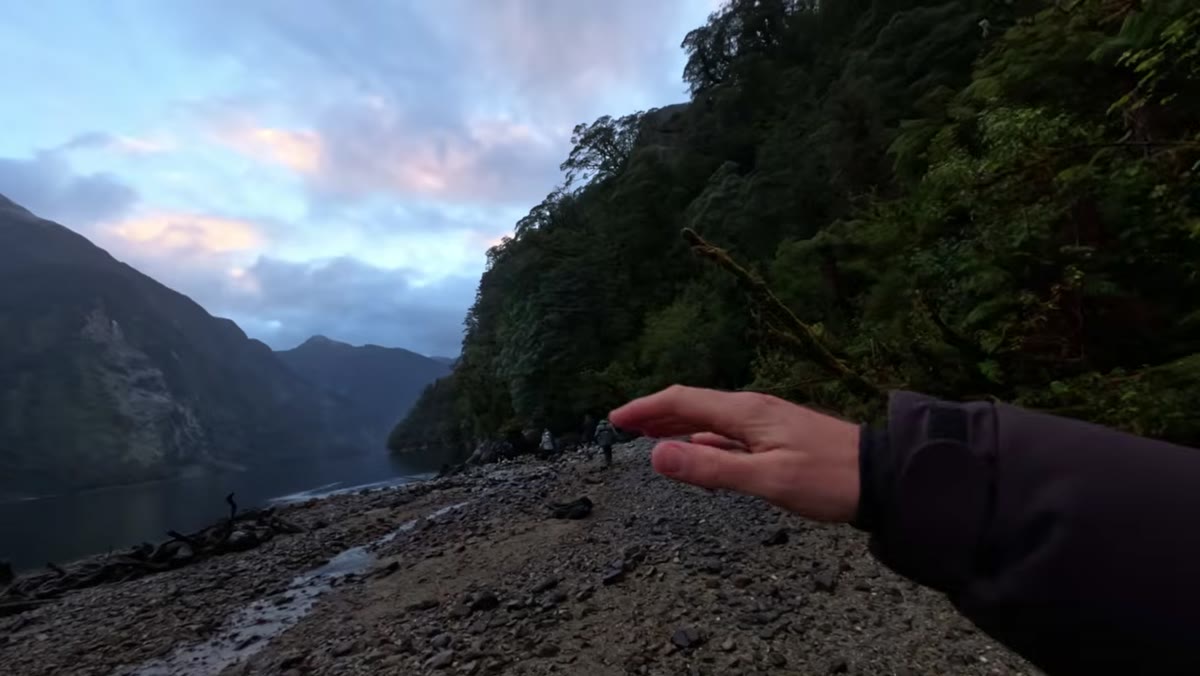 Stream flowing through beach foreground toward mountain peak
Patino positions the stream as the primary compositional device, using its flow to pull the viewer’s eye from the bottom of the frame toward the mountain. The stream does two things at once: it gives the foreground something to anchor to, and it creates movement that leads the eye upward. He frames it so the peak sits as a natural resting point at the end of that visual journey.
Stream flowing through beach foreground toward mountain peak
Patino positions the stream as the primary compositional device, using its flow to pull the viewer’s eye from the bottom of the frame toward the mountain. The stream does two things at once: it gives the foreground something to anchor to, and it creates movement that leads the eye upward. He frames it so the peak sits as a natural resting point at the end of that visual journey.
The key here is not just finding a stream, but finding the right angle on it. Too low and you lose the mid-ground. He’s explicit about this. You want enough camera height to see the water moving through the frame and still catch the rocks and vegetation between you and the distant subject. A few centimeters of height adjustment changes everything with wide angle lenses.
Step 3: Work the Wide Angle for Depth, Not Drama
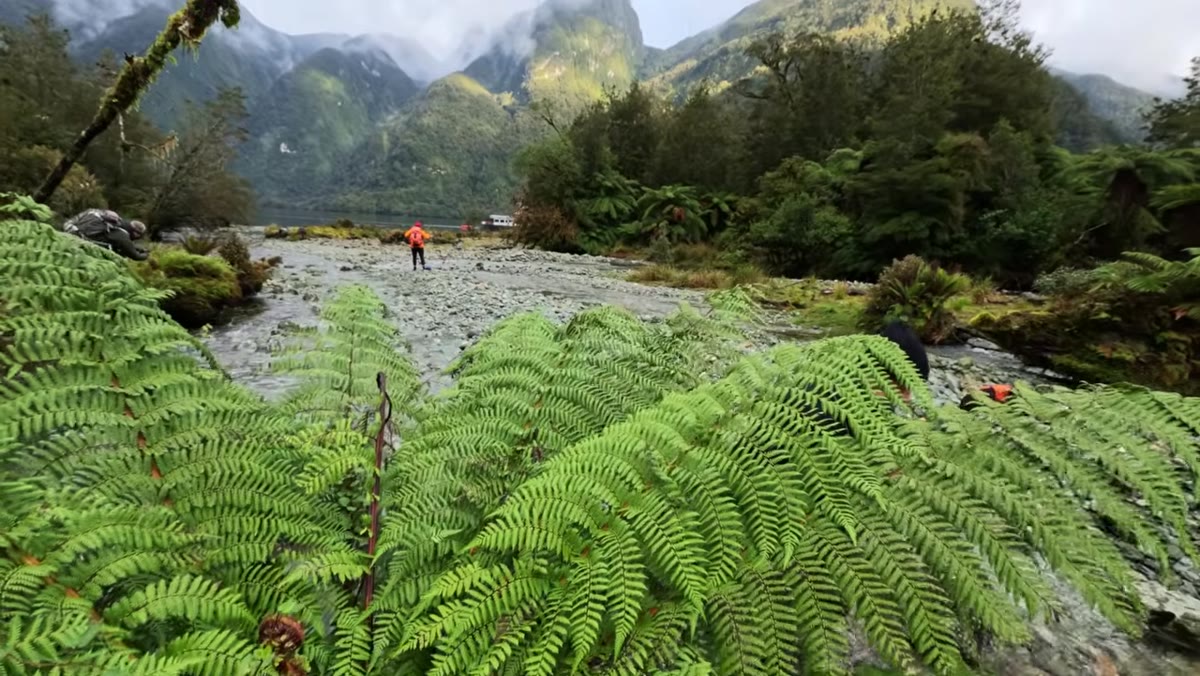 Wide angle lens positioned low among ferns with creek and mountain visible
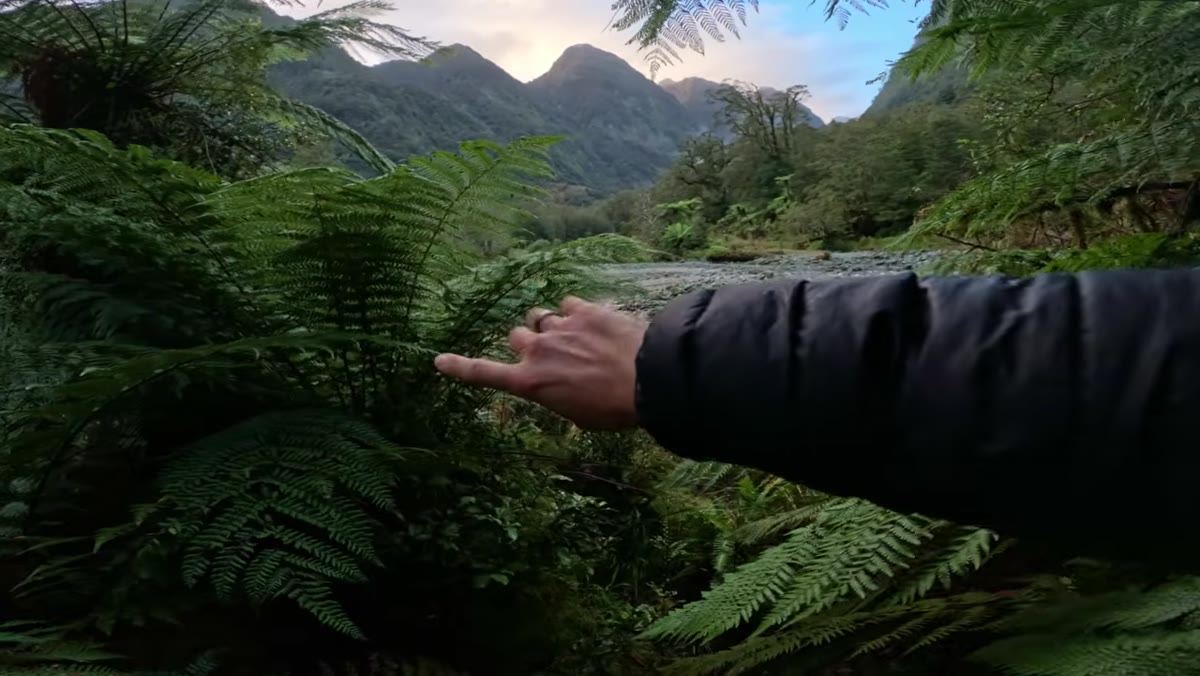
This is where Patino gets into the mechanics. Working with ferns as a foreground element, he explains the diminishing perspective that a wide angle creates: broad at the front, narrowing toward the background. He positions the lens close to the ferns, not flush with the ground, because he wants that separation between foreground and mid-ground. Get too low and everything collapses into a flat layer.
Wide angle lens positioned low among ferns with creek and mountain visible
This is where Patino gets into the mechanics. Working with ferns as a foreground element, he explains the diminishing perspective that a wide angle creates: broad at the front, narrowing toward the background. He positions the lens close to the ferns, not flush with the ground, because he wants that separation between foreground and mid-ground. Get too low and everything collapses into a flat layer.
Wide angle work is a game of proximity. The closer you get to your foreground subject, the more the background appears to recede, and that tension is where the depth comes from. I shoot a 16-35mm for exactly this kind of layered scene, and I almost always end up closer to my foreground than feels comfortable. Trust the lens.
Step 4: Check for Element Separation Before You Shoot
 Ferns framing creek center with mountain visible in background gap
One specific note Patino gives his participant: make sure the ferns overhead don’t overlap with the mountain. If the foliage and the peak merge into the same visual plane, you lose the sense of depth you worked to create. He describes the composition as a natural window, ferns sweeping in from both sides, creek through the center, peak in the distance, and he’s deliberate about maintaining clear separation between each layer.
Ferns framing creek center with mountain visible in background gap
One specific note Patino gives his participant: make sure the ferns overhead don’t overlap with the mountain. If the foliage and the peak merge into the same visual plane, you lose the sense of depth you worked to create. He describes the composition as a natural window, ferns sweeping in from both sides, creek through the center, peak in the distance, and he’s deliberate about maintaining clear separation between each layer.
I think of this as the “touching problem.” Elements that touch or overlap without intention read as mistakes. When you’re looking through the viewfinder, train your eye to check the edges and the overlaps, not just the center of the frame.
Step 5: Scout by Map, Confirm on Foot
 Following stream toward waterfall identified on topographic map
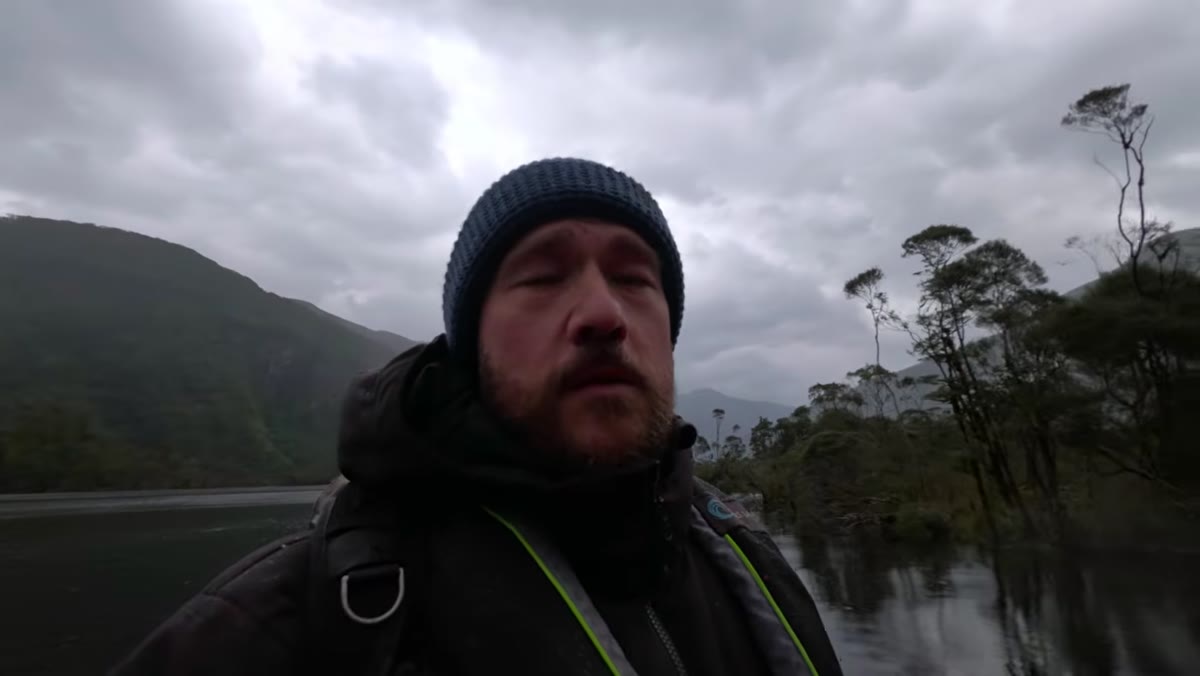
Later in the trip, Patino uses a topographic map to identify a potential waterfall location before committing the group to the hike. He scouts it alone first, confirms it’s worth the effort, and then brings the group in. The waterfall turns out to be exceptional, but the point isn’t the discovery. It’s the method. Map reading combined with ground-truthing before you invest group time.
Following stream toward waterfall identified on topographic map
Later in the trip, Patino uses a topographic map to identify a potential waterfall location before committing the group to the hike. He scouts it alone first, confirms it’s worth the effort, and then brings the group in. The waterfall turns out to be exceptional, but the point isn’t the discovery. It’s the method. Map reading combined with ground-truthing before you invest group time.
On workshops, time is the scarcest resource. I’ve learned to do exactly this: pre-scout when I can, or at least use satellite imagery and topo maps to narrow down where I’m sending people before golden hour. One bad call at 6am costs you the session.
Step 6: Recognize the “Jackpot” Conditions for Cascades
 Cascading stream with moss-covered rocks and green canopy overhead
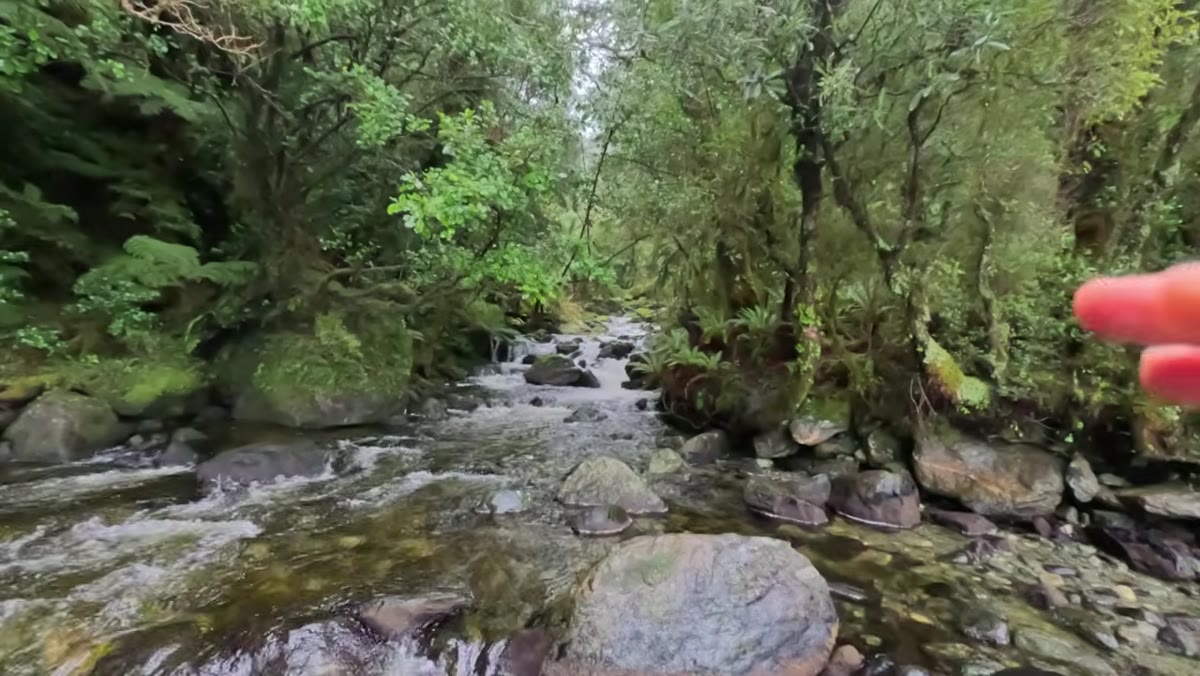
Patino identifies a creek that he describes as near-ideal for cascade photography: the right volume of water (enough to show movement without blowing out into white froth), moss intact on the rocks (undamaged by recent storms), and vegetation arching over from both sides to create a natural canopy. He’s not just reacting to beauty. He’s checking a mental checklist.
Cascading stream with moss-covered rocks and green canopy overhead
Patino identifies a creek that he describes as near-ideal for cascade photography: the right volume of water (enough to show movement without blowing out into white froth), moss intact on the rocks (undamaged by recent storms), and vegetation arching over from both sides to create a natural canopy. He’s not just reacting to beauty. He’s checking a mental checklist.
For cascades, volume control is everything. Too little water and the composition feels thin. Too much and you lose texture. Overcast light helps because it eliminates the contrast problem between bright water and dark rocks. When all of those conditions land at once, you slow down and work the scene properly instead of grabbing a quick shot and moving on.
What I’d Add From My Own Experience
Patino works his compositions collaboratively, explaining his thinking to participants in real time. That’s a teaching method, but it’s also a useful habit even when you’re alone. I sometimes narrate quietly to myself when I’m working a difficult scene. Why am I here? What is this foreground doing? Where does the eye go after the mountain? The act of articulating it forces clarity, and clarity is what separates a snapshot from a photograph.
My mentor once told me that the mountain doesn’t care about your schedule. I’ve stood in enough freezing rivers at first light to know he was right. The compositions Patino finds in this video didn’t come from rushing. They came from showing up, reading the land, and letting the frame reveal itself.
The single most important thing this tutorial reinforces is that great landscape images are built in layers, and your job on location is to find the angle where those layers separate cleanly and lead somewhere worth looking. Everything else is secondary.
Watch the full tutorial on YouTube to see Patino work through these decisions in real Fiordland light. It’s worth every minute.
Comments
Leave a Comment