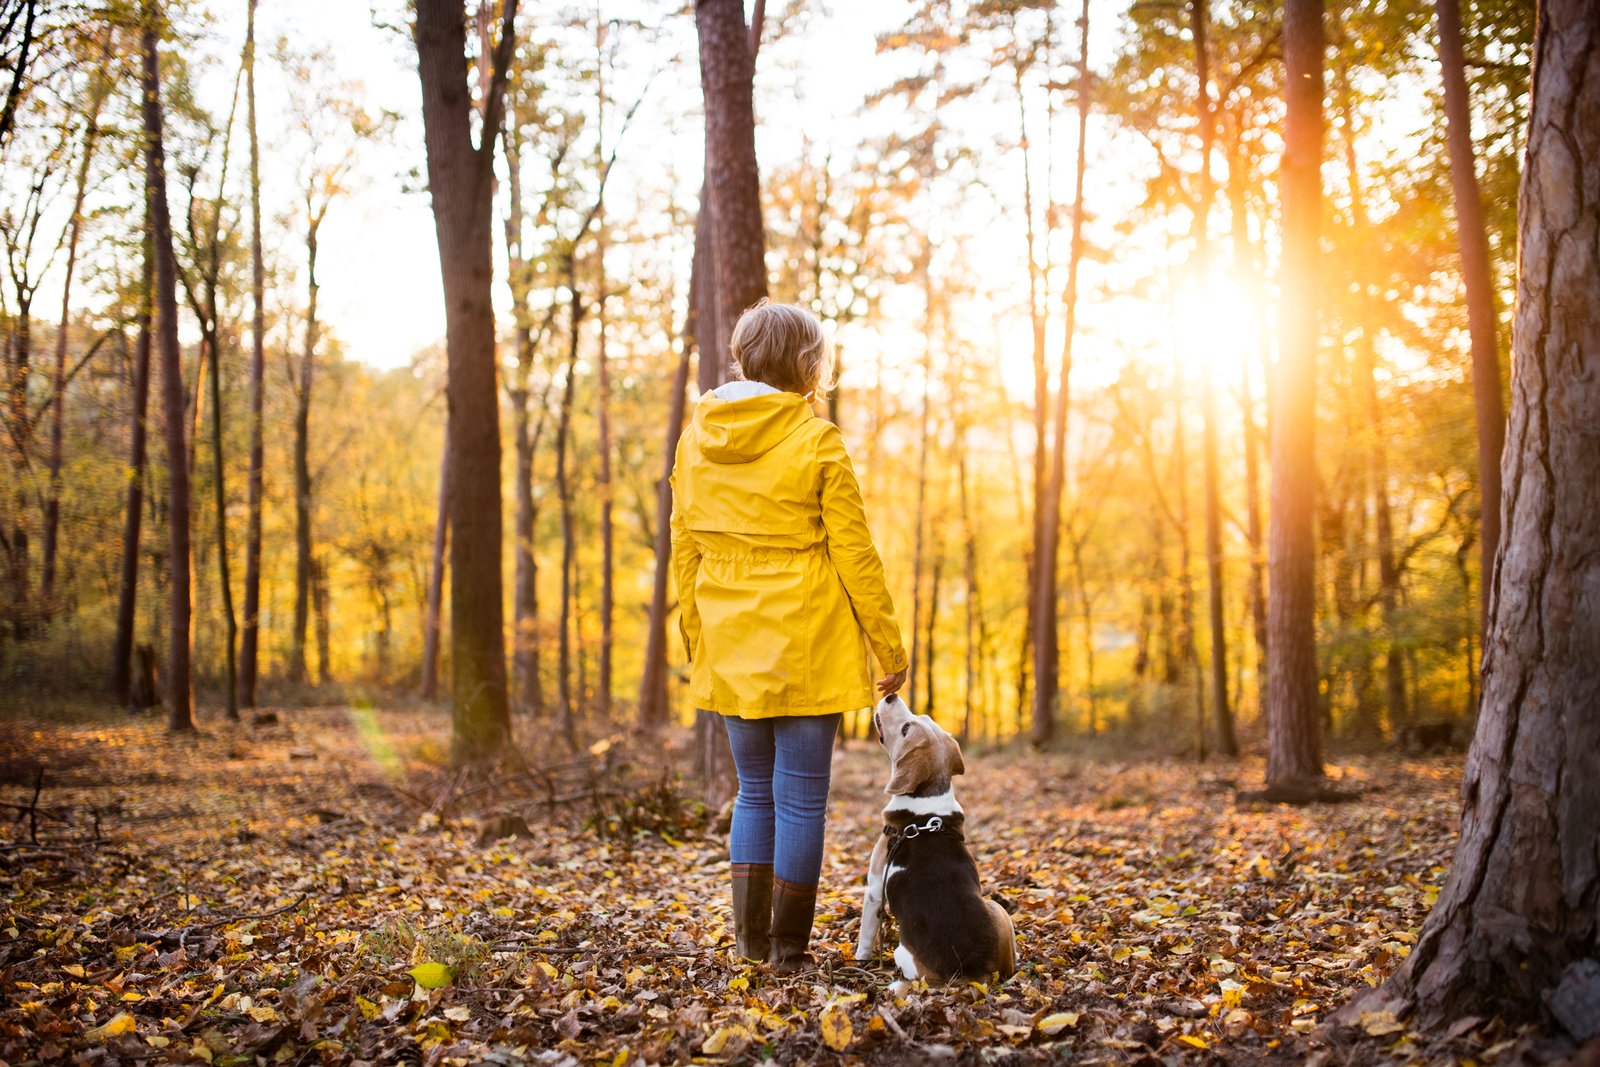
The first time I tried to photograph an old-growth Douglas fir stand in the Oregon Cascades, I came home with 200 frames that looked like they were shot inside a cave. The sky was blown white. The forest floor was black. Everything I actually wanted, the bark texture, the sword ferns catching side light, the way the canopy filtered morning sun into separate visible beams, was buried somewhere in the middle of a histogram I clearly didn’t understand yet.
That was early in my career. I’ve spent the better part of two decades going back into forests and figuring out what they actually demand from a photographer. The answer is less about gear than most people expect, and more about timing, patience, and a willingness to let the forest set the terms.
Why Forests Are a Lighting Problem Disguised as a Location Problem
The core technical issue is dynamic range. On a sunny day, the difference between a bright patch of sky visible through the canopy and the shadow under a nurse log can exceed 12 stops of light. Modern full-frame sensors, even good ones, capture somewhere between 13 and 15 stops in a single exposure, which sounds like enough until you realize that sky patch isn’t your subject and you’re wasting several of those stops on something you don’t even want in the frame.
The fix starts before you raise the camera. Overcast days compress that dynamic range dramatically. A thin, high cloud layer acts like a 40-foot softbox, dropping the contrast ratio to 4 or 5 stops and making the whole scene suddenly manageable. This is why serious forest photographers tend to look forward to weather that sends everyone else home.
When you do shoot in direct light, the most workable windows are brief. The 20 to 30 minutes after sunrise or before sunset, when light enters the forest at a low angle and hasn’t yet scattered into ambient chaos, is when the light behaves in ways you can predict and use.
Exposure Settings That Actually Work Under a Canopy
I shoot manual on every camera I own. In a forest, that matters more than almost anywhere else because light shifts constantly as wind moves branches overhead, and matrix metering will chase those changes and ruin your consistency.
My baseline for a low-light forest interior, overcast, no direct sun: ISO 400, f/8, and I let the shutter speed float to whatever gives me a correct exposure on the mid-tones, usually somewhere between 1/15s and 1/2s. I’m almost always on a tripod. I use a Gitzo GT3543LS with an Arca-Swiss Z1 ballhead because I’ve broken cheaper tripods on wet roots at the worst possible moments and I stopped being willing to gamble on that.
For scenes where dappled light is part of the composition, I bracket three frames at one-stop intervals and decide in post whether I need to blend them. In Lightroom, I’ll rarely pull highlights more than minus 60 before switching to luminosity masking in Photoshop, using either Lumenzia or TK8 panels depending on what I’m blending. Forest floors respond well to a careful dodge of the shadows layer set to 15 to 20 percent opacity with a soft brush. It takes time, but it protects the texture that makes bark and moss feel physical.
The Compositional Logic of Vertical Spaces
Forests are vertical environments being photographed by people who default to horizontal framing. That mismatch creates weak images more often than bad light does.
Tall trees demand portrait orientation, full stop. If I can’t fit the base and the canopy in a single frame without distortion, I’ll shoot a two-frame vertical panorama and merge them in Lightroom’s Merge to Panorama, using cylindrical projection rather than perspective, which keeps straight trunks from bowing. At 42 megapixels per frame on my Sony A7R V, those merged files come out around 80 to 100 megapixels, which gives me more than enough resolution to print at 24 by 36 inches for gallery work.
Leading lines in a forest are rarely roads or rivers. They’re root systems, fallen logs, streams of light. Train your eye to find the lines that exist and work with them rather than trying to impose a structure the scene doesn’t have.
Reading a Forest Before You Shoot
I wake up early enough that by the time I’m driving to a location, I’ve already spent 15 minutes thinking through what the light will be doing when I arrive. I use PhotoPills for sun angle and use the AR mode to visualize exactly where the light will enter a gap in the canopy. For forest work specifically, I’m looking for a solar elevation below 20 degrees, which keeps the light raking rather than flooding.
I once drove three hours into the Willamette National Forest chasing a composition I’d scouted in late summer, arriving in October to find the maples had already peaked and dropped. I had a week earlier than I needed to be there. The image I actually got, a nearly bare maple structure against a wall of green fir, became something I was more proud of than the shot I had in mind. The mentor I apprenticed under early in my career used to say the mountain doesn’t care about your schedule. Twenty years later, I think about that line almost every time a shoot doesn’t go the way I planned, which is more often than I’d like to admit.
When to Stop Chimping and Start Watching
The most common mistake I see in my workshops is photographers spending more time reviewing images on the back of the camera than watching the light change. In a forest, that light changes faster than almost anywhere else because you’re working within a small, shifting window that the trees create.
Set your exposure, take one frame, check it once, and then put the camera down and watch. Let yourself be in the place. Some of the best frames I’ve taken came from noticing something, a shaft of light hitting a particular patch of moss, a bird landing in the foreground, a gust of wind lifting fog, while other photographers were heads-down in their menus.
The forest rewards presence. Everything else is technique you can learn.
Comments
Leave a Comment